Painting, decorating and home improvement tips blog
Review of Dunlop Pro Decor Interior Filler
Posted by Adrian
July 20th, 2015
Review of Dunlop Pro Decor Interior Filler
Following on from my last review for Dunlop Pro Decor on their Flexible Acrylic Filler caulk, I have been asked to review another product, this time it is their Interior Filler.
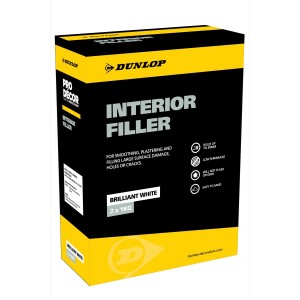
The interior filler comes in two pack sizes, 2KG or 5KG (in multiples 1KG bags). It is a Gypsum based product and is brilliant white in colour. It has a working time of around 30 minutes and surface dry within 5 hours but this will really depend on thickness and temperature. Once dried it is easy to sand. This filler can be used up to 30mm deep without any slumping.
I was keen to try this product after the great results I had had after trying Dunlop Pro Decor Flexible Acrylic Caulk with great results.
I tried the Pro Decor Interior Filler on my latest interior job, and here is my review.
My review of Dunlop Pro Decor Interior Filler
On the Dunlop Decorators website it says this about the product:
A brilliant white, fast drying, gypsum based interior filler for smoothing, plastering and filling large surface damage, holes or cracks.
- Easy to apply
- Build up to 30mm thick
- Creates a smooth finish
- Will not crack
- Easy to sand
- Can be sponge finished
- Interior wall filler
Available in: 2kg or 5kg cartons
(each unit contains multiples of 1kg bags)
I used this filler on my latest job, a bedroom. The walls were wallpapered but the client wanted the walls to be emulsioned. I stripped the paper and used the Interior Filler to fill cracks and holes including larger holes where a curtain pole had been removed.
The filler was easy to mix and was workable for around 30 minutes. It dried quickly and I was able to rub down the filler I had applied in the morning later the same day. I didn’t notice any shrinkage even in the larger holes I had filled.
Once I had rubbed the filler down and removed any loose dust I applied two coats of emulsion, it didn’t flash or show once painted and the client was happy with the finished result of the newly decorated bedroom.
Buy Dunlop Pro Decor Flexible Acrylic Filler caulk
You can buy Dunlop Pro Decor Interior filler in 5kg boxes or in 2kg boxes from My Paintbrush.
In conclusion
The Dunlop Interior filler was easy to mix, work with and sand. It didn’t slump or shrink when used in larger holes. It dried well and I was able to sand it down later the same day. Obviously drying conditions and thickness of filler will play a part in drying times.
I wasn’t disappointed in the results I got from this product and will use it again in the future.

Tags: Cracking, Crazing, dunlop, Dunlop pro Decor, Emulsion, Filler, Interior, Interior Filer
Posted in News, Resources, Reviews | No Comments »
Wallpapering ‘Frames’
Posted by Adrian
June 29th, 2015
Wallpapering ‘Frames’
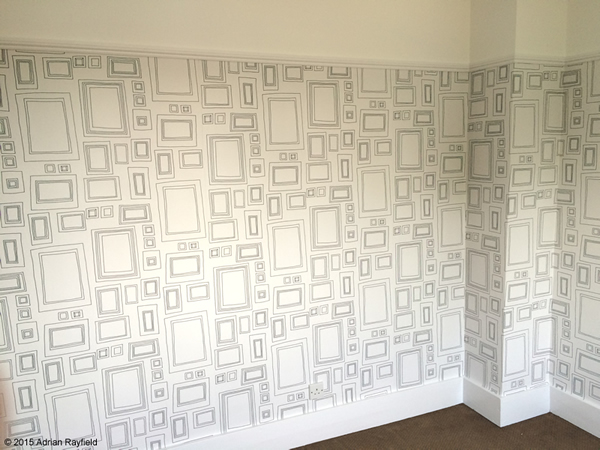
I have recently just completed a wallpapering job for a client. The room was a spare bedroom / playroom. As this room is to serve as a dual purpose room the client didn’t want the room to be too child like, or to grown up. The client looked online and decided on a wallpaper from Graham and Brown called Frames.
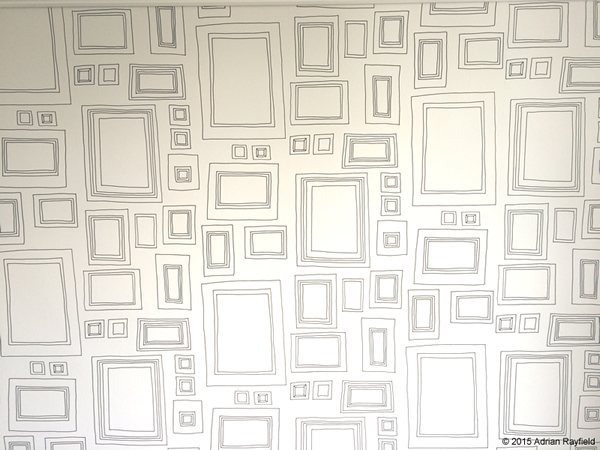
This wallpaper was ideal for the situation it was to be used in, modern and contemporary enough for any adults staying in the room, but also fun for a child. The frames on the paper can be used to stick family photos, postcards, artwork and you can even draw your own artwork directly into a frame to give it a totally unique style. If you do draw directly onto the wallpaper be aware that the paper is only spongeable and anything drawn onto the wallpaper may not come off.
About the wallpaper
The wallpaper is a paste the paper type, as opposed to paste the wall. The soaking time is around 5 minutes. The design / pattern match is free, so no matching up to do. The paper is 52cm wide and the rolls are 10 m long.
I found the paper easy to hang and the final result was very effective as you can see by the following photos.
Tags: bedroom, Frames, Playroom, Wallpaper, Wallpapering
Posted in Decorating Tips, News | 3 Comments »
How to paint a front door
Posted by Adrian
May 18th, 2015
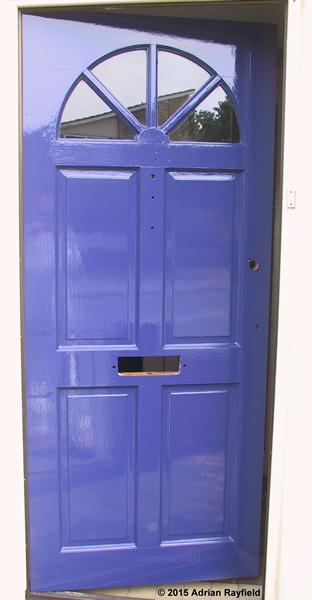
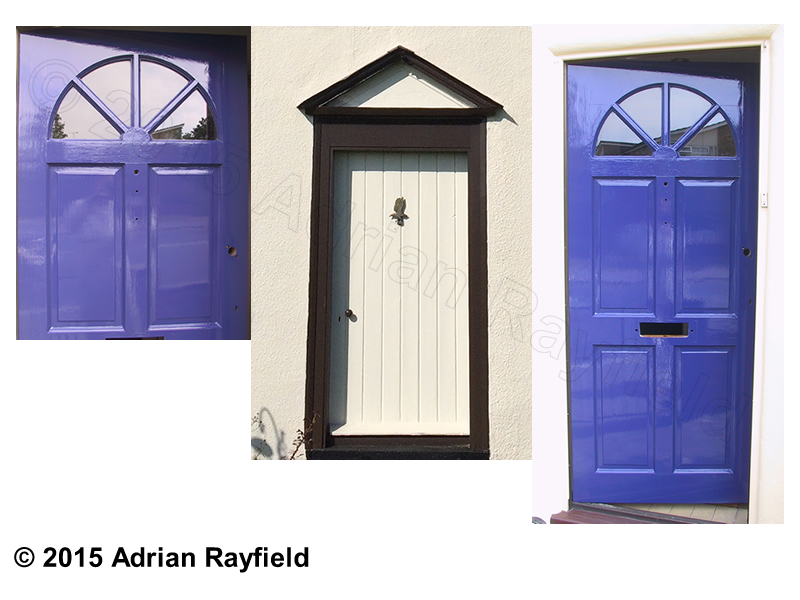
How to paint a front door
From time to time you will need to paint your front door, if it is wood that is. Ideally pick a couple of dry days to complete the job such as spring or summer. Pick a good quality exterior paint to ensure a long lasting job.
The front door is one of the most seen parts of your house, a good looking door gives a good impression to visitors, and especially if you are selling your house as it gives kerb appeal.
You should gather all the tools required before starting, you will need:
- Screwdrivers
- Adjustable spanner
- Sandpaper (various grades)
- Primer
- Undercoat
- Topcoat (Satin or gloss)
- Paint stripper (optional)
- Heat gun (optional)
- Scraper (optional)
Ironwork / Door furniture
The first job is to remove all ironwork or door furniture such as locks, knocker, letterbox, escutcheon, door pull and numbers. This will make it far easier for working on the door. Put everything to one side being careful not to lose any screws as some can be tiny and you will need them again later to refit the ironwork / door furniture. You may need an adjustable spanner for the knocker or letterbox.
Preparation
As with all decorating jobs, preparation is key and will take most of your time. Now is the time to decide if you are simply going to re-decorate your door, or give it a real overhaul and strip the existing finish off back to bare wood.
If you are going to remove all the existing paint finish you can do this either by using a heat gun and scraper, or paint remover and scraper. The choice is really up to you. Once the door is stripped give it a good rub down and fill any crack and holes and sand these level and smooth. Once you have done this you are now ready to move to the next section, prime.
If you decide against stripping the door back to bare wood, or it simply doesn’t need it you should give the existing surface a good clean off to remove dirt and grime with a cloth and maybe water, the give the surface a good rub down. Fill any cracks or unwanted holes and rub them down level and smooth. Dust off and you can move onto the next section, prime.
Prime
Once you have prepared the door you should prime the entire door if you have stripped it back to bare wood, or spot prime bare wood if you have just rubbed down and filled. Allow to dry before moving onto undercoating.
Undercoat
Once you have primed the door, whether it be the entire door or spot primed, give the primer a light sand down before applying one or two coats of undercoat. Allow each coat to dry fully if you give it more than one coat sand back between coats for that perfect smooth finish.
Topcoat
Once you have prepared the door correctly and given it it’s necessary coats of primer and undercoat you can now give the door it’s final sand back and the final coat, the topcoat. This maybe a satin finish or a gloss. Again you may want to give two topcoats, but read the manufacturer’s instructions to ensure you leave enough time between coats, and a word of warning, if you sandback, you a fine paper and use light strokes. If you are too harsh you could scratch the surface too much, or even worse roll up the first coat and ruin all your hard work.
Non-painted or varnished doors
This post deals with painted doors, such a glossed doors but for other finishes, such as varnish or stained door the principle is the same, apart from you wouldn’t use primer or undercoat, however the preparation part is still applicable and needs to be done.
Tags: Door, Door Furniture, Filler, Filling, Gloss, Ironwork, Knocker, Letterbox, Lock, Paint, Painting, Preparation, Primer, Satin, Topcoat, Undercoat, Varnish, Woodstain
Posted in Decorating Tips | 1 Comment »