Painting, decorating and home improvement tips blog
Definitely not a grey day
Posted by Adrian
August 30th, 2023
Definitely not a grey day
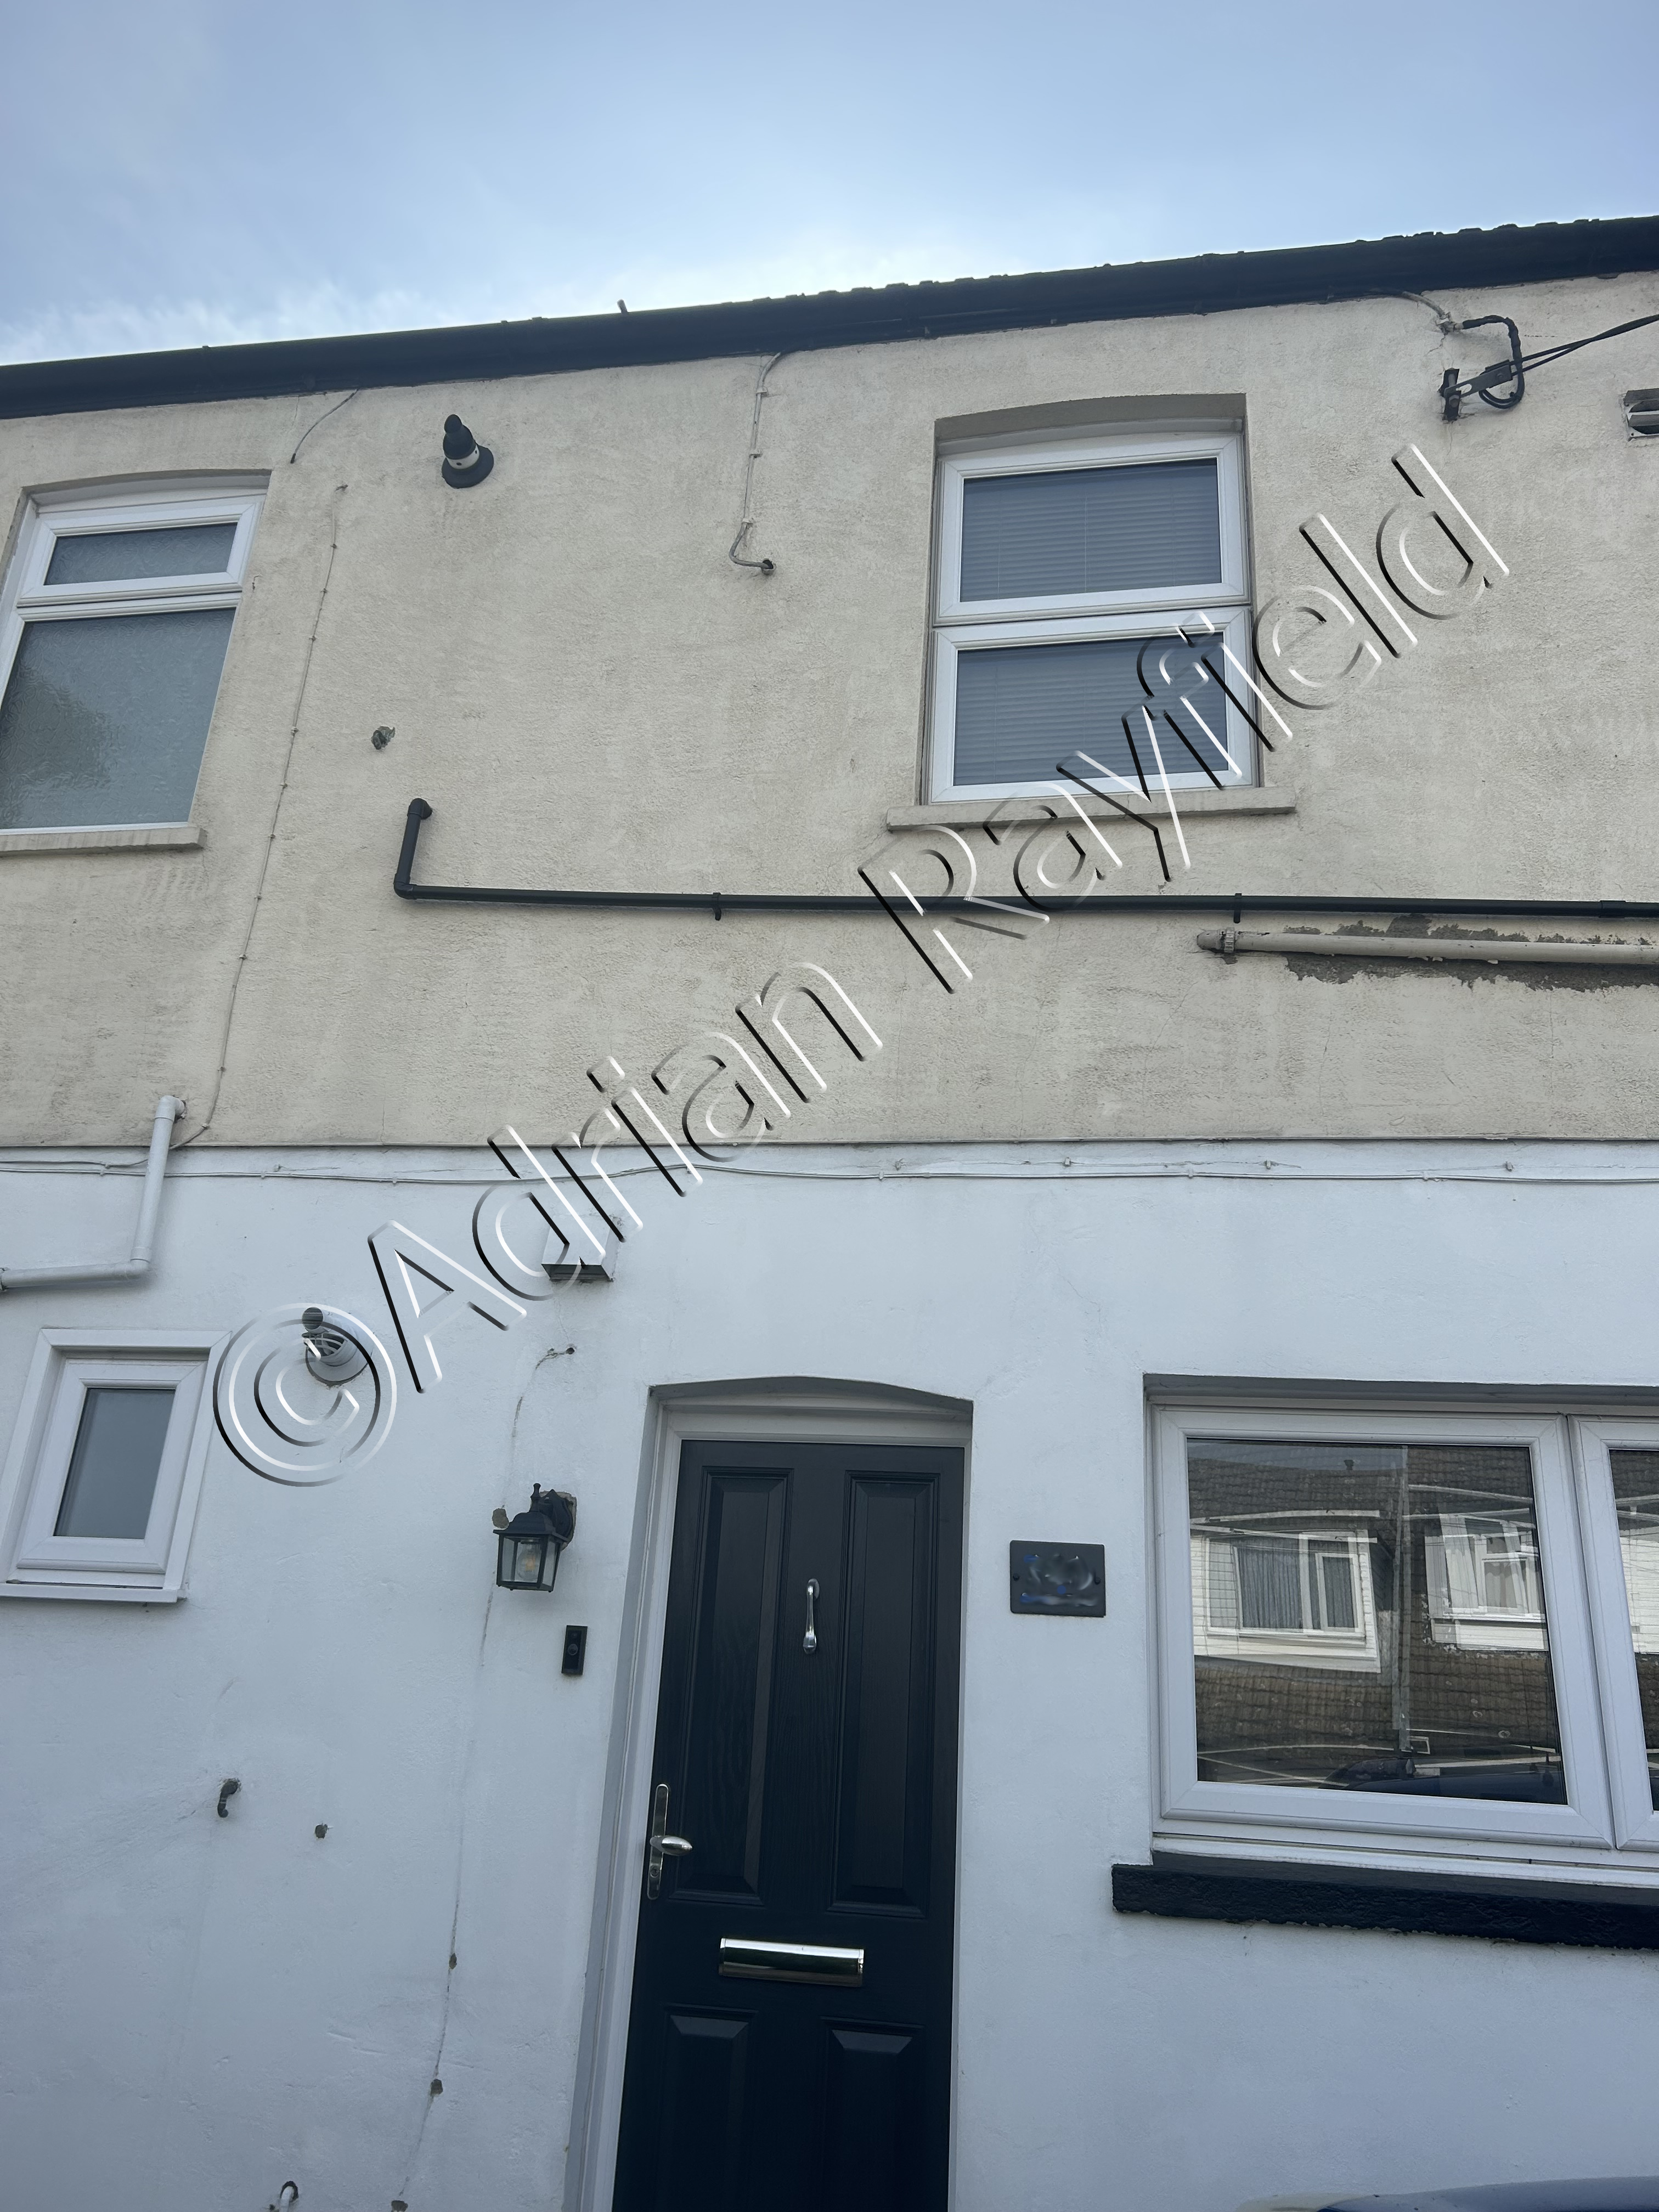
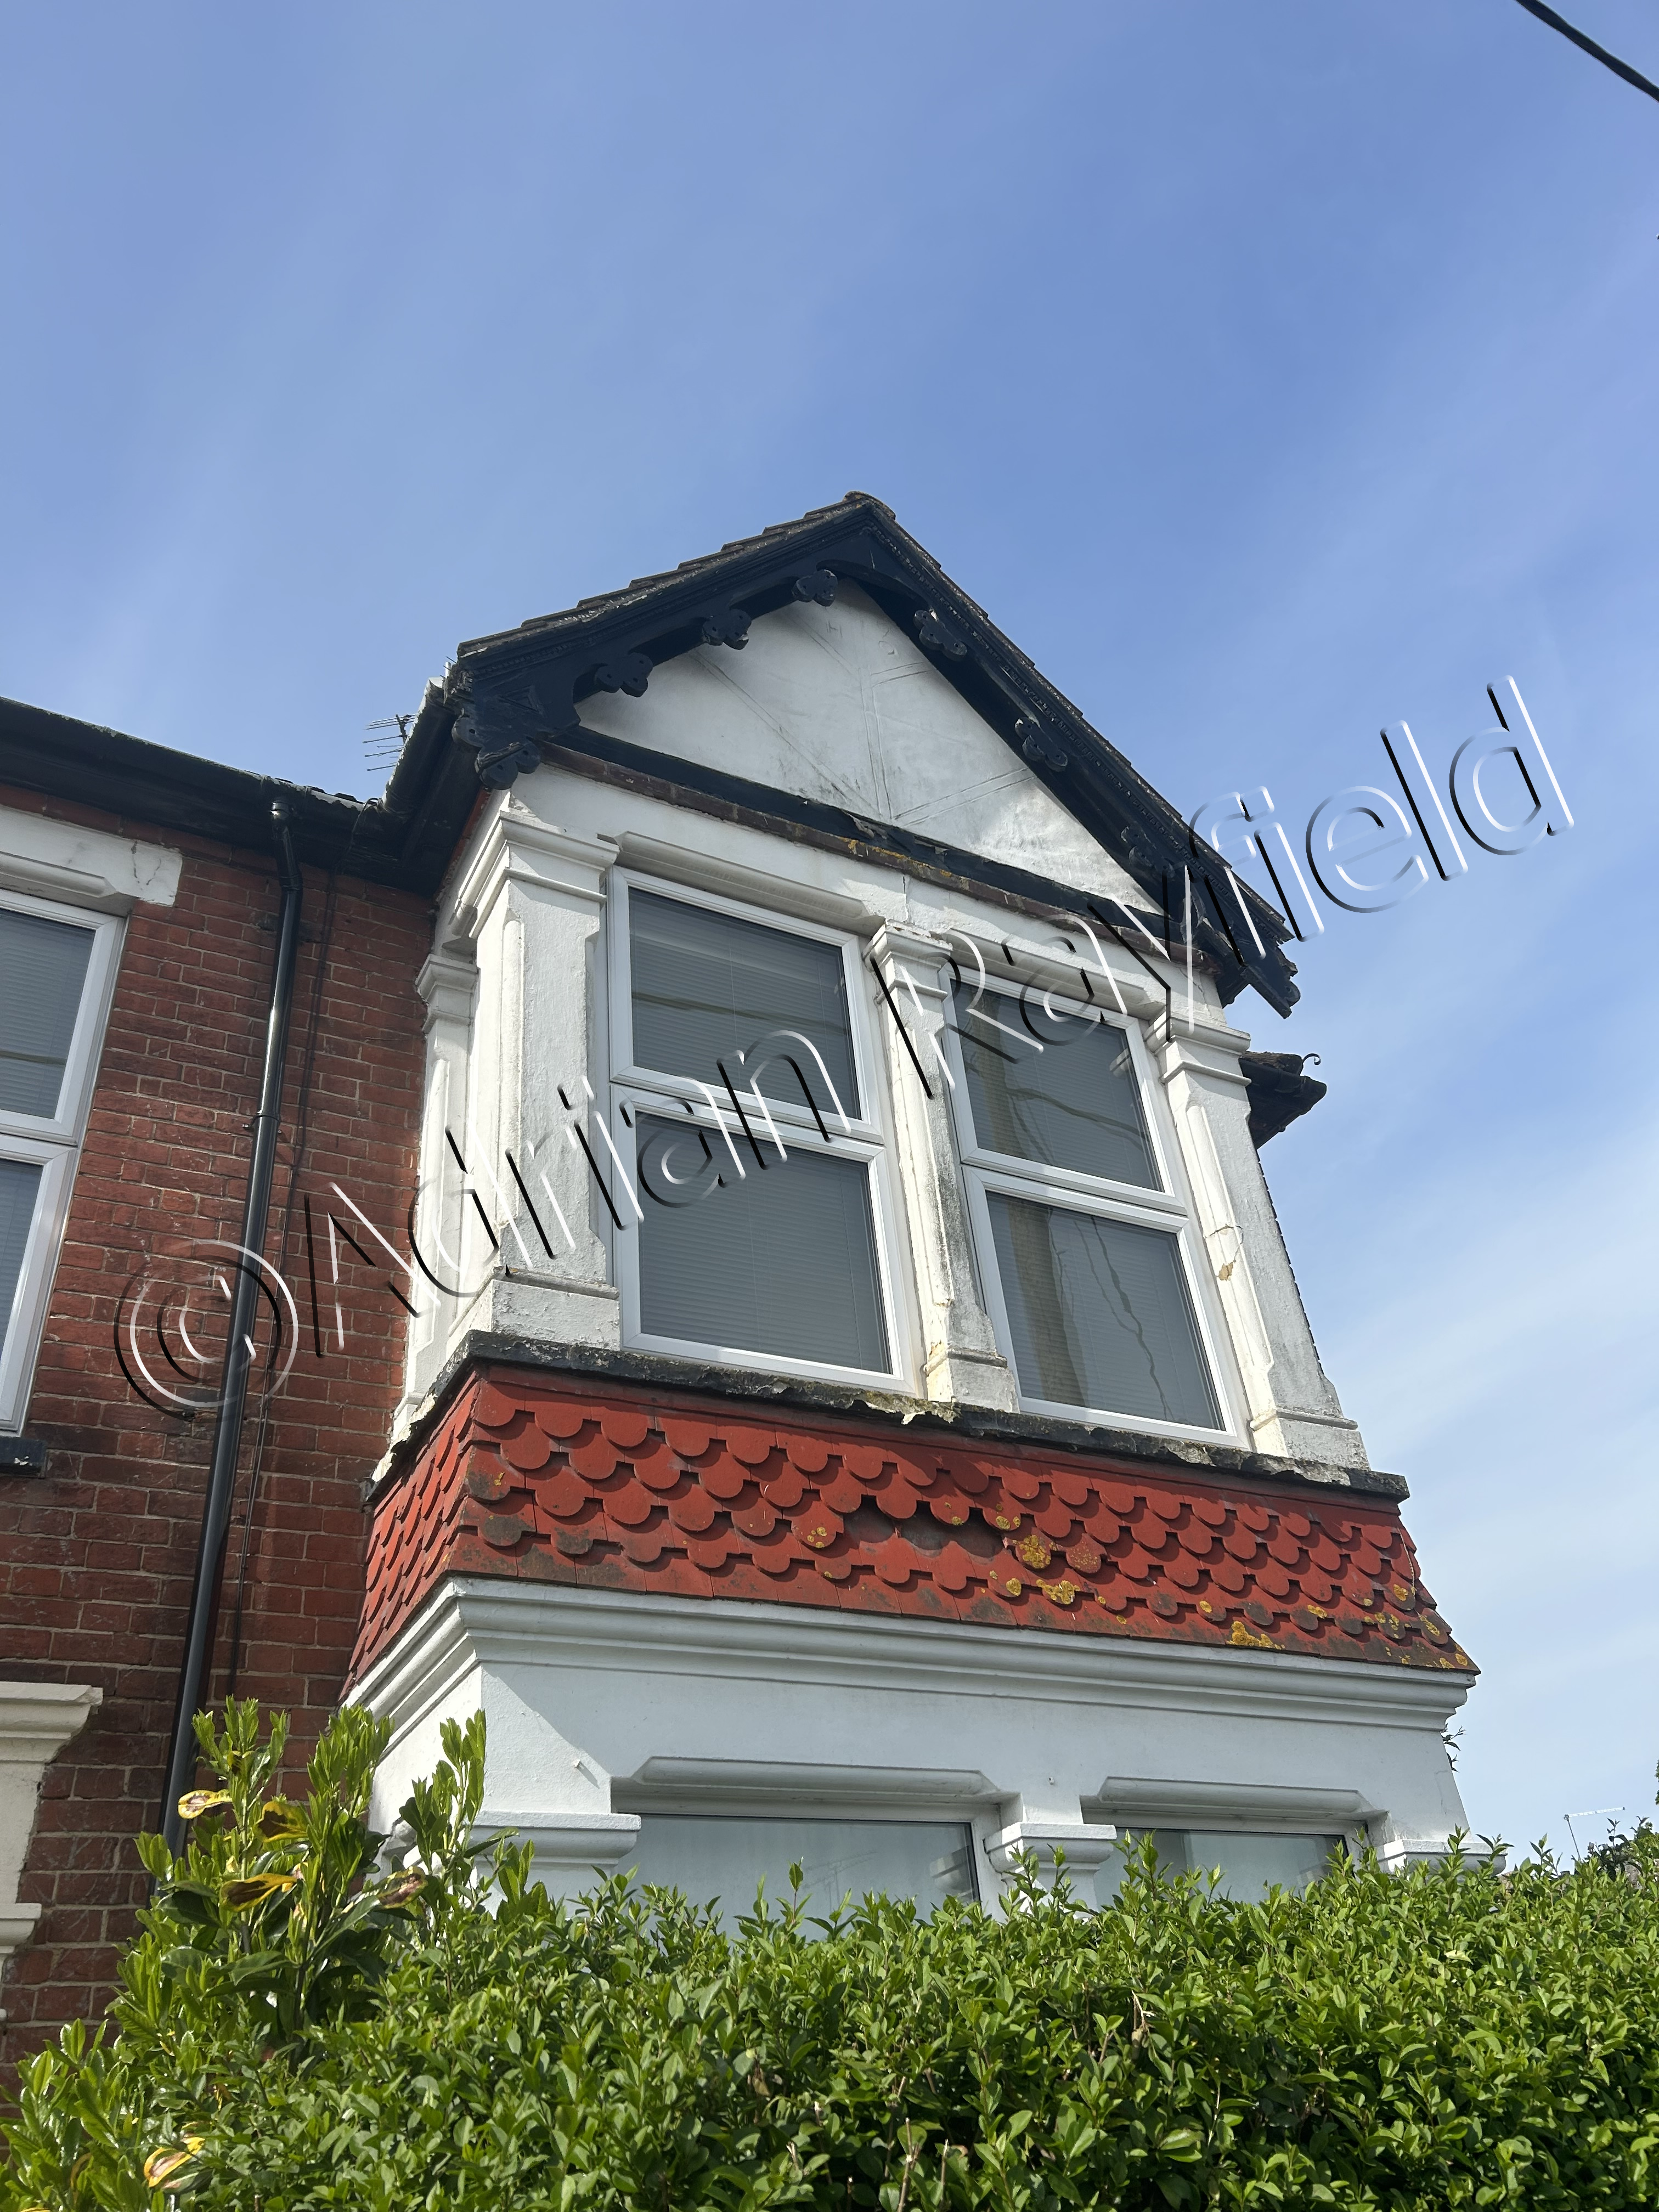
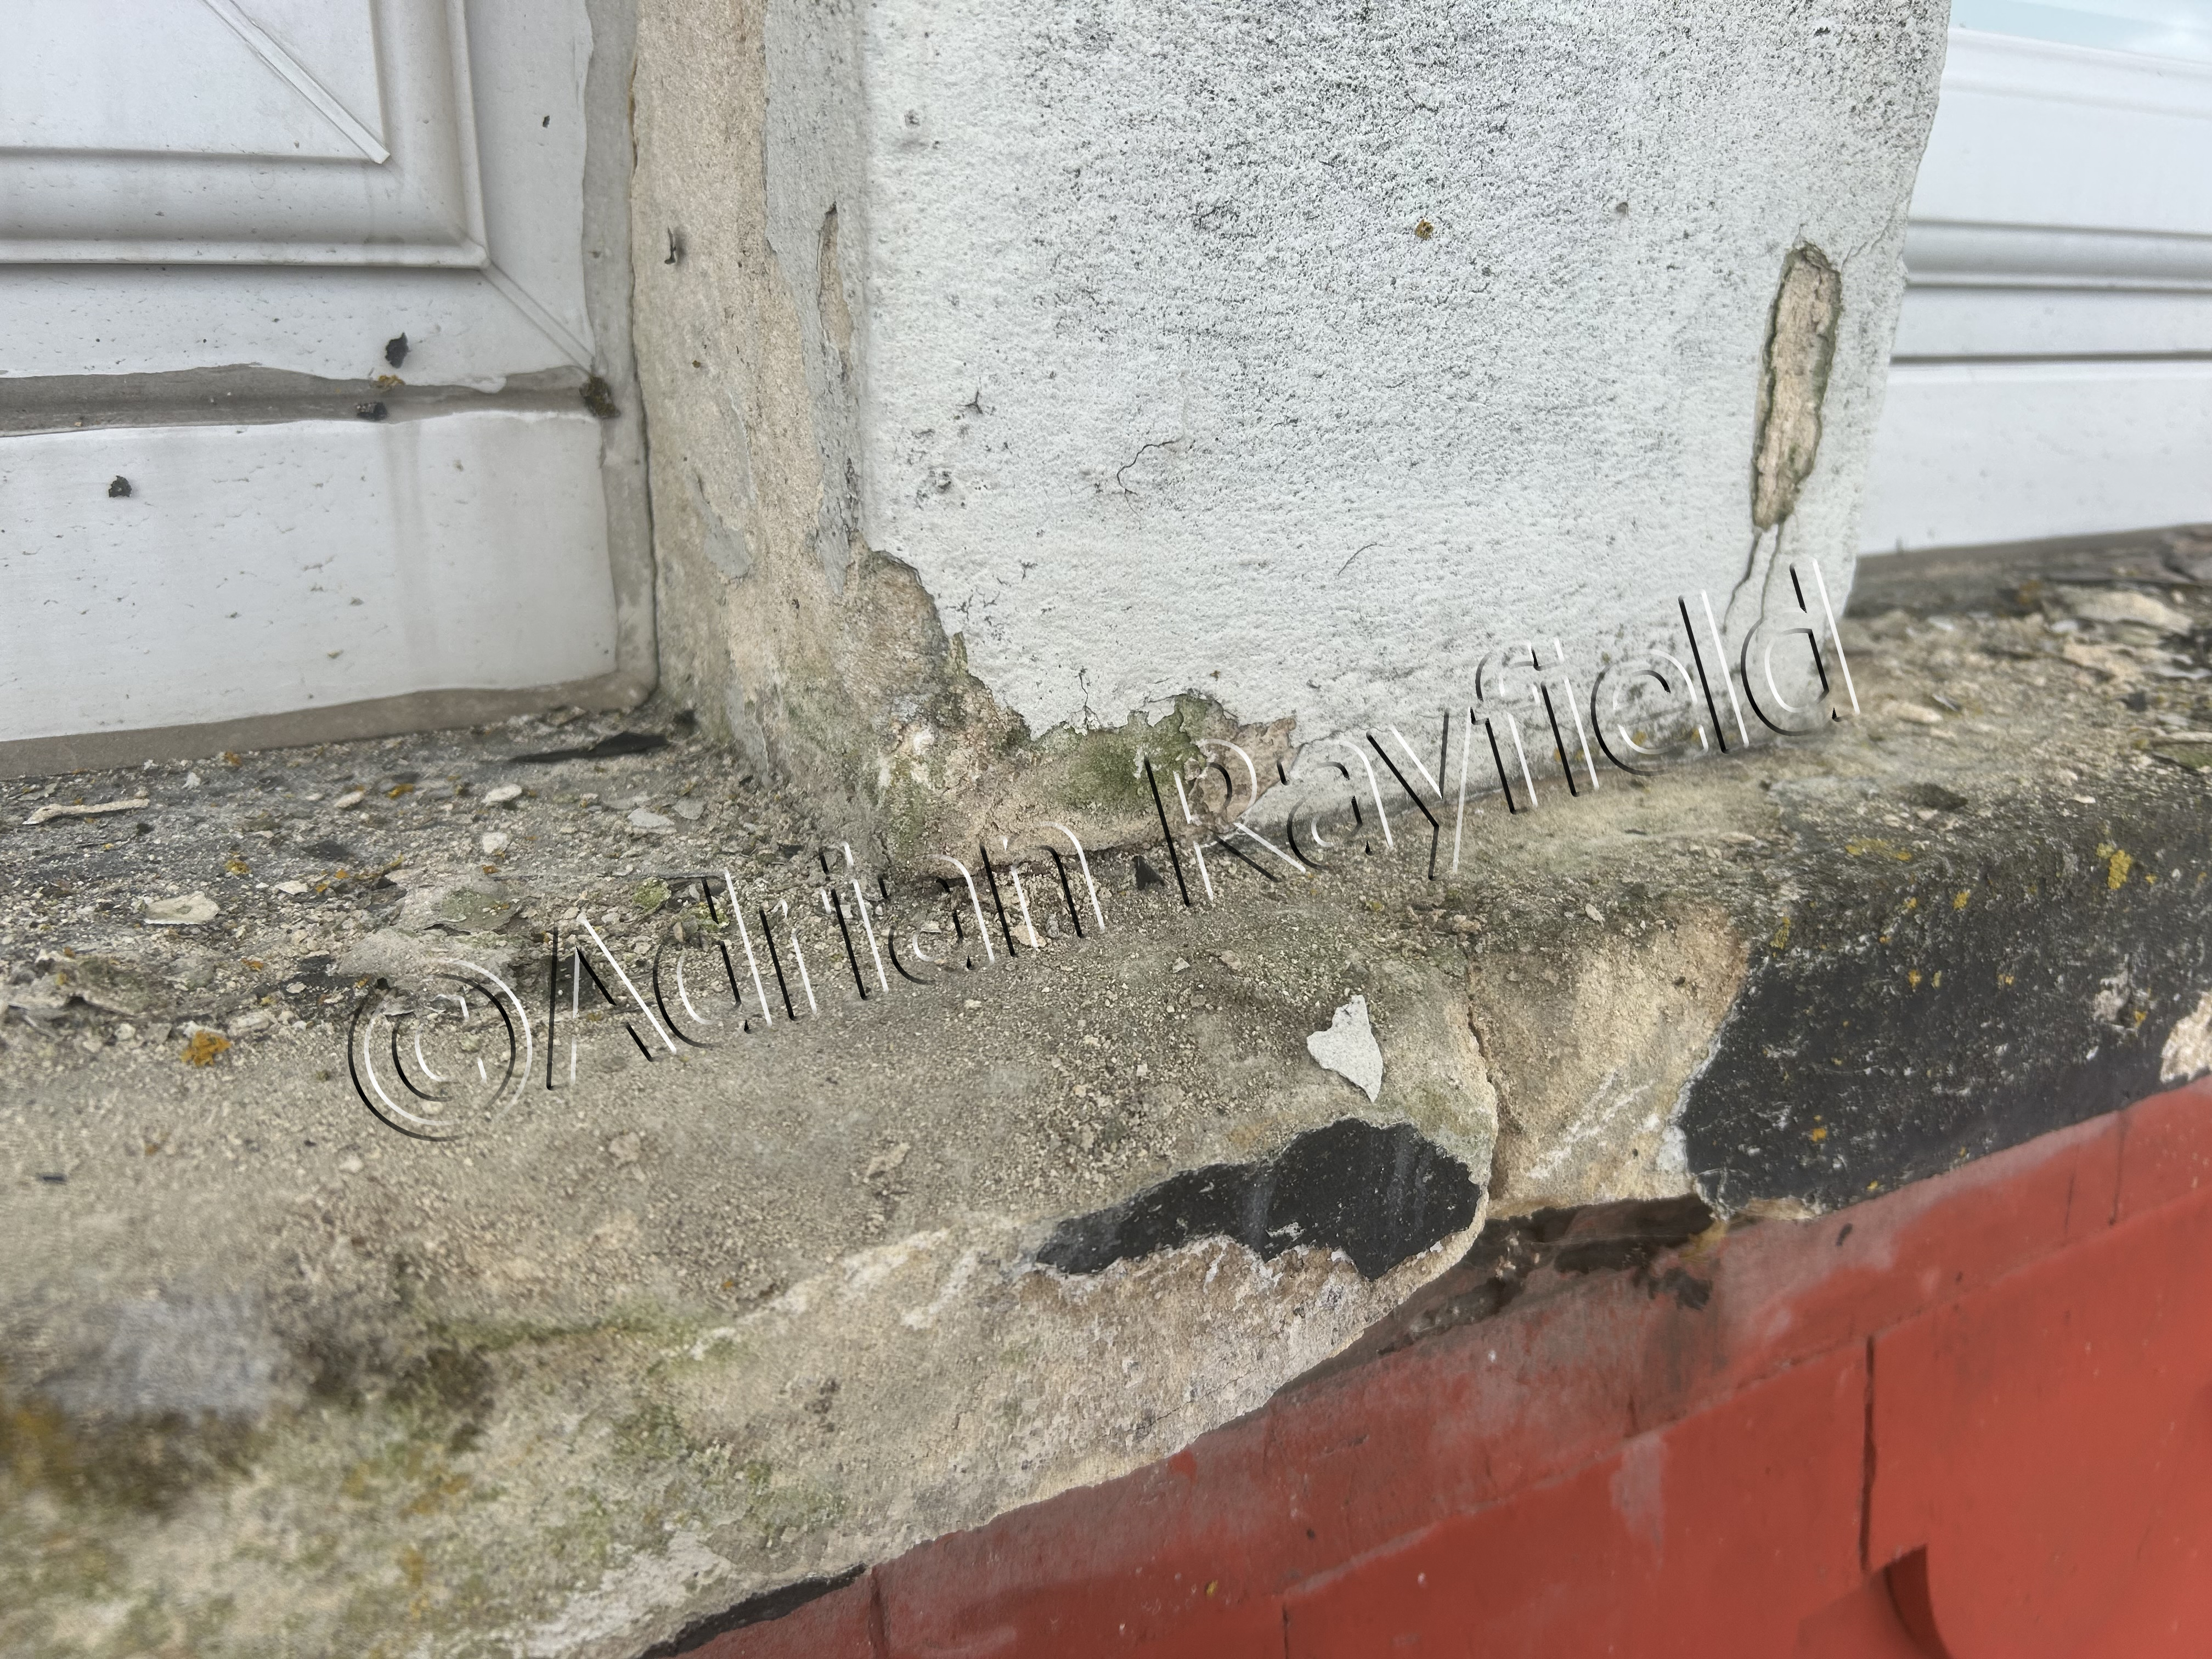
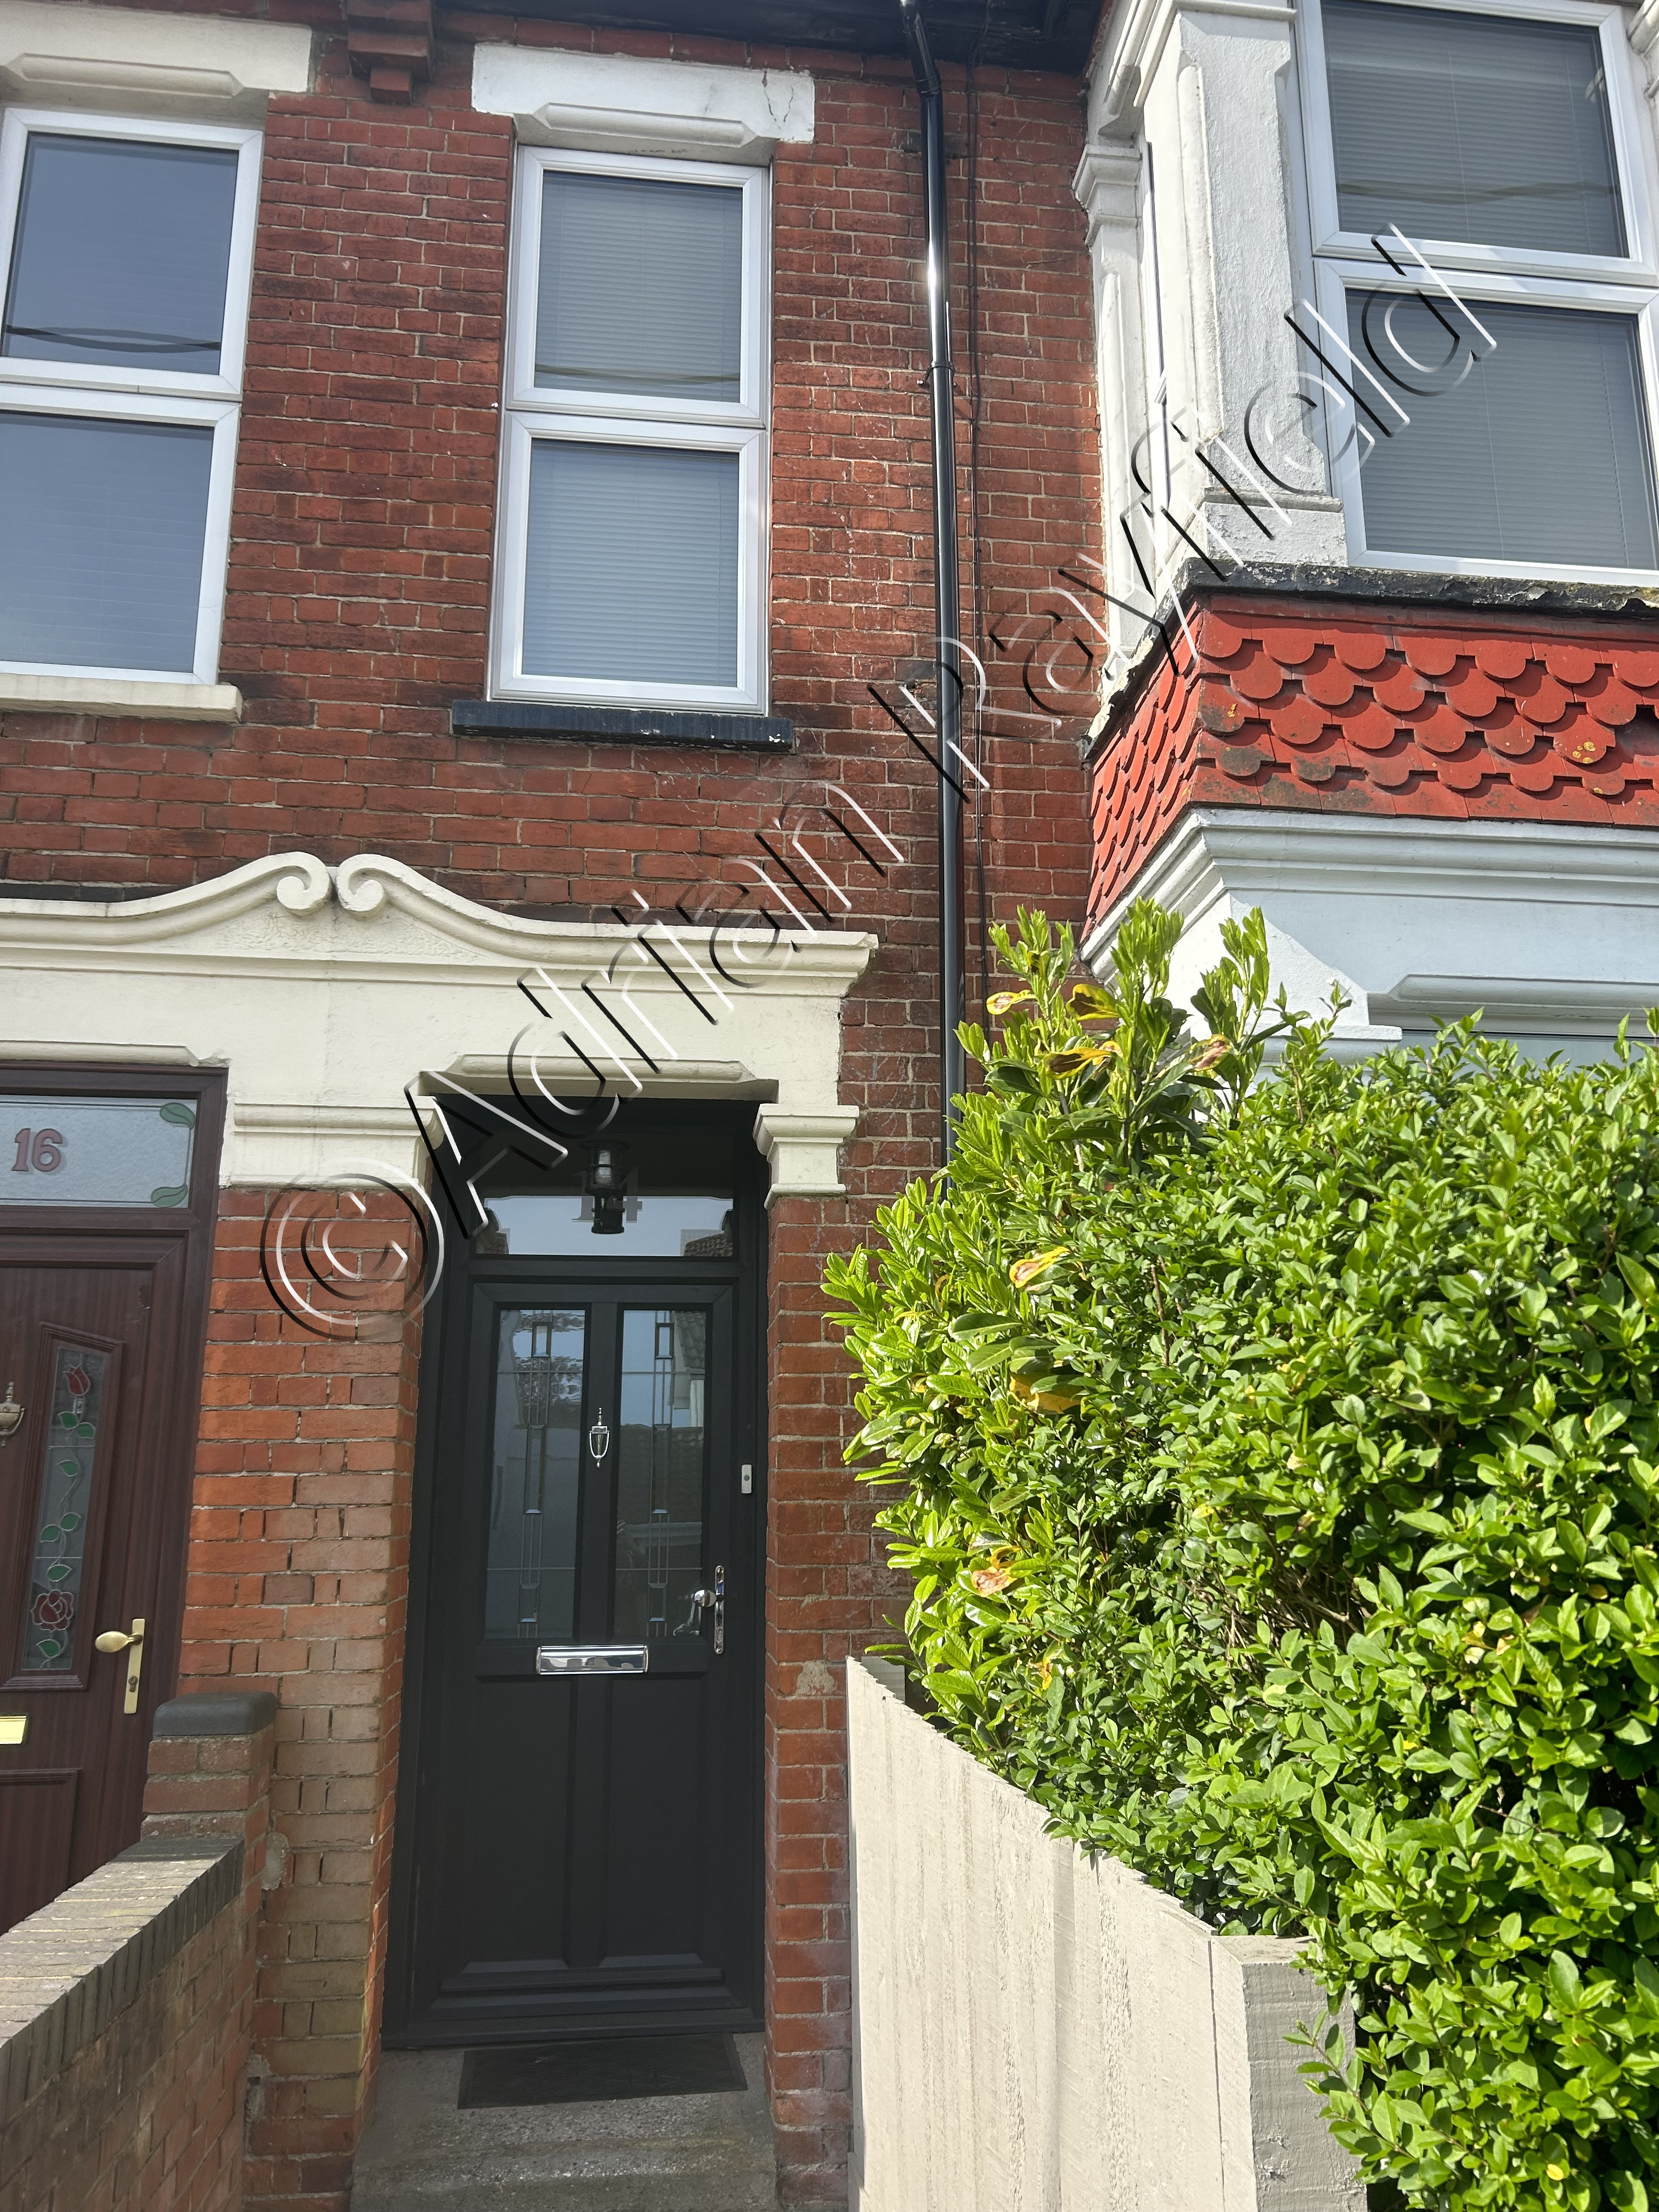
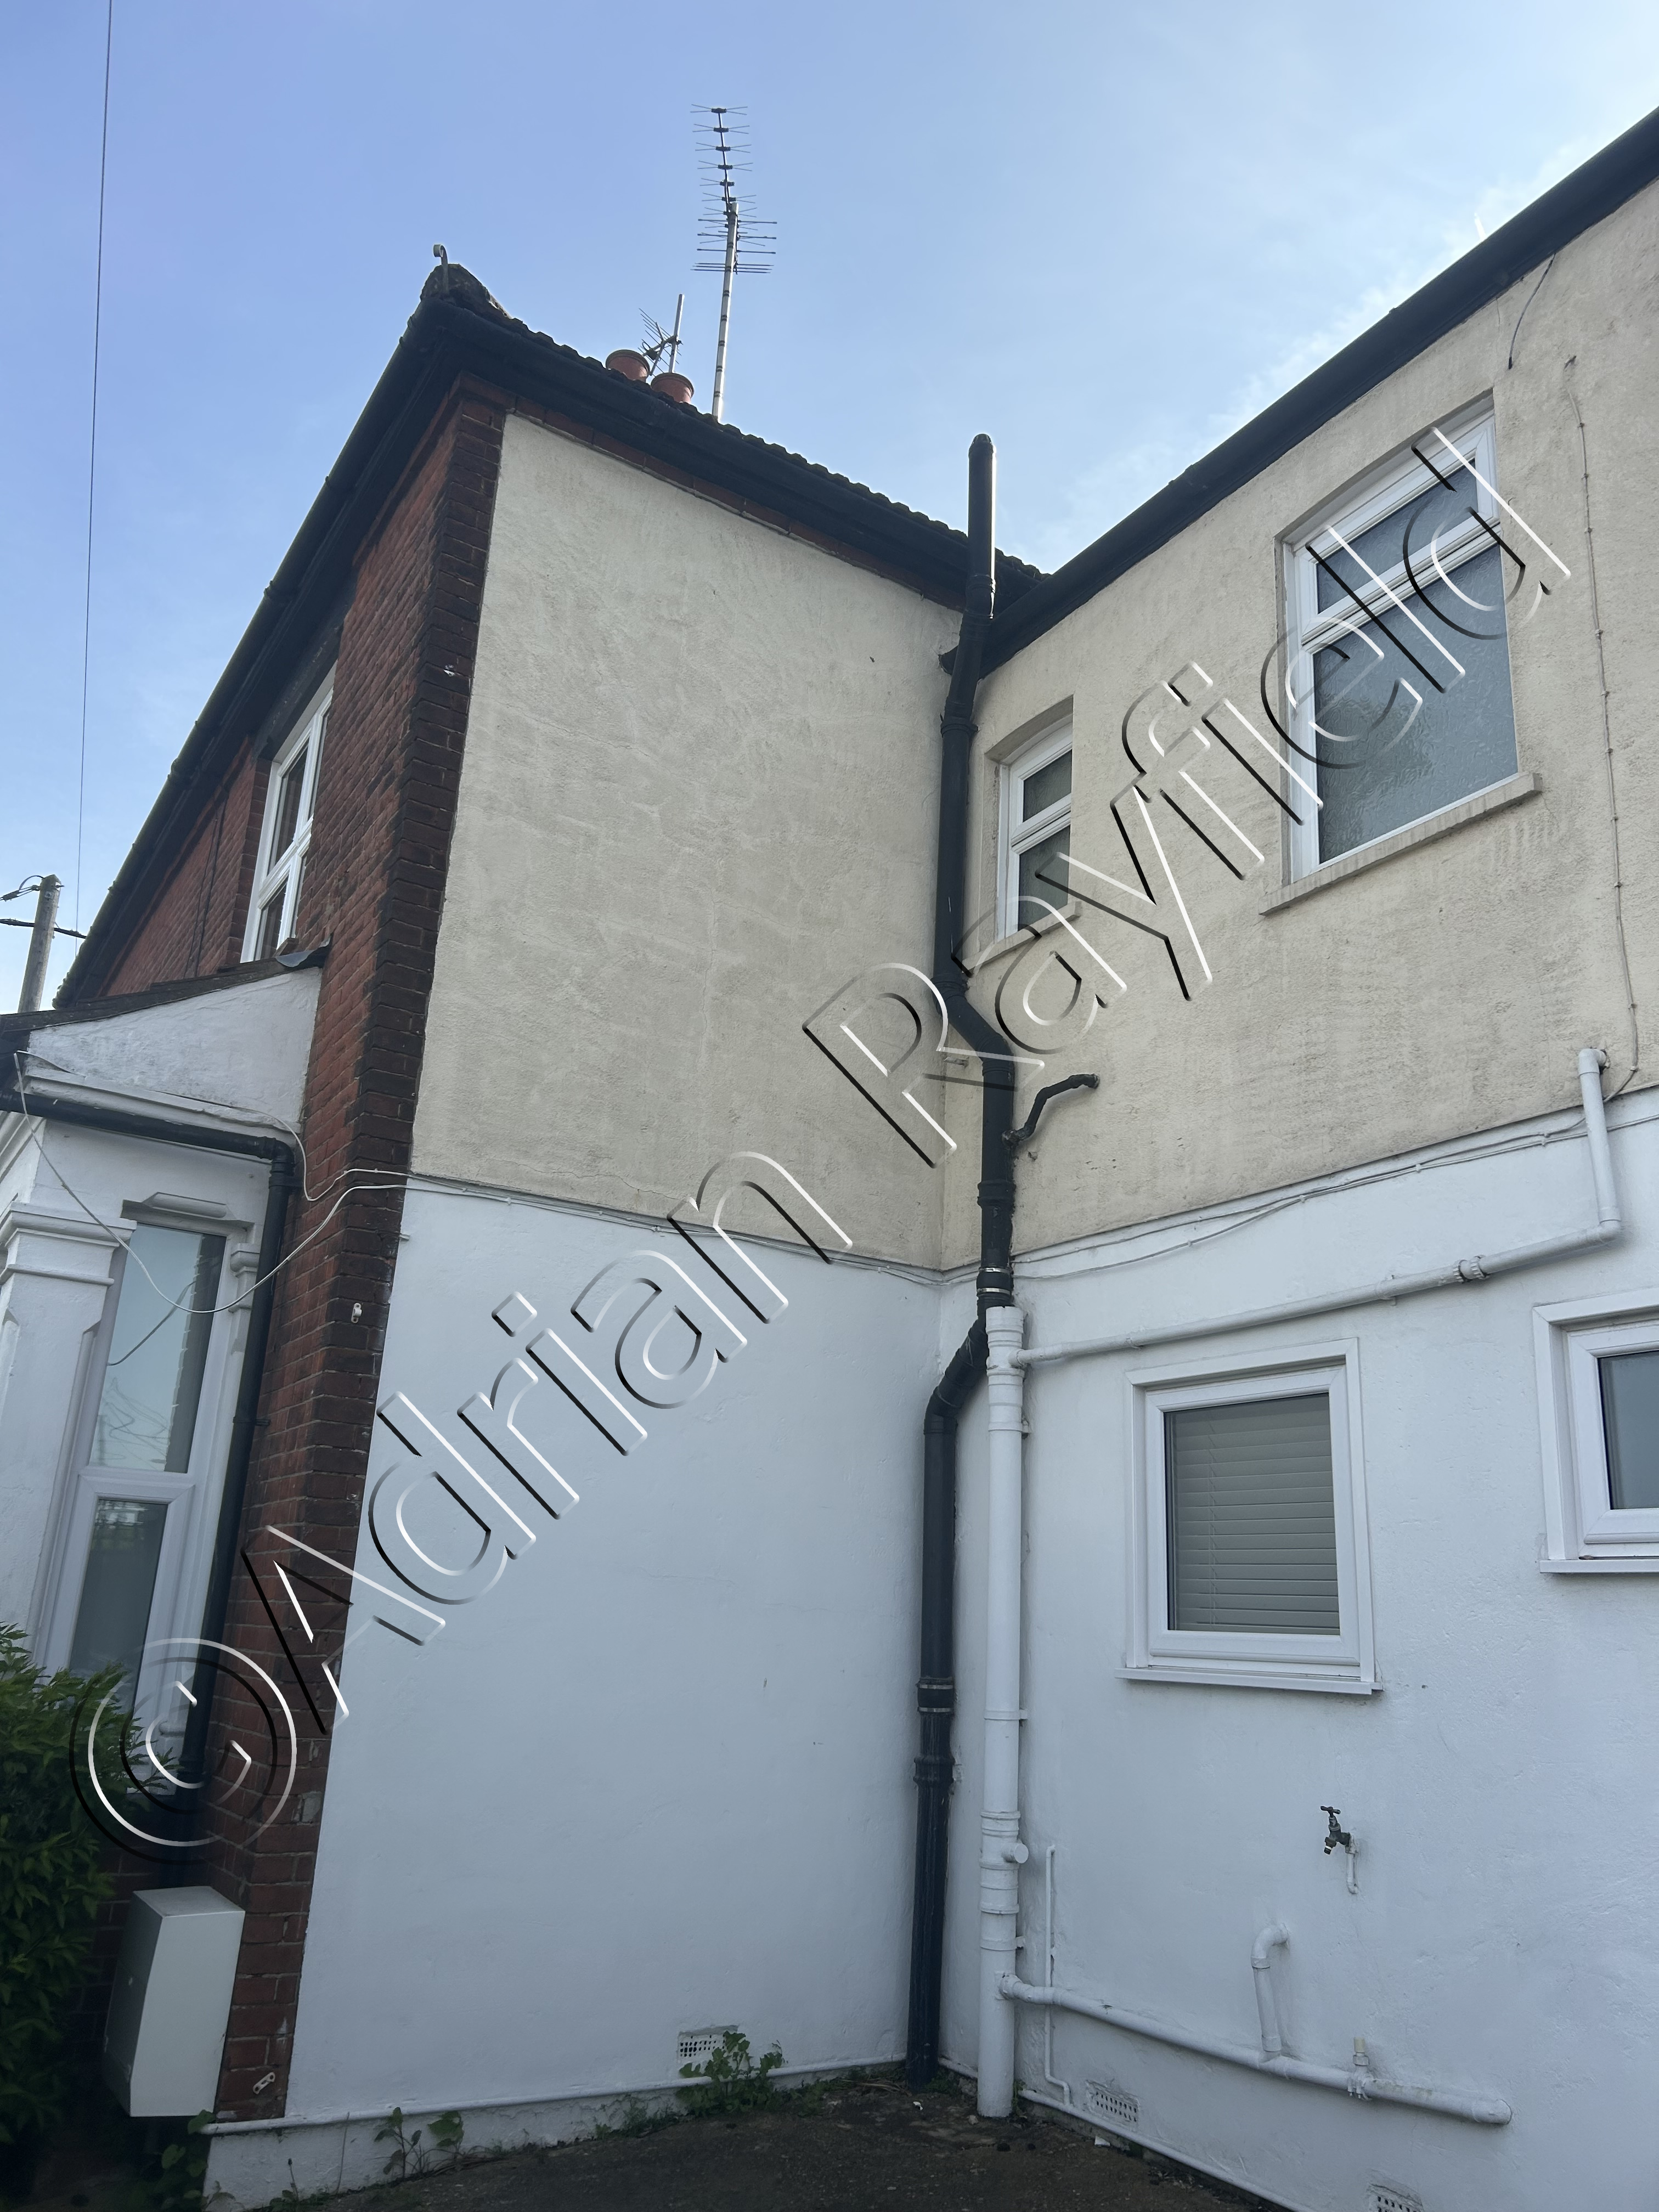
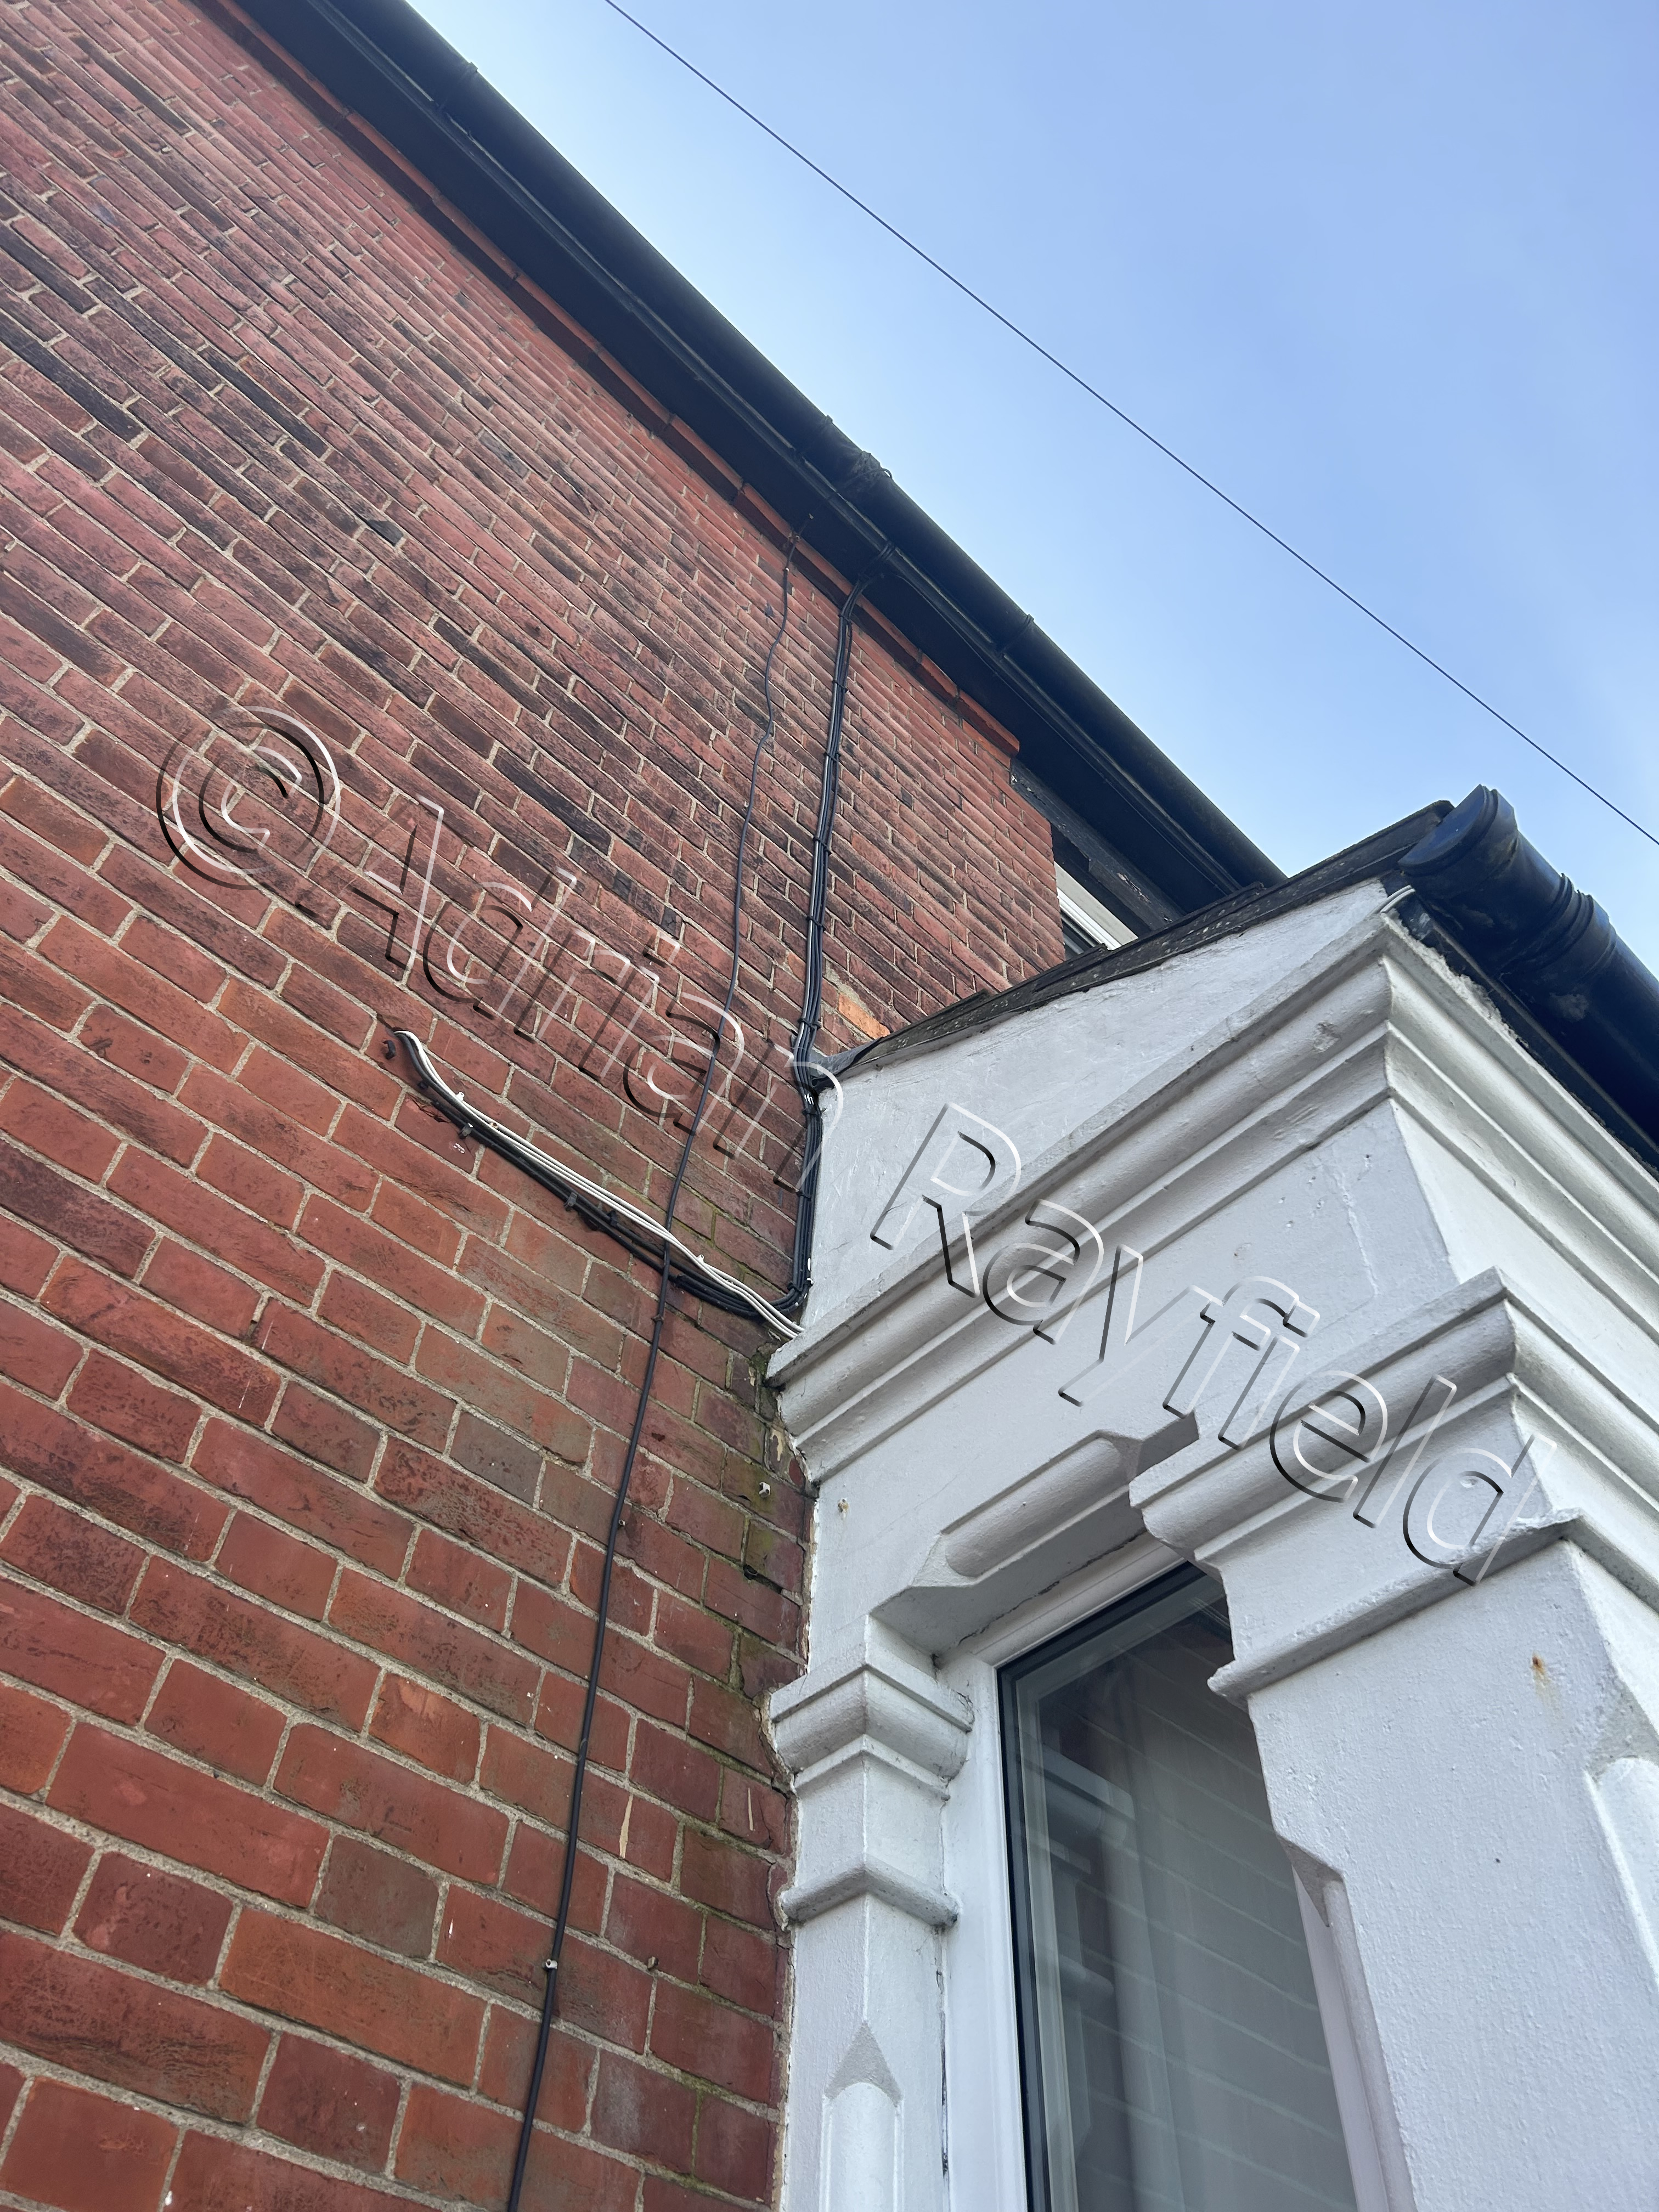
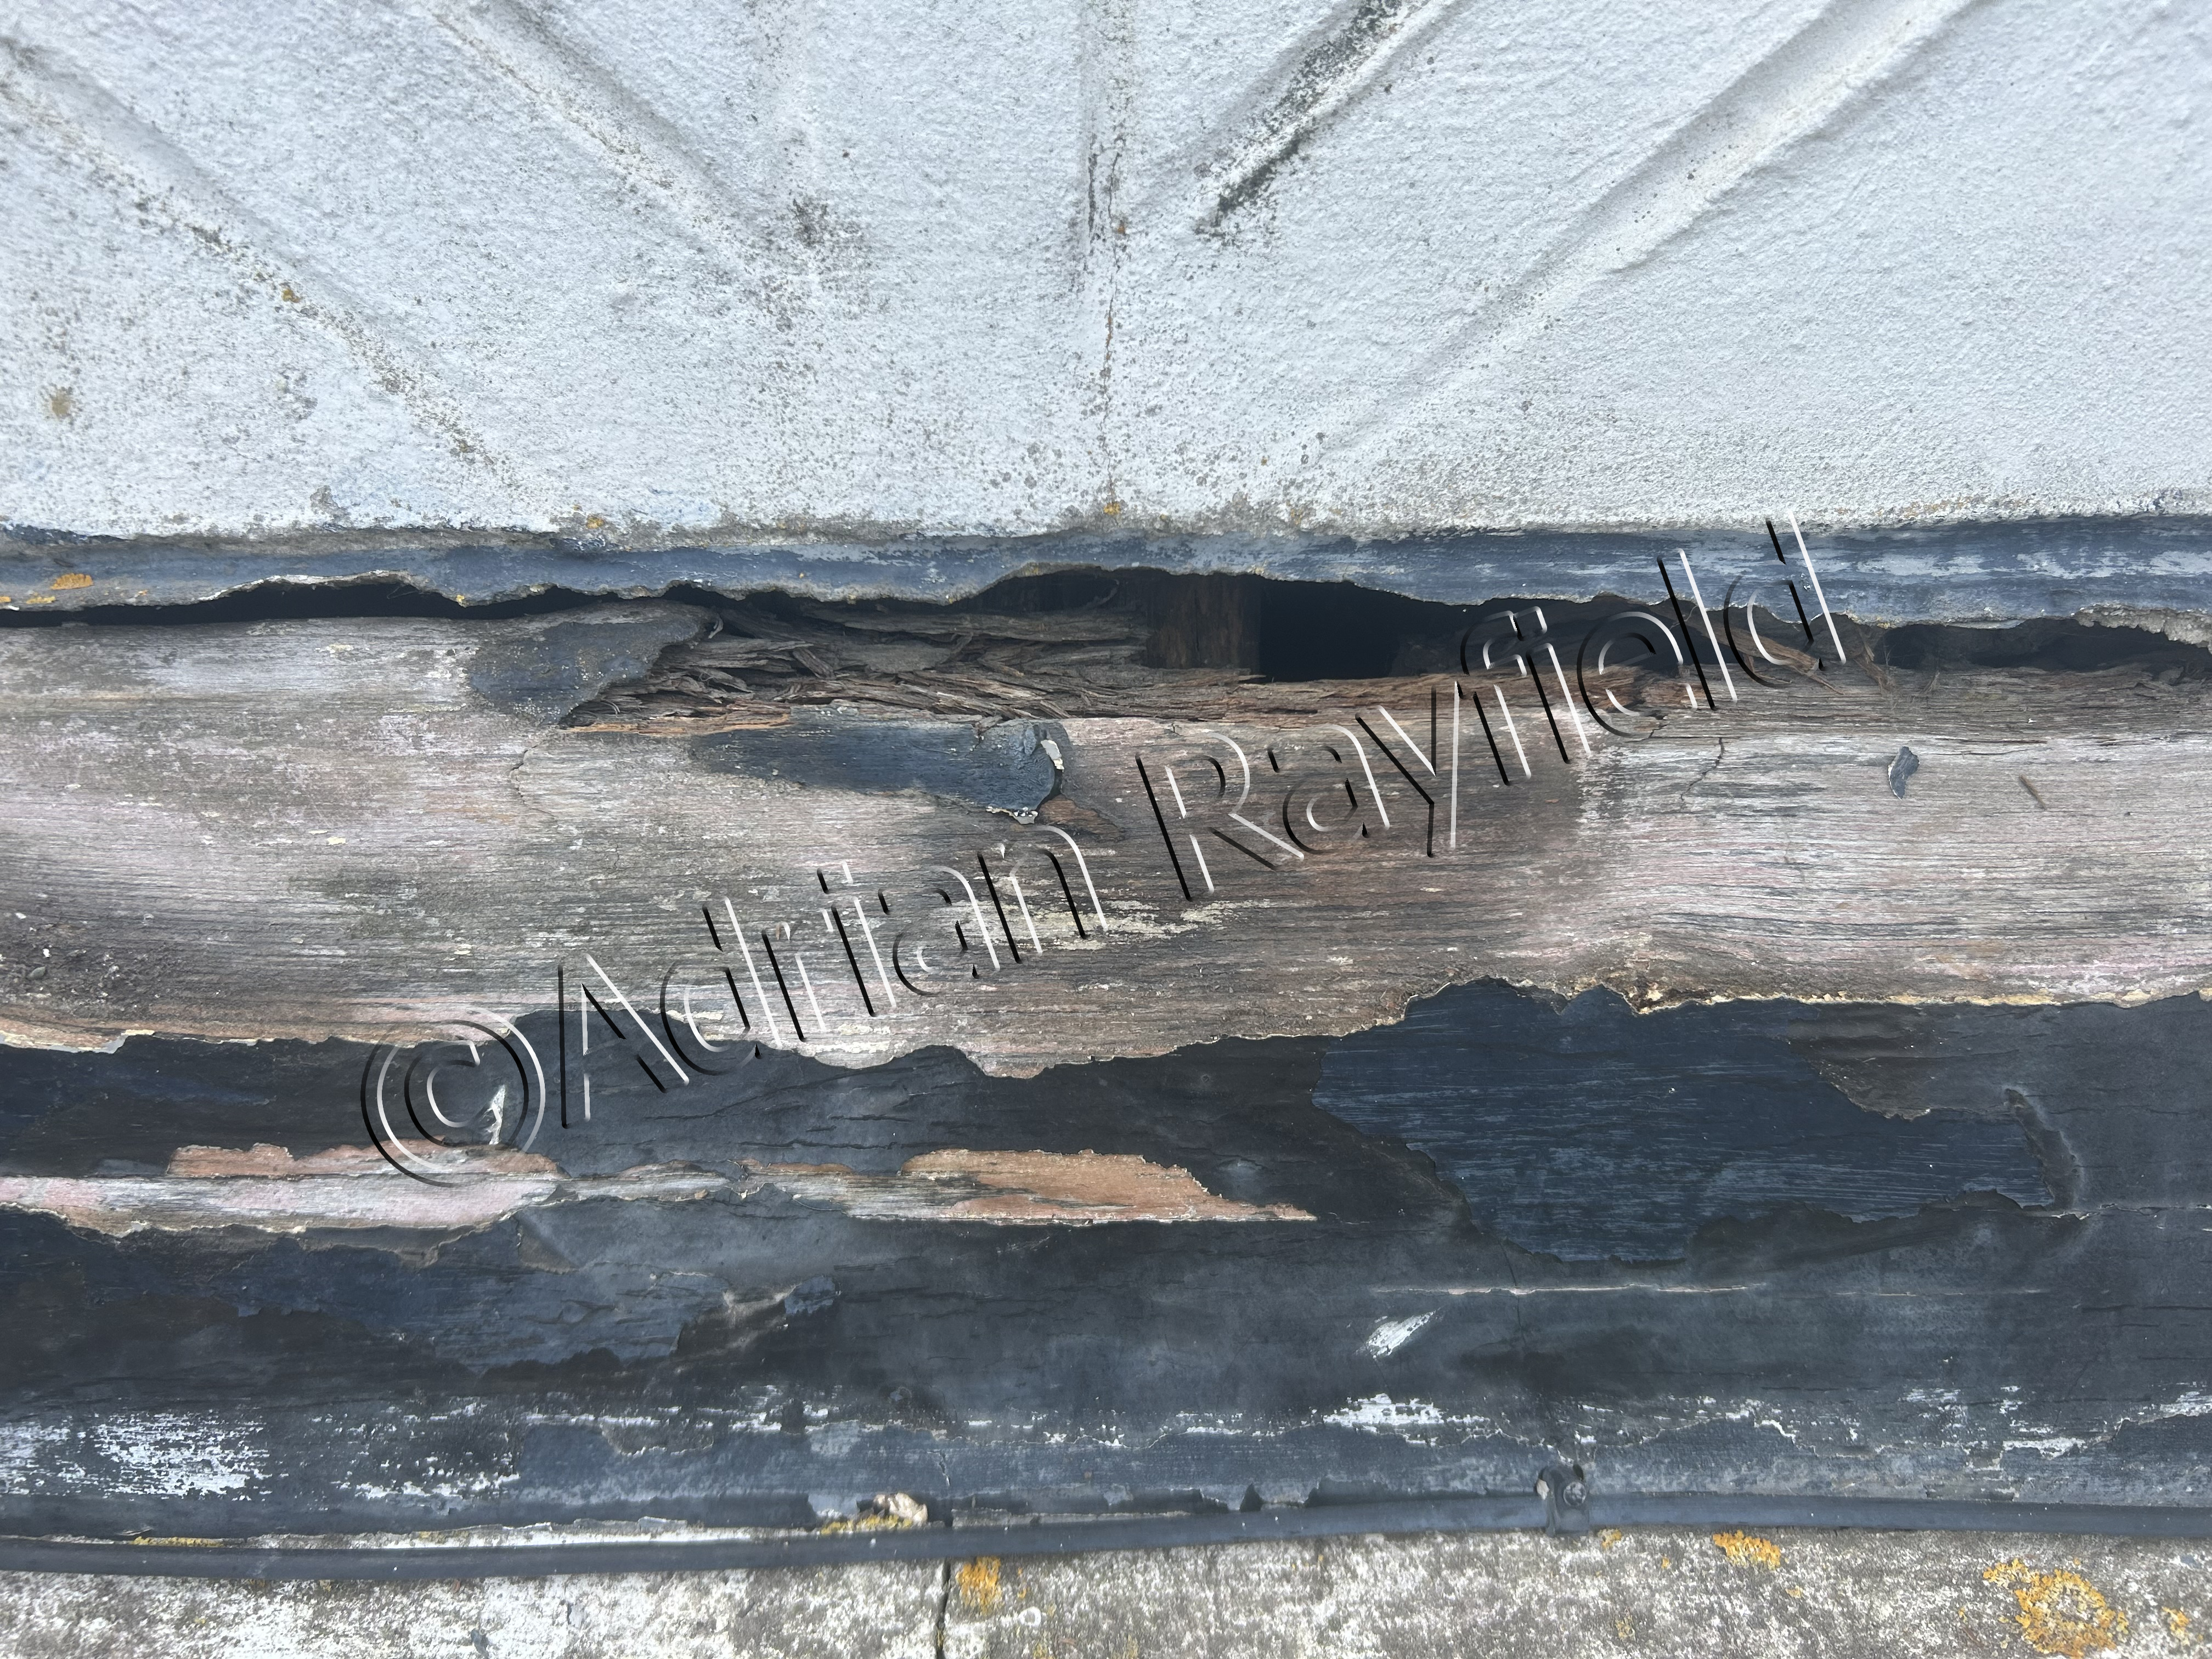
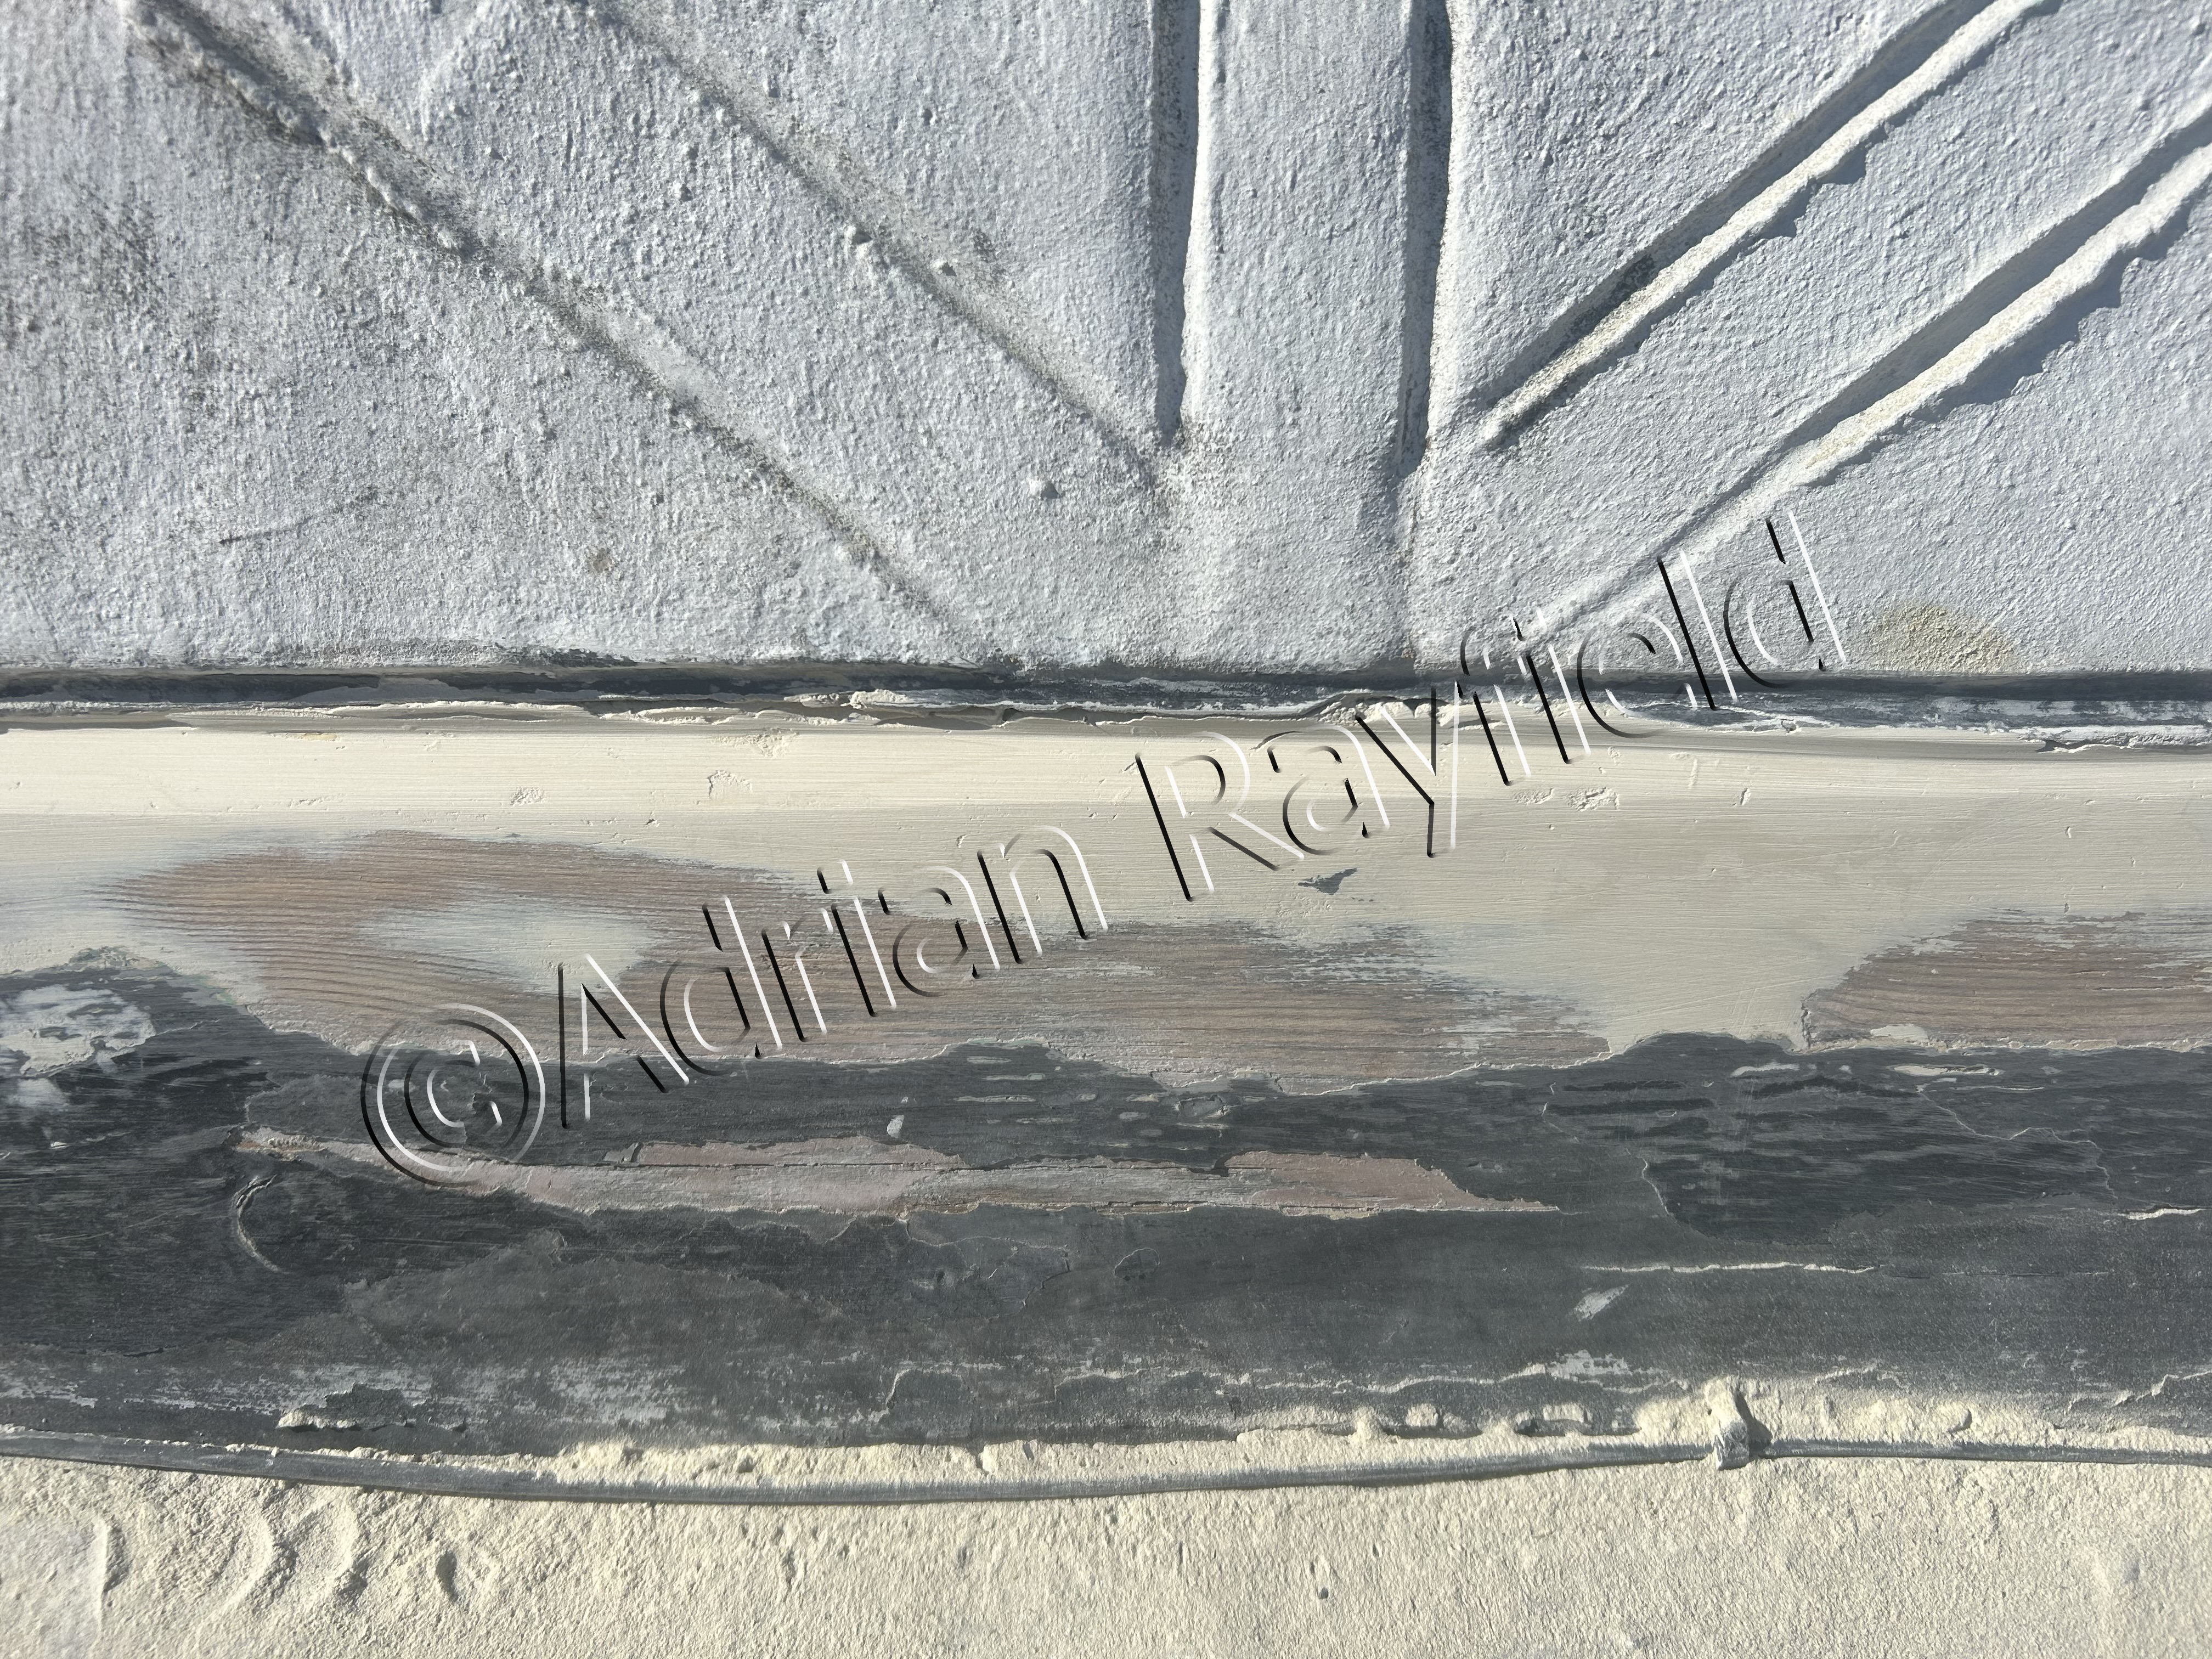
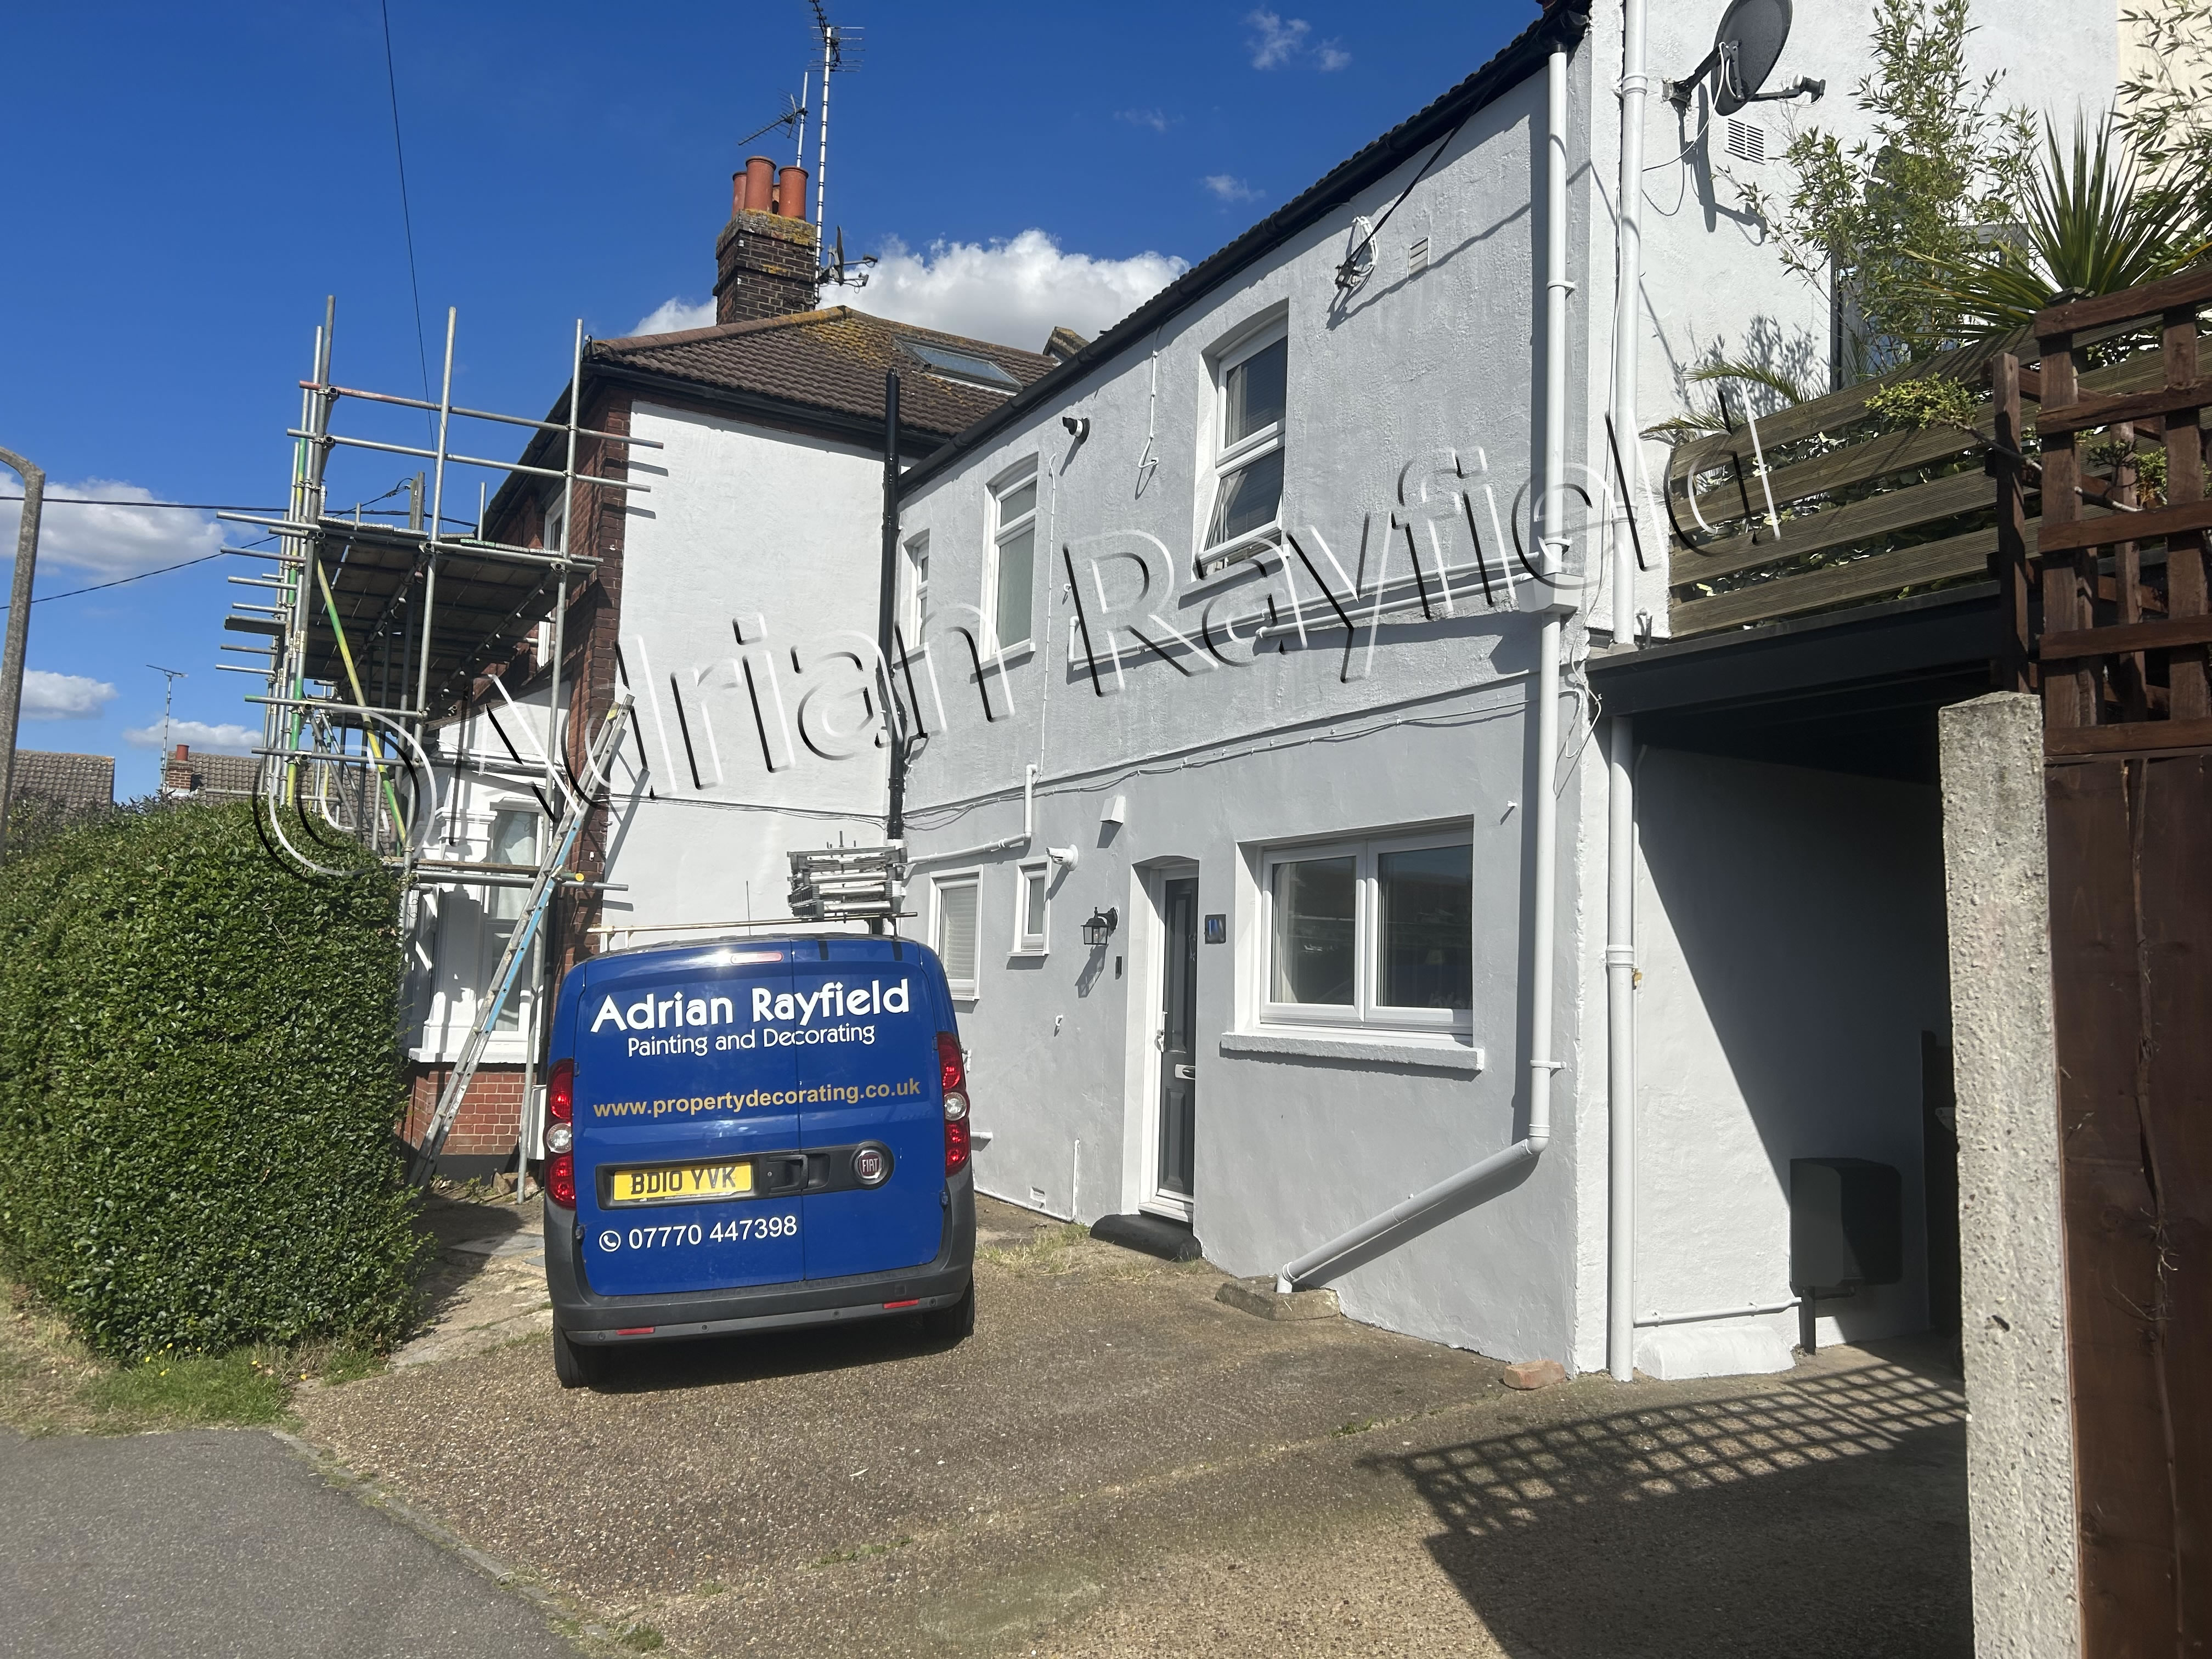
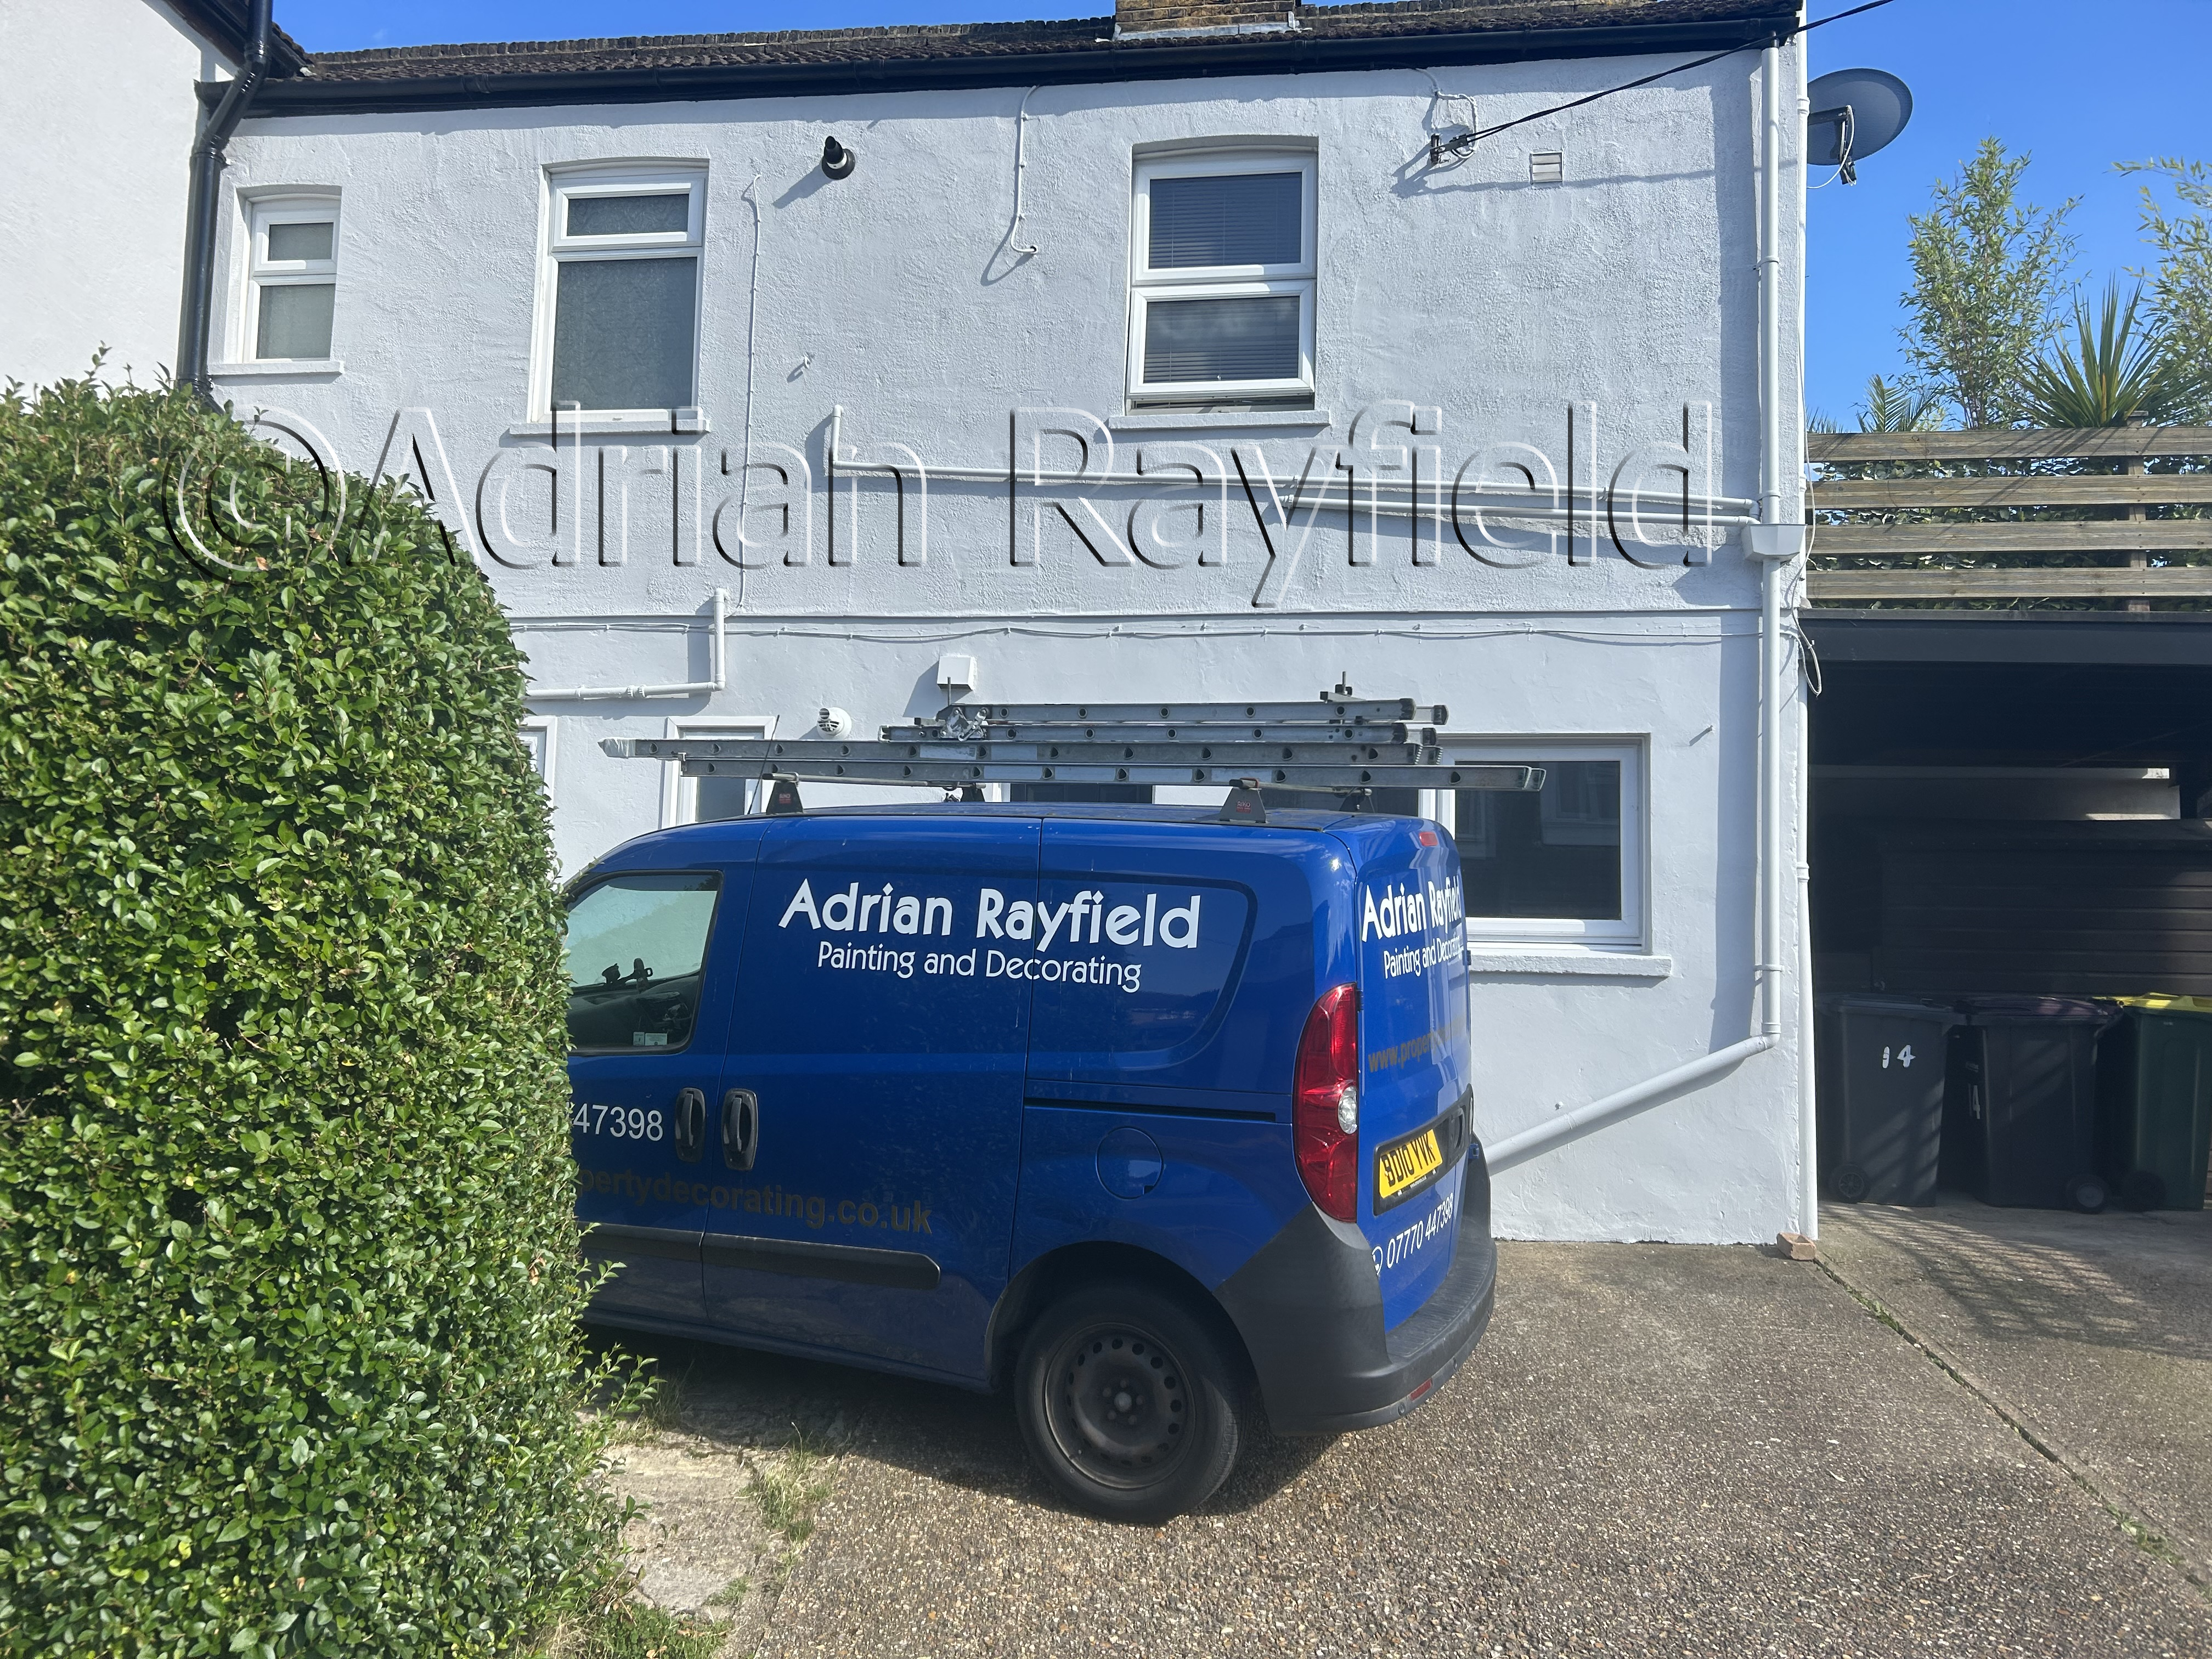
Thankfully the British summer was on my side for a few days allowing me to paint this exterior. It definitely needed a bit of TLC as the external of this property hadn’t been painted for some years. And as such had deteriorated to the point that certain areas of the woodwork had sucome to rot.
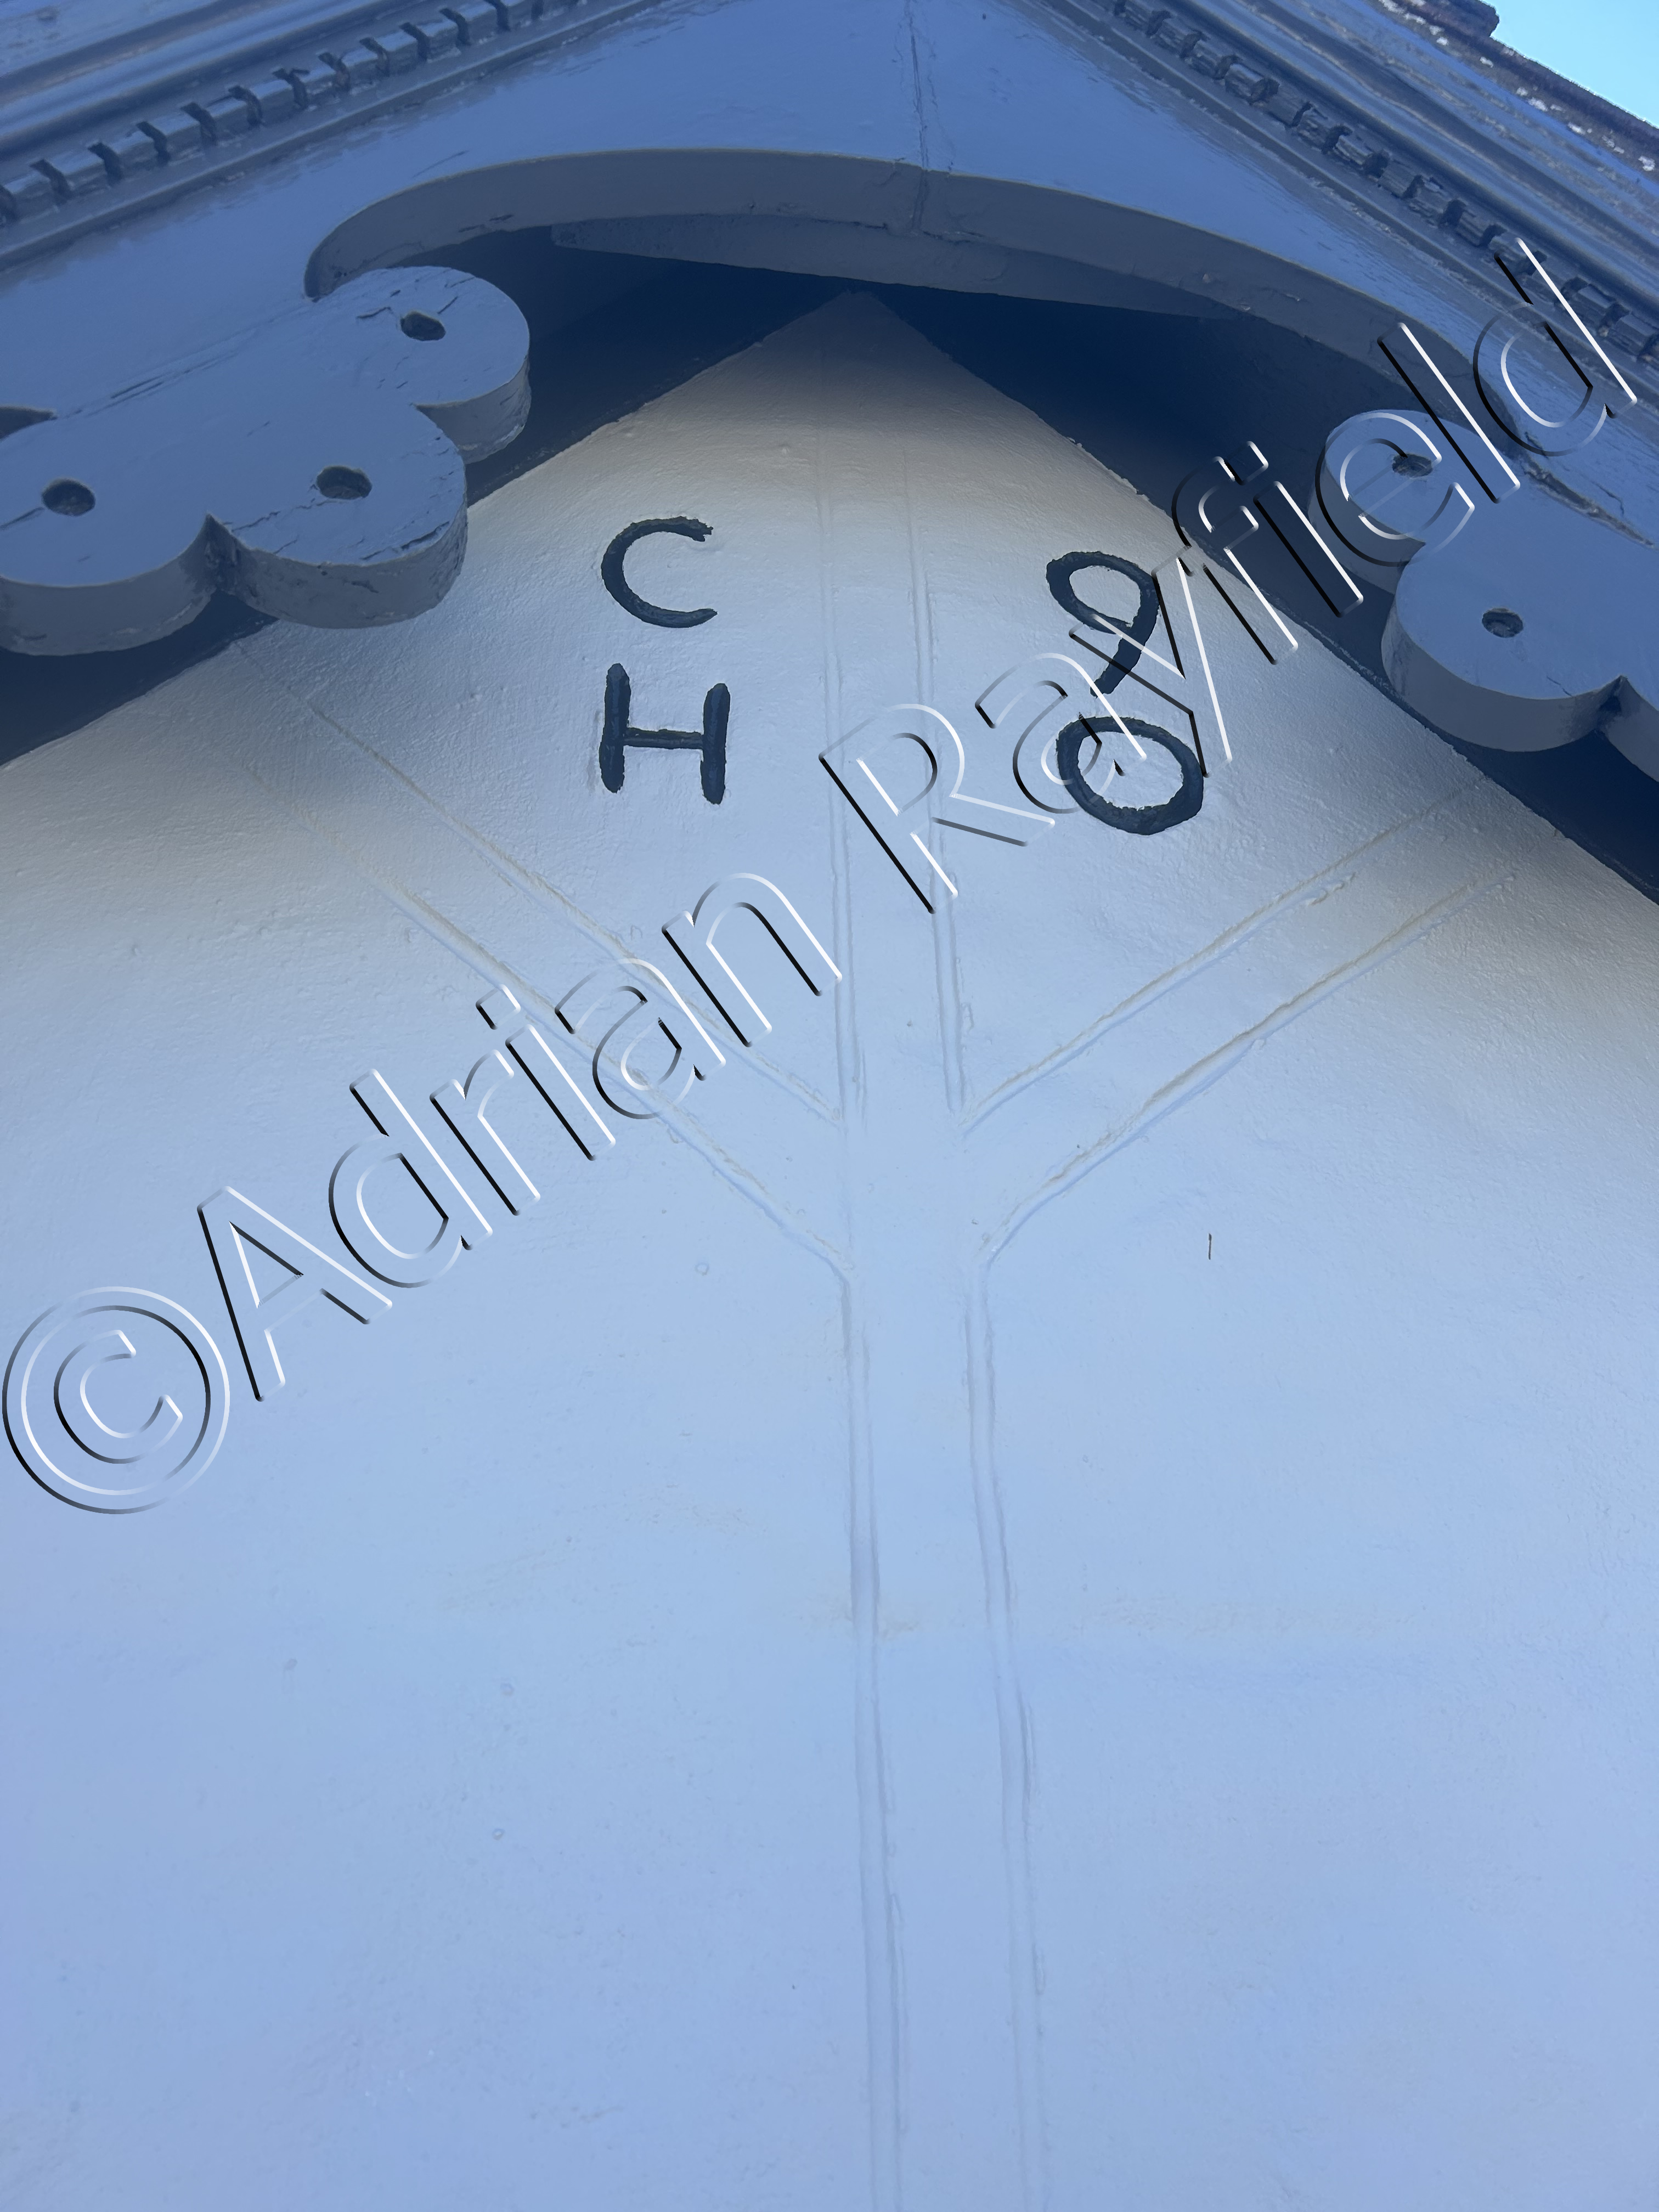
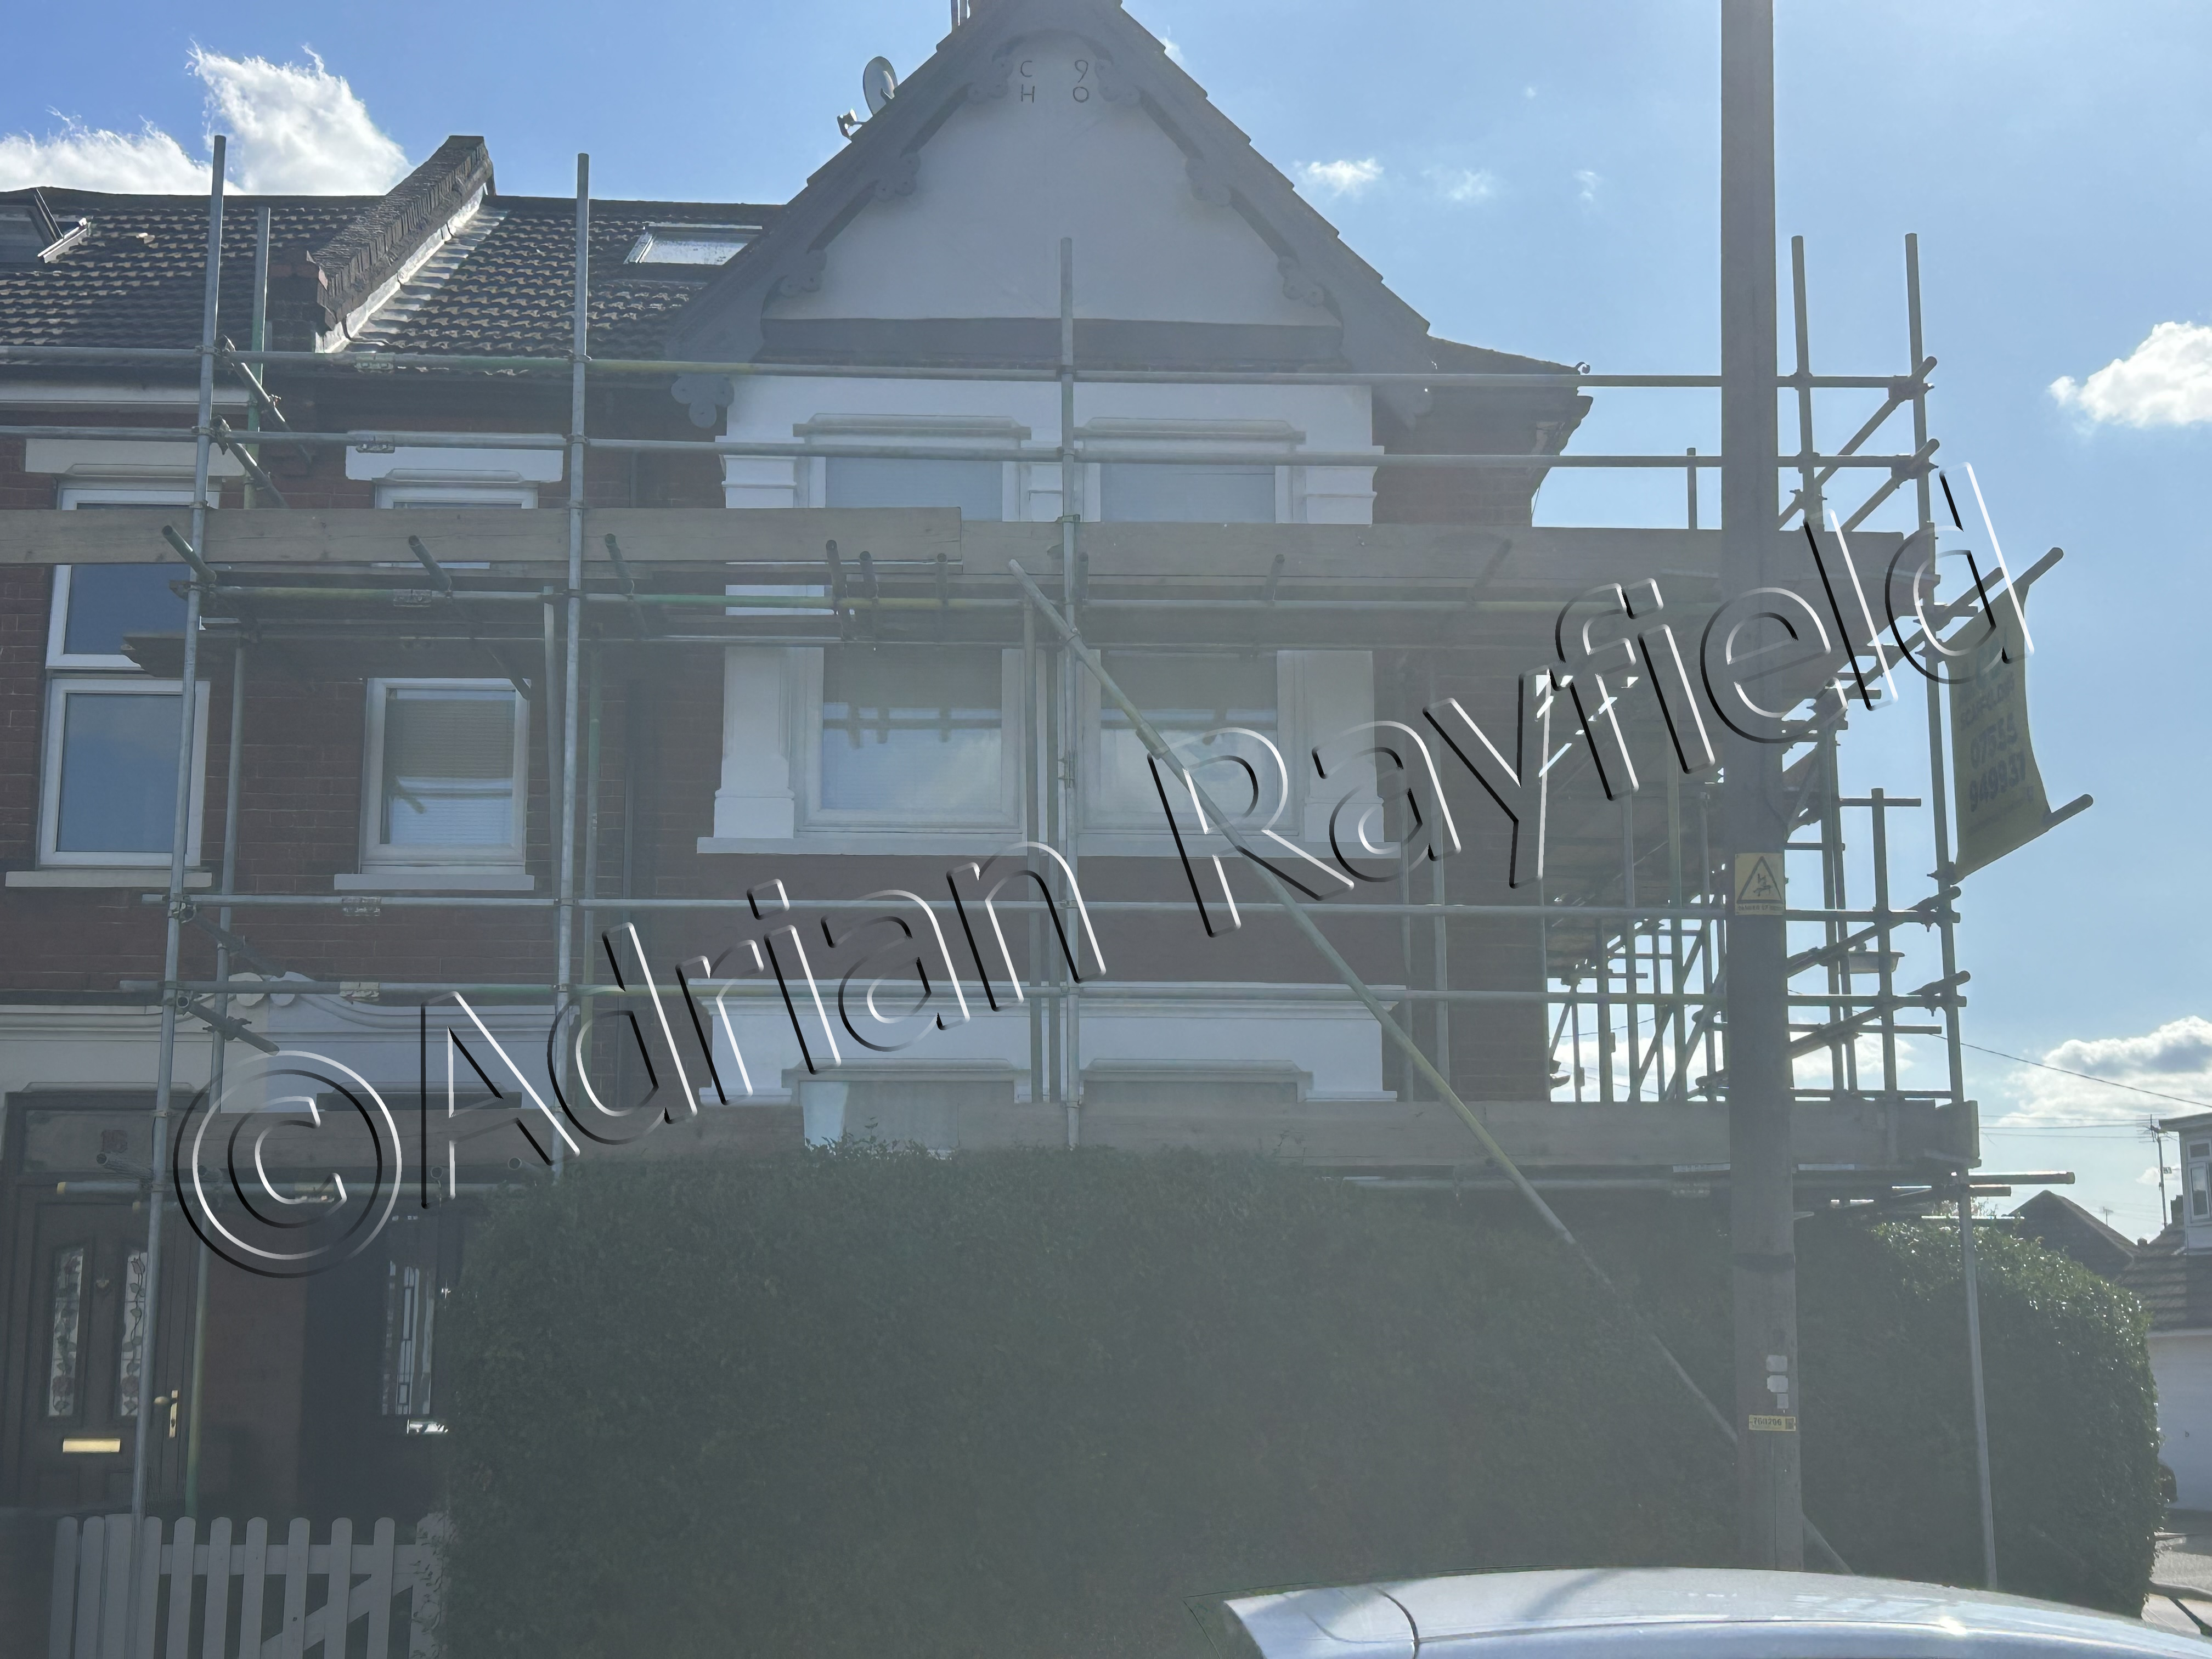
The property needed scaffolding on the front and part of the side elevation’s due to the limited access for a ladder and for the height of the apex section on the front elevation. This was sourced by the client and erected before work began.
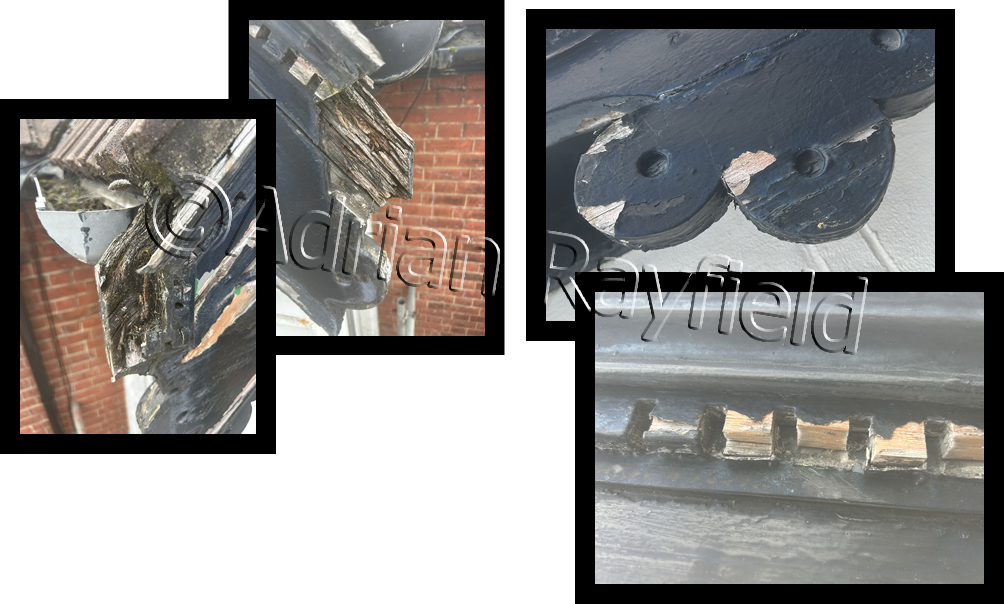
Repairs
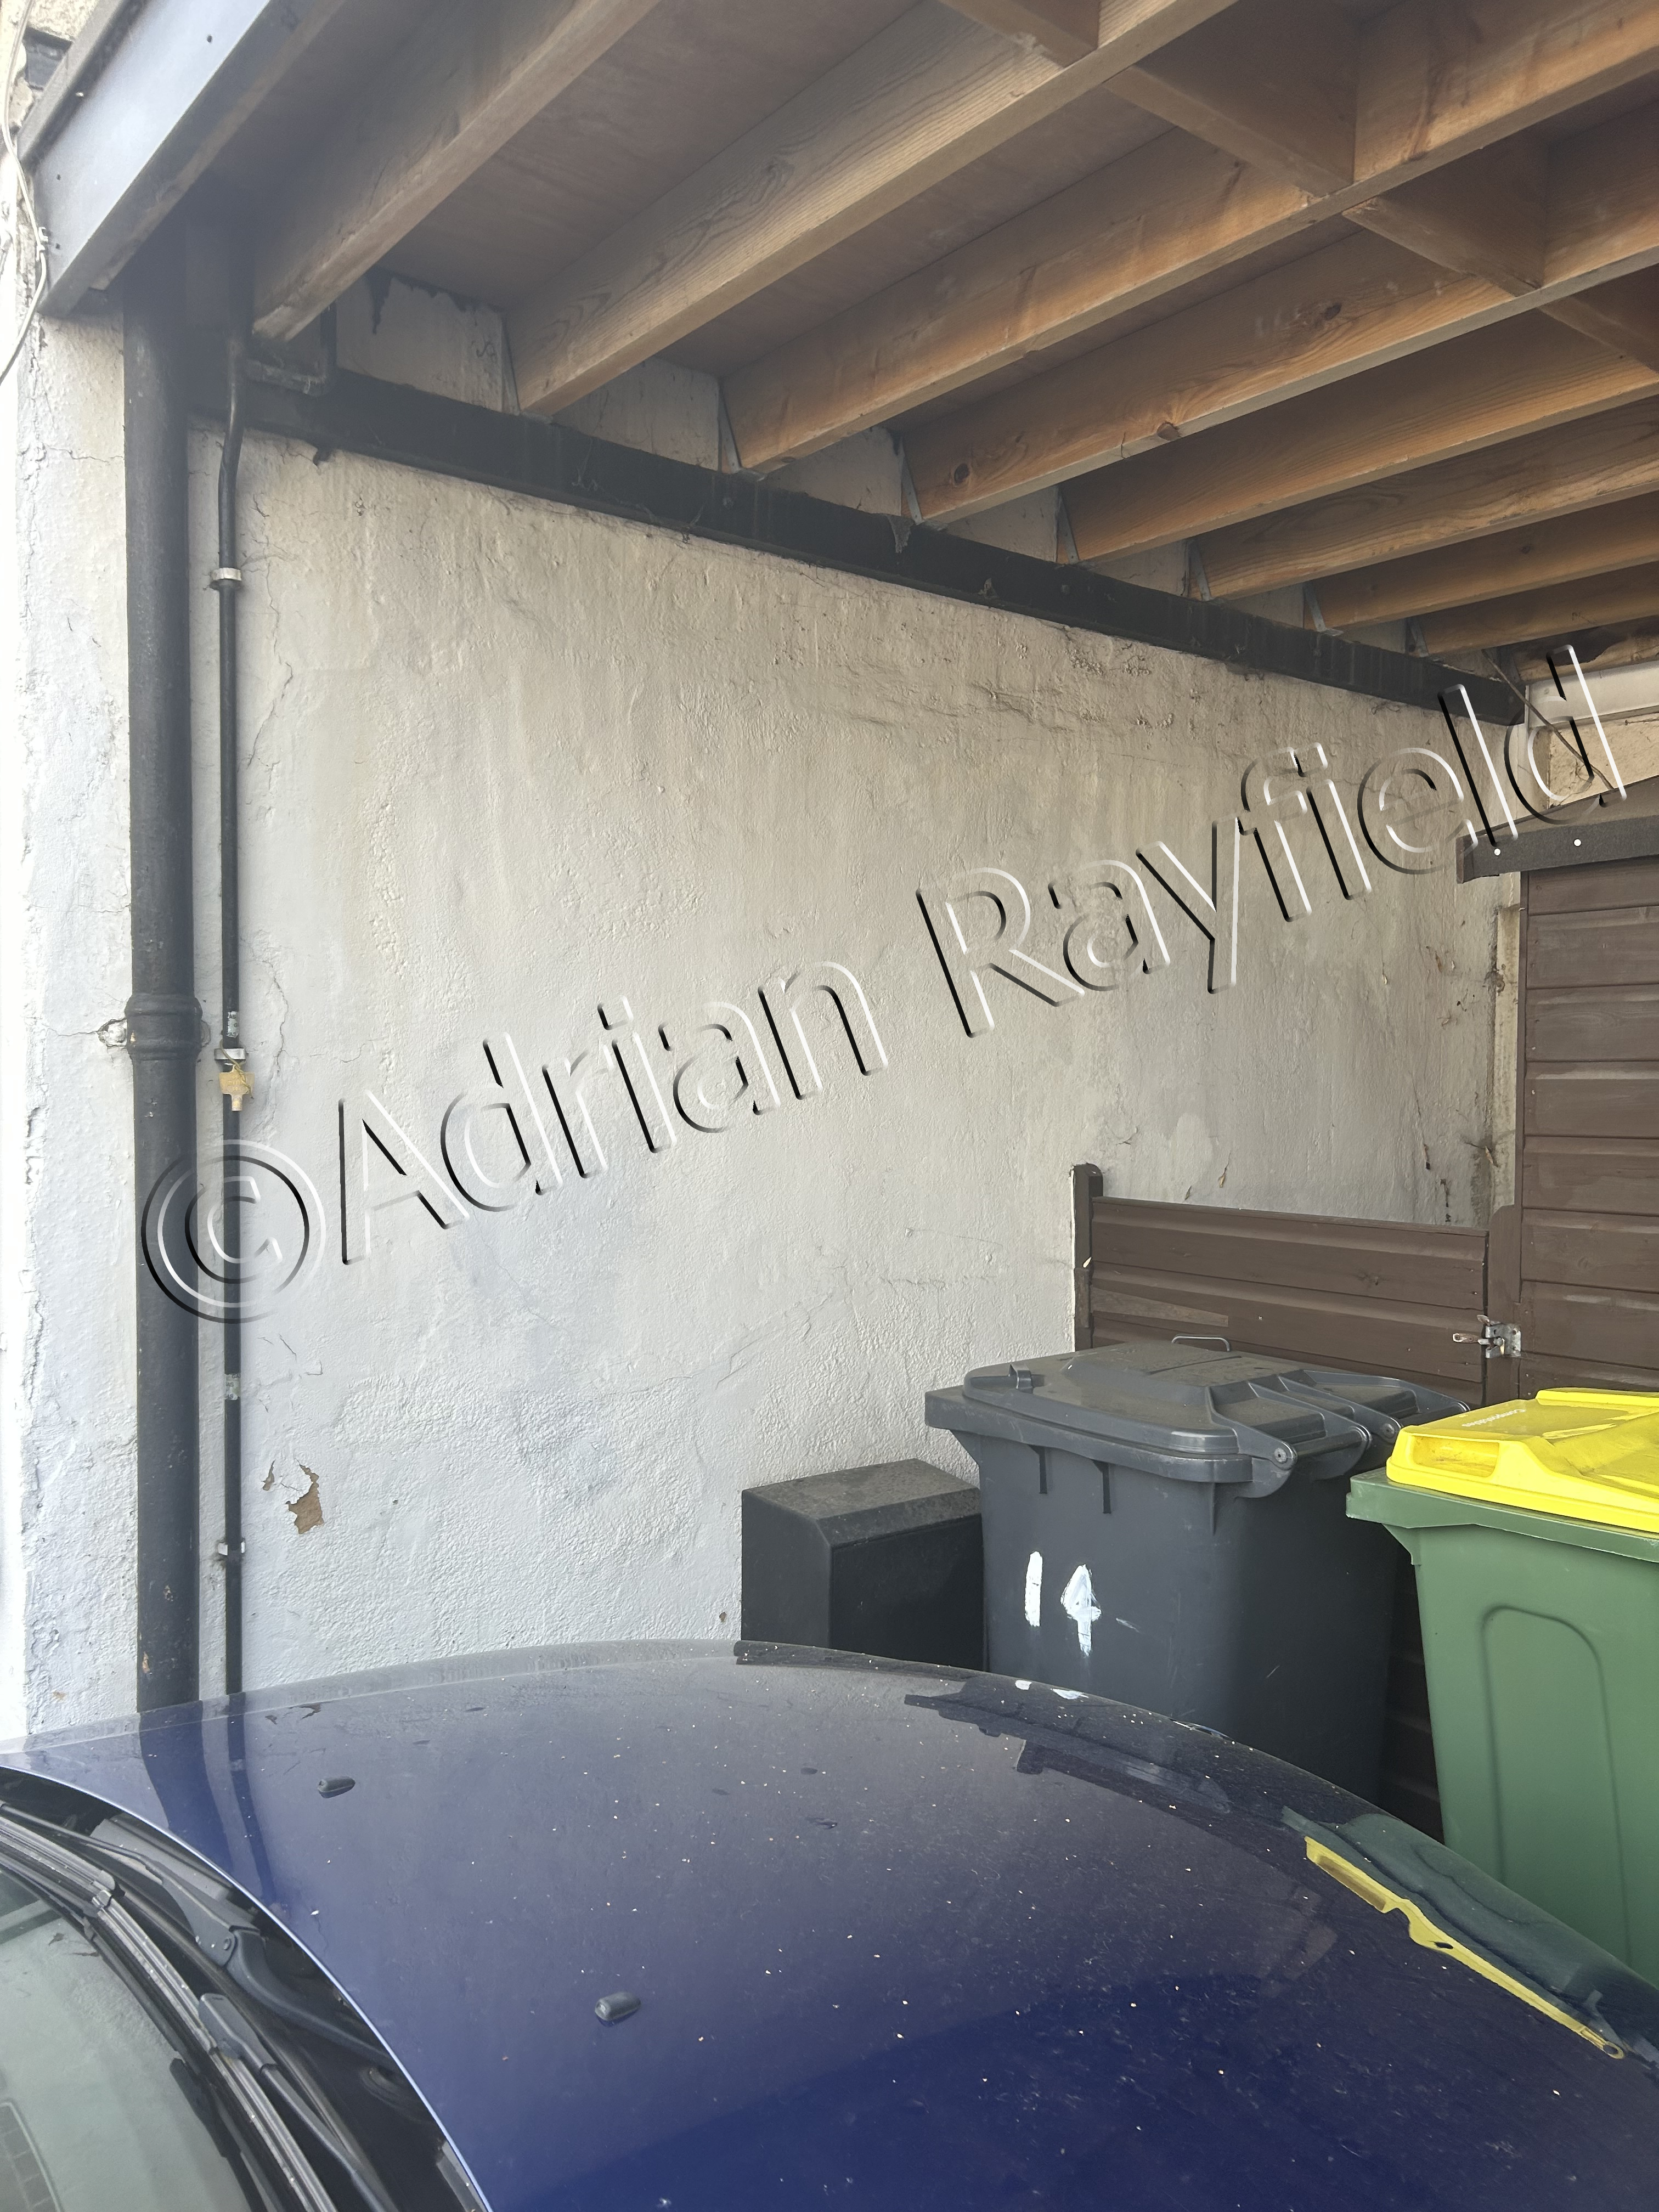
After some repairs were carried out to the masonry and woodwork, a fair amount of wood filler was used, the woodwork, masonry and carport were all painted to the clients specification and colour choices.
I always work closely with the clients and advising them on such things as if scaffolding is required and where, and also the colour choices and the best types of paints to use, this is the best way to have a good client relationship and at the end of the day everyone is happy and knows what to expect by the end of each day, and the completion of the job.
The results
Once the work was all complete, the client was very happy with the results, saying, “I am delighted with the work you have done”. You can see the before, during and after in the pictures below.
Tags: advice, apex, before and after, carport, Decorating, Dulux, Exterior, External, Filler, fillers, Masonry, masonry paint, Paint, Painting, Property, rot, rotten wood, scaffolding, wood filler, Woodwork
Posted in Home Improvements, News | No Comments »
Loft conversion project
Posted by Adrian
August 4th, 2023
Loft conversion project
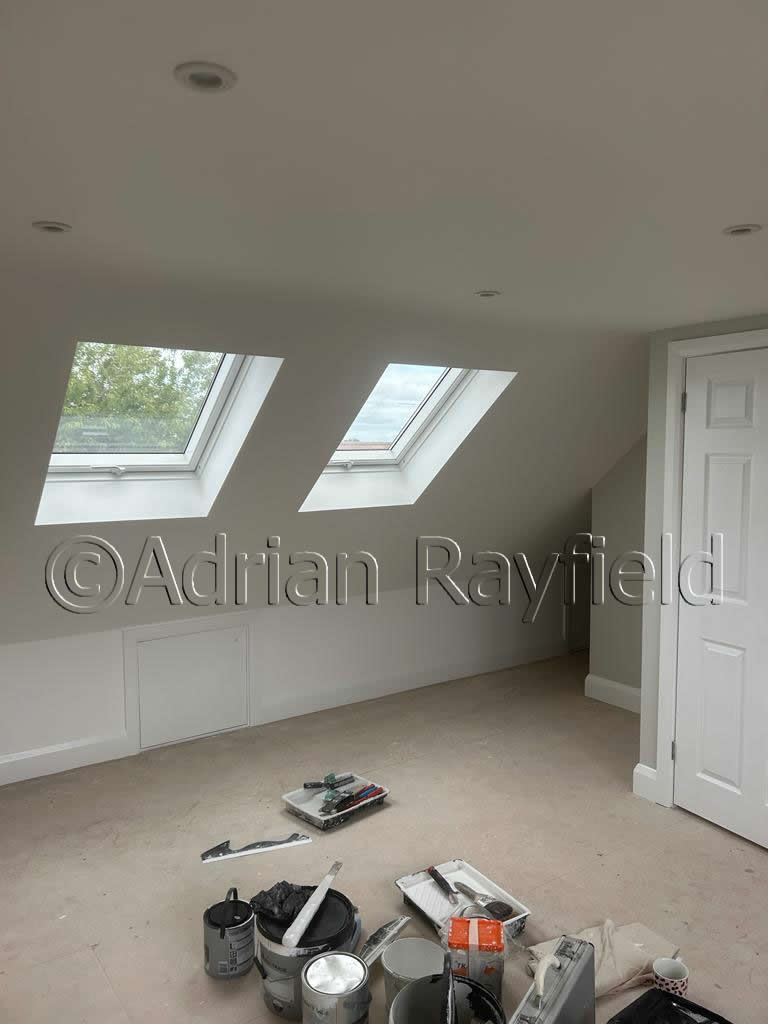
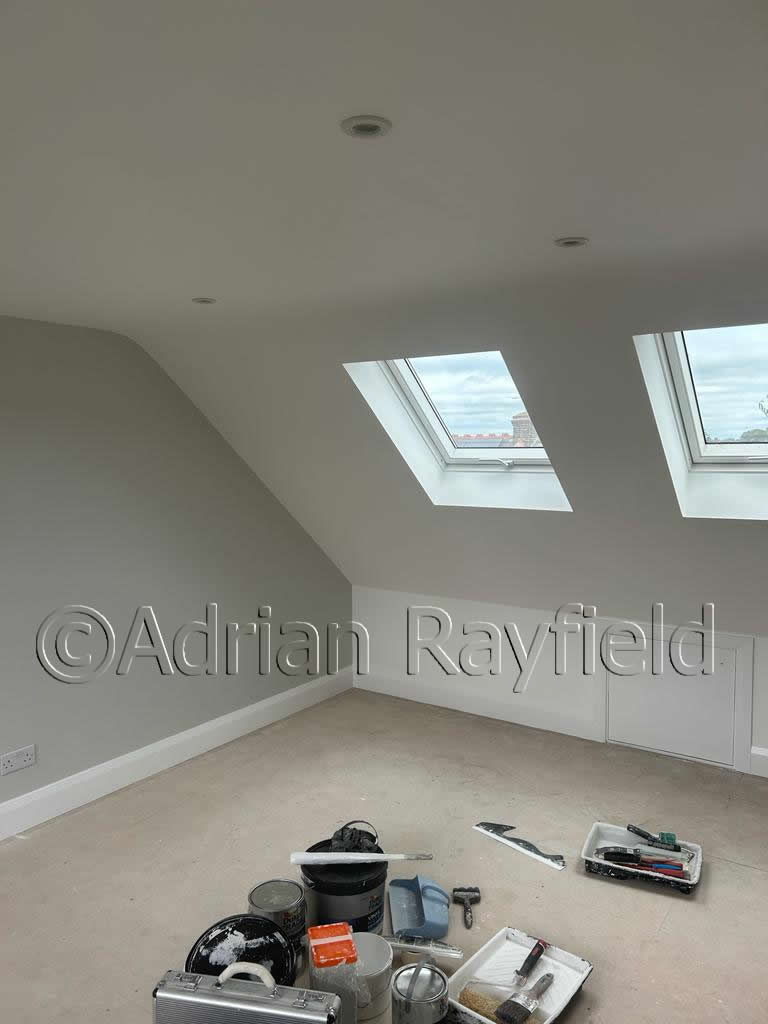
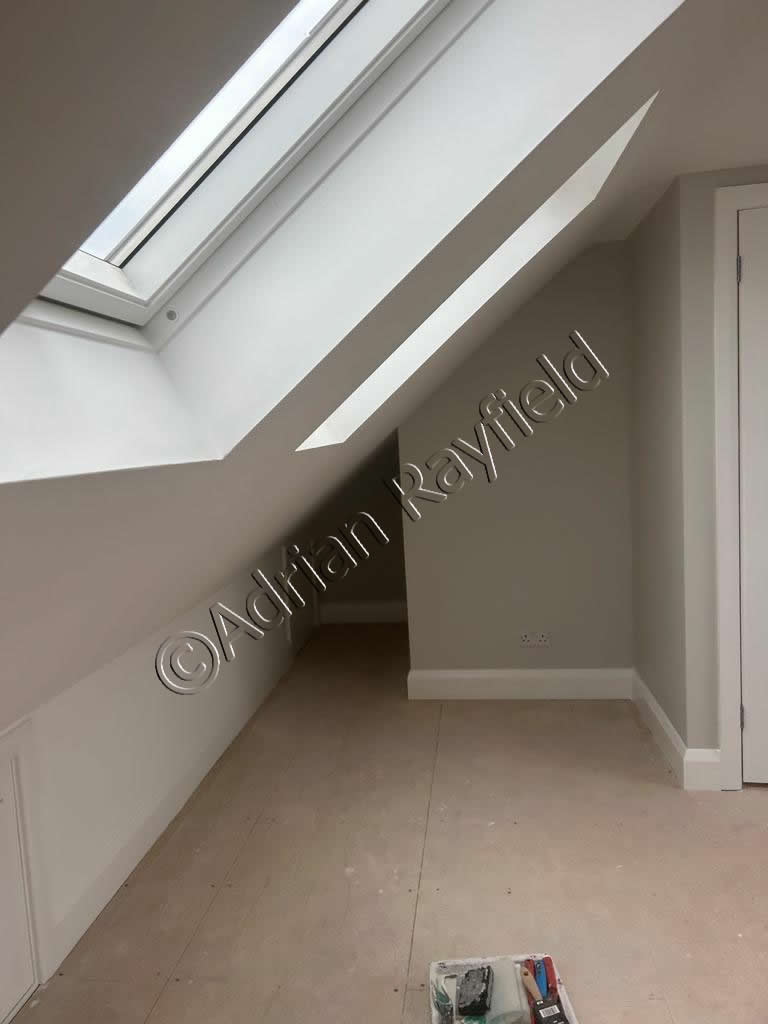
I am currently working on a loft conversion project, I have completed a bathroom, and a bedroom. Below are pictures and a video of the completed bedroom. The walls are painted in a Farrow and Ball colour but colour matched in Dulux Diamond Hard matt emulsion. The ceiling and dwarf wall are painted in Dulux Pure Brilliant White matt emulsion, with the woodwork finished in Dulux Pure Brilliant White Satinwood.
Completed loft conversion bedroom

And here is a 360 degree video
Tags: Bathroom, bedrrom, conversion, Decorating, diamond hard, Dulux, dulux diamond hard, dulux satinwood, Emulsion, farrow & ball, farrow and ball, loft, loft conversion, Paint, Painting, Satinwood, Video
Posted in Home Improvements, News, Video | No Comments »
Recently completed work
Posted by Adrian
July 21st, 2023
Recently completed work
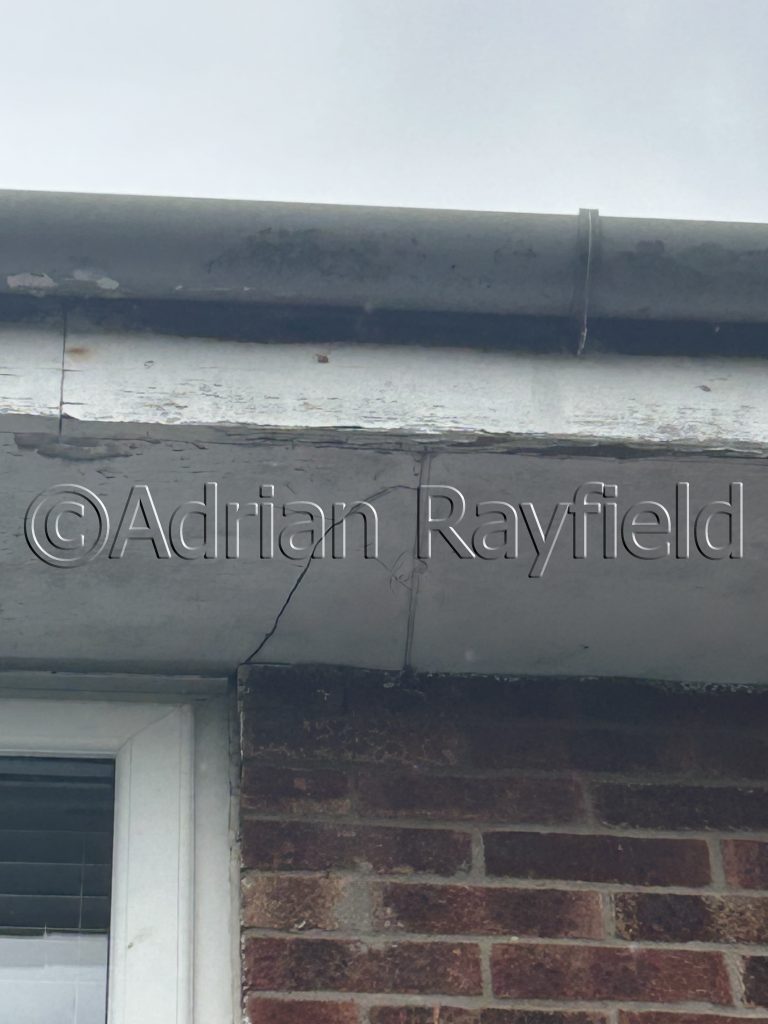
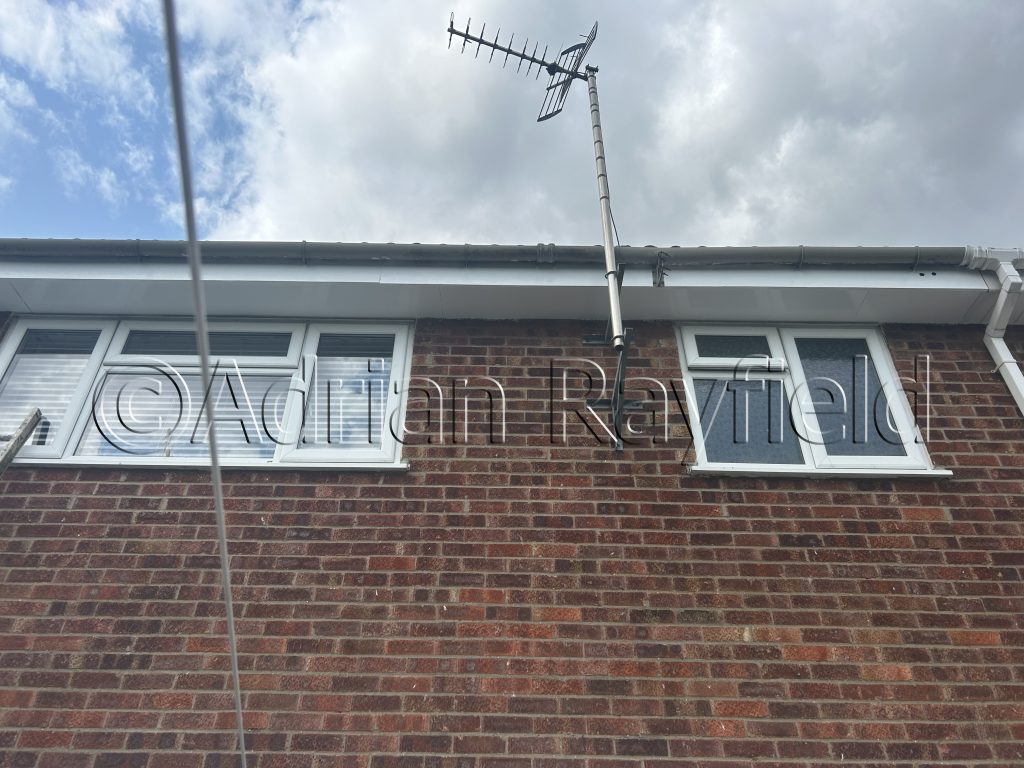
Below are some pictures of a recent exterior I completed.
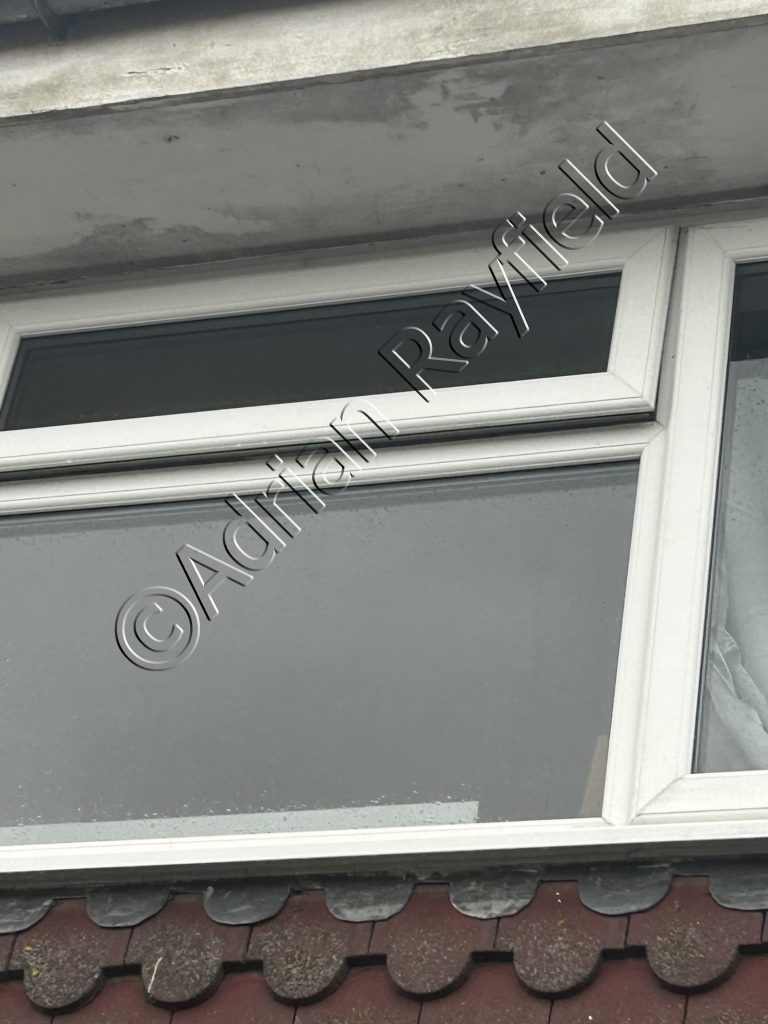
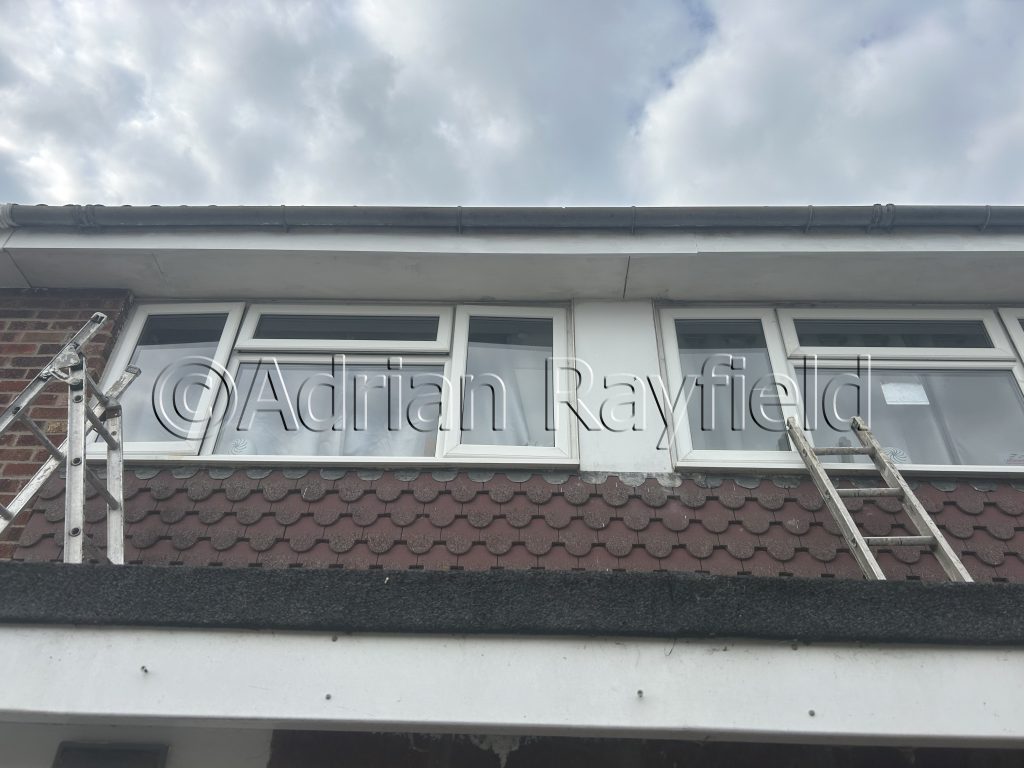
As you can see from the first pictures, the fascia and soffits needed some attention. The house was a mid-terrace house, so only had fascia’s and soffits at the front and rear of the property.
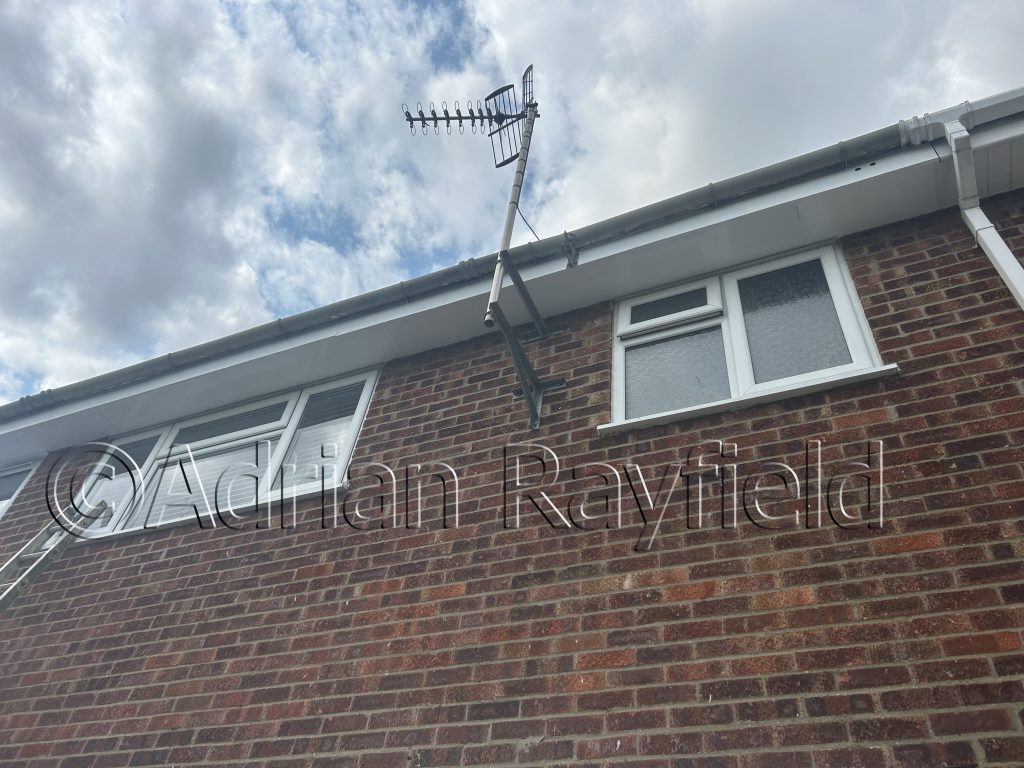
After giving them a good rub down and dust off, I primed the bare wood, followed by a coat of Dulux Weathershield undercoat, and then a topcoat of Dulux Weathershield white gloss. I think you would have to agree, a massive difference from the before and after pictures. The client was very happy, and their fascia boards and soffits will look good and be protected for the next few years.
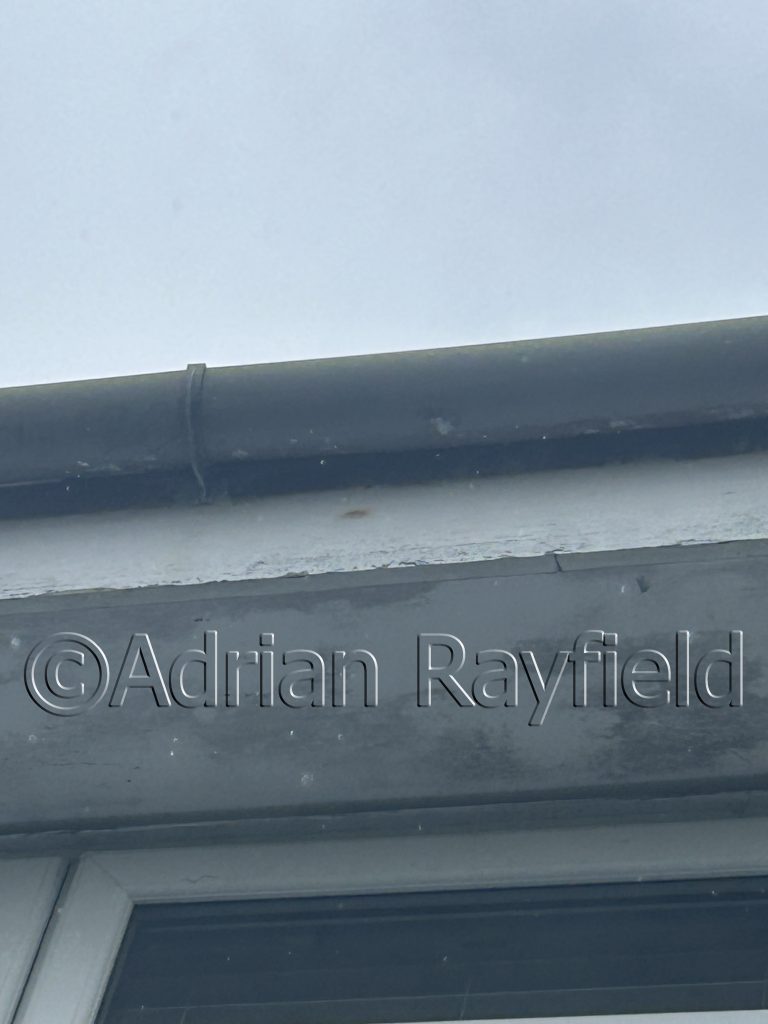
And this is the final result
Tags: Decorating, Dulux, dulux weathershield, Exterior, Exterior work, Fascia, Fascia Boards, Paint, Painting, Soffit, soffit boards, Weathershield
Posted in Home Improvements, News | No Comments »