Painting, decorating and home improvement tips blog
How to cut wallpaper
Posted by Adrian
February 28th, 2017
How to cut wallpaper
If you are hanging any type of wallpaper, making a good clean cut can make or break a job. The last thing you want to see are torn ragged edges, so the key to cutting wallpaper is to use sharp tools.
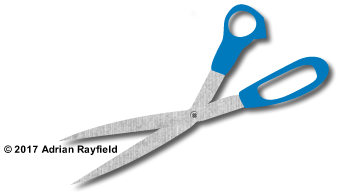
Scissors
Scissors can be used to trim paper, cut paper and remove excess paper as you hang, so a good paper hanging pair of scissors are always good to have to hand when wallpapering. To use scissors to trim the top and bottom of the paper, use a pencil to mark a line where you need to cut making sure the paper is well pushed in. Mark and then lift the paper slightly and trim carefully along the line with the scissors or papering shears.
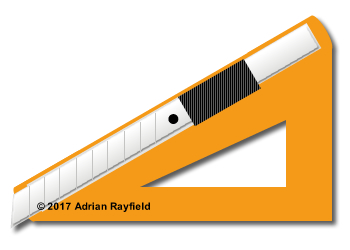
Knife

A knife is the most popular choice, and the best type to use are a craft knife or one that has snap off blades. This way you can simply snap an end off and you have a sharp cutting edge again, this should be done regularly to avoid the knife dragging and tearing the paper. The amount of cuts between each ‘snap’ of blade will depend on the surface you are cutting on to. Wood and plaster will blunt the blade quickly.
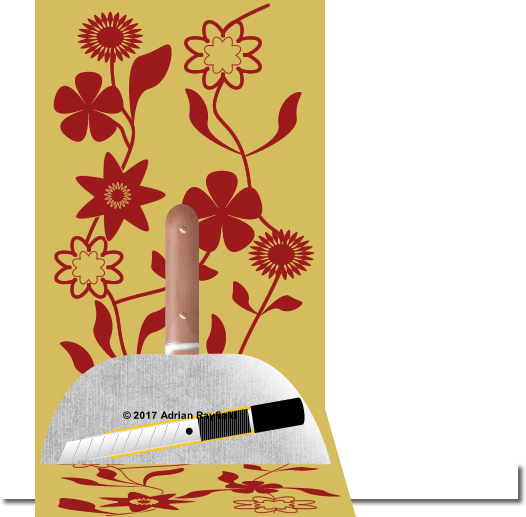
To trim the paper make sure the paper is pushed well into where the cut will be, then use something like a wide scraper to hold the paper and then cut along the edge with a sharp knife. Having a sharp knife will make life easier and you can trim on one cut.

Other tools
There are a number of other tools on the market such as rotary cutters, battery powered cutters, triangle shaped and wedge shaped cutter. All these tools work on the same basic principle, they use a sharp cutting blade to trim the paper. Some I have to say are more successful than others, and some last better than others but at the end of the day it is personal preference to which tool you prefer to use.
Wallpaper Calculator
If you need to work out how many rolls of wallpaper to buy, why not use our Wallpaper Calculator to do it, it even has a feet to metre convertor.
Tags: Cutting Wallpaper, Decorating, Knife, scissors, Scrapper, Tools, Trim, Wallpaper, Wallpaper Calculator, Wallpapering
Posted in Decorating Tips | No Comments »
Should you hire a professional decorator?
Posted by Adrian
May 28th, 2014
Should you hire a professional decorator?
Many people think they are not too bad at DIY and decorating and are willing to have a go themselves, which is fair enough. But should you hire a professional decorator to do the job for you?
There are a few things to consider before having a go yourself:
- Do you really know how to do the job
- Do you have all the necessary equipment to complete the job
- Do you have the time to do it yourself
- Do you have the money to fix mistakes
If the answer is no to any of these points above you should hire the services or a professional painter and decorator to decorate your home. Many people go charging into decorating without thinking things through, such as the order of how to do things. They then get stuck halfway through the job and either leave it for months or make a botch job of things.
Frankly life is hectic for everyone, you may have children to look after, work long hours, or have a second job. Do you really want the grief and hassle of tackling the decorating yourself? By hiring a professional decorator the whole process of making your home a beautiful place to be can be virtually stress free.
Professional decorator
Professional decorators decorate day in day out, so they will have the know how, the tools and the time to transform your home for you. Hiring a decorator can save you time and money, you can leave the decorator in the morning to go to work and come back and see the progress, and be amazed at how quick it is going, and how long it would of taken you to strip the wallpaper a bit each day!
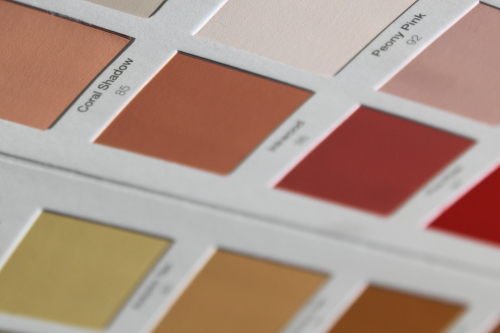
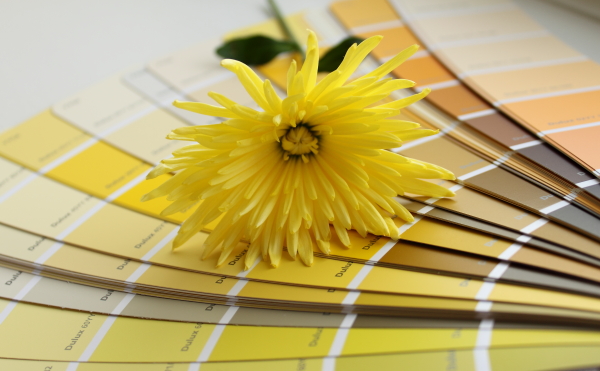
Your professional decorator can advise you on colours, give you ideas, source the required materials and save you time, money and the hassle. How long will it take you driving around trying to find the materials, get paint charts and shopping. So hiring a professional can actually save you money.
The finished decorated room
Imagine how lovely it would be to come into a room that has been professionally decorated for you and is far better than you could of ever imagined, now isn’t it worth hiring a professional decorator?
One of my favorite sayings is as follows:
If you think it’s expensive to hire a professional, wait till you hire an amateur – Red Adair
To hire a professional decorator in the Southend on Sea, Essex (UK) area contact Adrian Rayfield via his online form.
Tags: Colour, Decorating, Decorators, Materials, Painting, Professional, Southend, Tools
Posted in Decorating Tips | 2 Comments »
How to wallpaper
Posted by Adrian
November 30th, 2012
How to wallpaper
When it comes to wallpapering you must prepare the walls properly first otherwise the paper will not adhere well to the wall, cracks, missing plaster, rawl plugs and filler will show through. Getting the preparation right is very important and around 90% of the job. Once you have removed any old paper, filled and sanded down the walls and sealed any new plasterwork, you are ready to begin.
Choosing your wallpaper
Before you buy your wallpaper you will need to measure the walls of the room, or just one wall if you are just doing a feature wall. We have a wallpaper calculator that is quick and easy to use to work out how many rolls of wallpaper you need.
Tools for wallpapering
You will need some tools to wallpaper well and to make you life easier, the following tools are what you will need.
- A paste table
- A clean bucket
- Wallpaper paste
- Rolls of wallpaper
- Paste brush or a roller
- Rolls of wallpaper
- Wallpapering brush
- Pasting brush or a roller and tray for paste
- Clean water
- Sponge or clean cloth
- Tape measure
- Pencil
- Step ladder
- A knife or sharp scissors
- A plumb line
Getting ready to hang the first sheet
Once you have gathered everything together and prepared the walls for wallpapering check your rolls of wallpaper, make sure none are damaged, check to make sure the batch numbers are the same and the shade is the same on all rolls. If they are not the same you can either change them for the same batch or shade codes or work out how many you have of each batch and use these on the same wall, you can get away with different batch numbers or shades codes by using them on an area that doesn’t show or just on a different wall as the light falls differently around the room. Ideally all number should match.
Next mix your paste to the manufactures recommendations, unless your using ready mixed paste of course. Set up your pasting table and take the first roll of wallpaper, unwrap the roll and unroll a length onto the table, familiarise yourself with the pattern and look for the repeat if there is one.
Now take the plumb like, measure out from a corner 2cm less than the width of the sheet of paper, mark the wall then using the plumb line mark a vertical line down the wall.
Hanging the first sheet of wallpaper
Measure from the ceiling to the top of the skirting boards, cut a length of paper off the roll allowing about 5cm at each end to trim the top and bottom of the sheet. Lay the sheet of paper of paper face down on the clean paste table, apply your mixed wallpaper paste onto the back of the sheet from the centre to the edges, make sure the edges are well covered. Concertina fold the sheet and then allow to soak in accordance with the manufactures instructions. Once the paper has soaked for long enough take the top of the sheet and align it with the plumb line you made earlier. Take your wallpapering brush and smooth out the paper and pushing out any air bubbles, start from the centre and work out to the edges.

Once the sheet is smoothed out you will need to trim the top and bottom of the paper with either a sharp knife of a pair of scissors. Now wipe down the paper ensuring you remove all paste from the face of the paper. Wipe down the paste table surface and dry, now paste your next sheet of paper.
Now cut and paste the second sheet of paper and butt the edge up to the first sheet, work the edge down, smooth out as before and wipe the surface, continue doing this until you get to a corner.
Wallpapering around an internal corner
When you come toward a corner, measure from the edge of the last sheet hung to the corner, do this in several places. Take the widest measurement and add 2cm to it then cut a sheet of paper that width. Paste the sheet, once soaked hang as described before but this time wrap around the extra paper around the corner.
Now you can take the other half of the sheet you just cut, or a new sheet (depending on pattern) and measure it’s width. Mark with a plumb line that width from the corner a vertical line. Paste this sheet and then align it with the plumb line and work into the corner allowing it to overlap the paper you have turned the corner with, use a border or vinyl to vinyl adhesive to stick down the edge in the corner.
Wallpapering around a door or window
I recently wrote a post about wallpapering around a door so won’t go to it in detail here, but what I will say is always make sure that you have a straight plumb line as you come out of papering around the door or window as if it isn’t straight you will have problems with the next run of paper!
Papering around switches or sockets
The easiest way is to take switches and sockets off, but DO NOT DO THIS unless you know what you are doing, you should never mess around with electricity! So to leave them on and paper around them, switch off the power, paper over the switch or socket, you an see where the edges of the face plate are, from the centre cut to the corners of the face plate. Now carefully trim the flaps you’ve just made but leaving enough to tuck behind the face plate. Now unscrew the face plate just enough to get the paper behind, carefully ease the plate through the hole in the paper, you will find the plate moves a little so it’s easy to tuck the paper behind, just be careful not to tear the paper.
Screw the face plate back on, wipe the paste of the switch with a damp not wet cloth or sponge, then dry. Now turn the power back on.
You should now have beautiful wallpapered room.
If you found this post of use, please share it via the buttons below, also feel free to comment on this or any other post.
Tags: Cracks, Filler, Paste, Rawl plugs, Tools, Wallpaper, Wallpaper stripping, Wallpapering
Posted in Decorating Tips | 2 Comments »