Painting, decorating and home improvement tips blog
How to clean paint brushes
Posted by Adrian
September 2nd, 2015

How to clean paint brushes
Once you have used your paint brush you have three options, option one is to simply throw it away. This is costly and if you have spent out on a good brush it is a serious waste of money! Option two, store the brush in a brush storage container or similar. This is good if you will be using the same brush with the same colour again in the future. Option three, clean your paint brush.
Depending if you are a professional painter and decorator or a DIYer and how much you have spent on your brushes will determine what you will do with your brushes. For professional painters we like to look after our brushes as we tend to buy good quality brushes that aren’t cheap so keeping them for as long as possible requires they are looked after and cleaned out.
Cleaning your brushes
If you are using water based paints then all you need is some water and soap and maybe a brush comb. Once you have finished with it and ready to clean the brush, get as much out of the brush as you can by wiping it on the edge of the paint can. Then run the brush under warm water, have the bristles facing down so the paint runs out of the bristles rather than up them and into the ferrule where it can dry and go hard.
Once the worst is washed out you can use a little soap to help wash any colour out of the bristles. Once you have done this you can use a brush comb to remove any stubborn and dried paint for the bristles, then give it a final rinse and shake out the water.
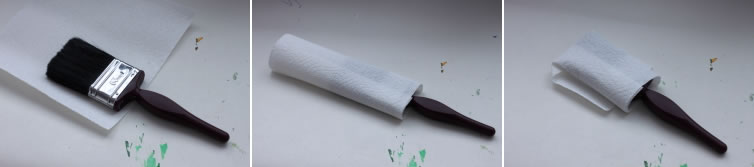
You should now store the brush either in it’s original packaging or wrapped in kitchen towel to help keep all the bristles straight, ready for it’s next use.
If you are using oil based paints, you should start the same way and remove as much paint as possible, then use a brush cleaner or white spirit to wash the brush out in, you may have to use clean brush cleaner to make sure all the paint and colour is removed. You can then treat the brush as you would one you have used in water based paints, so wash in warm soapy water, use a brush comb if required and store in its original packaging or paper towel.
Storing brushes
If you are going to use your brush again in the not too distant future you can buy a brush storage container, there are several on the market. By using these storage containeryou can quickly and easily come back to your brushes, they will still be soft, in the colour you want and ready to go. So they are well worth the investment if you use your brushes a lot or are a painter and decorator.
Tags: brush, Brush Cleaning, Brushes, Decorating, Oil-based paint, Painting, water-based paints
Posted in Decorating Tips | 2 Comments »
Review of Purdy products
Posted by Adrian
August 3rd, 2015
Review of Purdy products
I was recently contacted by a PR company representing Purdy Professional Painting Tools, they asked if I would like to try some of Purdy’s products and give a review. I thought this would be a good opportunity for both myself and Purdy. For me, I get to try some of Purdy’s world famous products and for Purdy, they have a professional decorator giving an honest real life review. All of the products I reviewed were tried and tested on real life jobs.
Here is my review on the products tested.
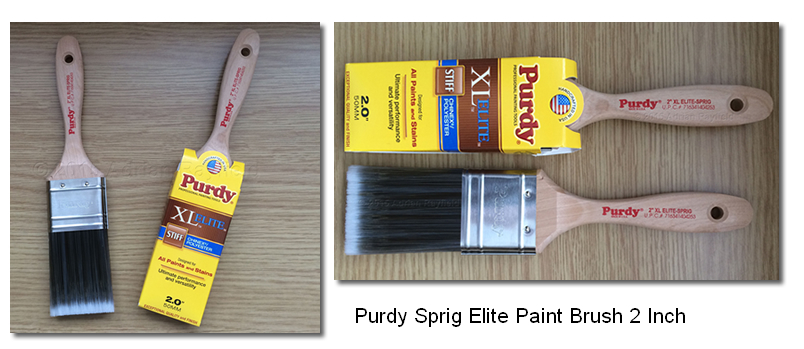
Purdy Sprig Elite Paint Brush 2 Inch
I have used this brush for Masonry paint, emulsion and primer/undercoat, all water based products. I found this brush to be a good size and the bristles are just the right stiffness. I haven’t tried this brush on a oil based paint but think it would give a good finish and ideal for laying off.
I also like the fact that all Purdy’s brushes are hand finished and have the person’s signature on a label on each brush.
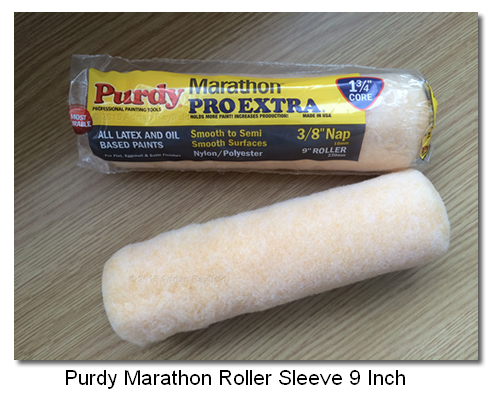
Purdy Marathon Roller Sleeve
I used this roller sleeve on a recent exterior job. The sleeve performed well and held a large amount of paint which was really good when doing a gable end wall, which meant less times up and down the ladder.
I also used the sleeve on a ceiling and was again pleased with the result it gave me, it left a good even finish.
The only thing I noticed was it seemed slightly longer to wash this roller out than other sleeves I had used, but maybe I hadn’t scrapped enough paint out before washing?
The marathon can be used for both water and oil based paints.
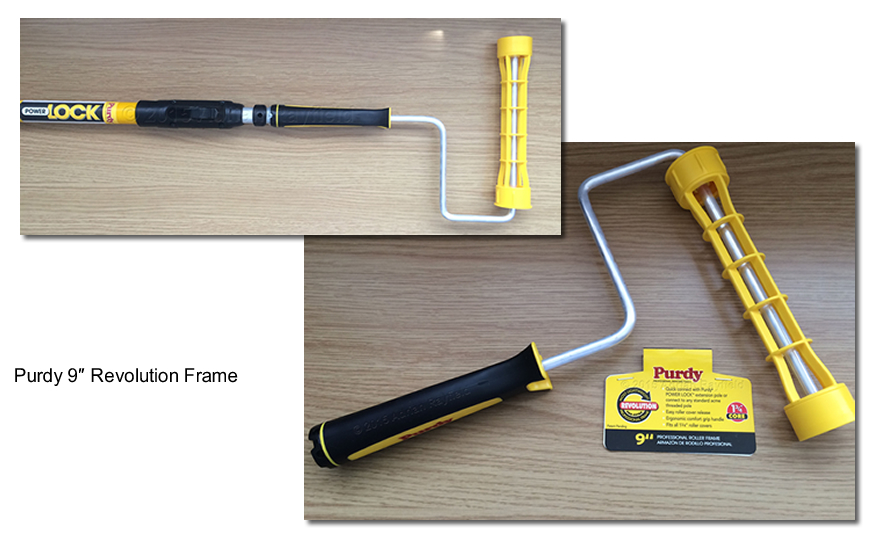
Purdy 9″ Revolution Frame
This cageless frame is great to use, it is lightweight and it rolls very smoothly. The roller sleeve has a good snug fit to the frame so doesn’t move whilst in use. This frame had a slightly longer handle / arm than I normally use which was good I was able to emulsion a standard height ceiling with ease without a ladder.
This frame also features a quick connect feature for connecting with the Purdy Power Lock extension poles, but can also be screwed onto other makes of pole.
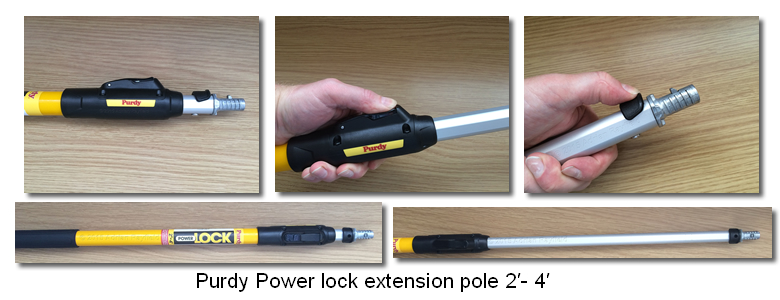
Purdy Power lock extension pole 2′- 4′
This extension pole is well built and sturdy and is an ideal length at 2 – 4 feet just to get to those hard to reach places or a ceiling without using a ladder. It is made from Aluminium and fibreglass with quick adjustment locking system. It also has a quick connect system for there new Revolution frames, but it will also take their old frames and other make of roller frames too.
This extension pole makes is easy to change length with it’s locking system and is ideal to keep in your van to call upon when needed.
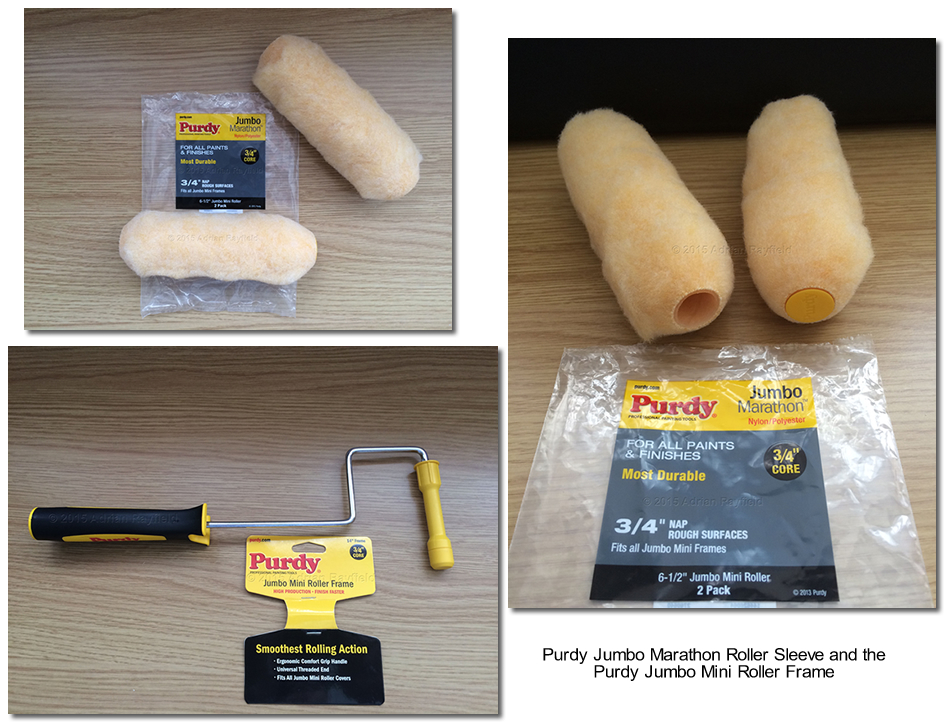
Purdy Jumbo Mini Roller Frame
The jumbo mini roller frame is ideal for getting into tight places, such as behind radiators. Used in conjunction with the Jumbo marathon roller sleeve it hold lots of paint and performs like the bigger 9″ roller.
The frame is cageless and glides well giving a smooth action.
Purdy Jumbo Marathon Roller Sleeve
This sleeve holds lots of paint so you can go a long way with this roller system, ideal for tricky to reach areas. This sleeve can also be used for water and oil based paints.
In Conclusion
After trying all the above products I was pleased with how they all preformed, I especially liked the new Revolution Frame as it was light and had a good smooth glide, I will be using it a lot in the future.
As a result of this review I shall be considering incorporating Purdy products into my tool box, so they could well be appearing in my van very soon!
Tags: Cageless frame, Extension Pole, Jumbo Mini Roller, Marathon Roller, Paint Brush, Power Lock, Purdy, Revolution, Roller Sleeve, Sprig Elite
Posted in Decorating Tips, News, Reviews | 6 Comments »
Wallpapering ‘Frames’
Posted by Adrian
June 29th, 2015
Wallpapering ‘Frames’
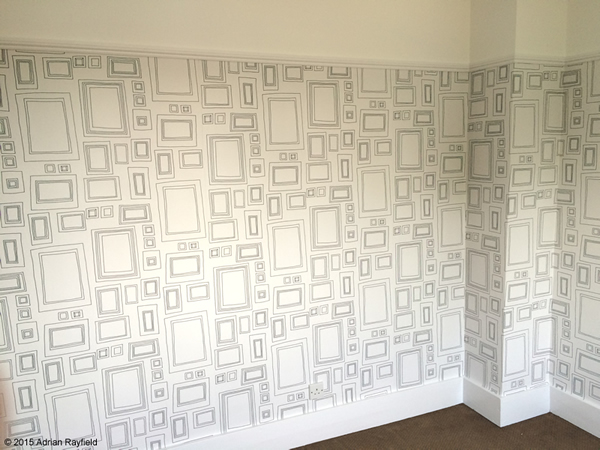
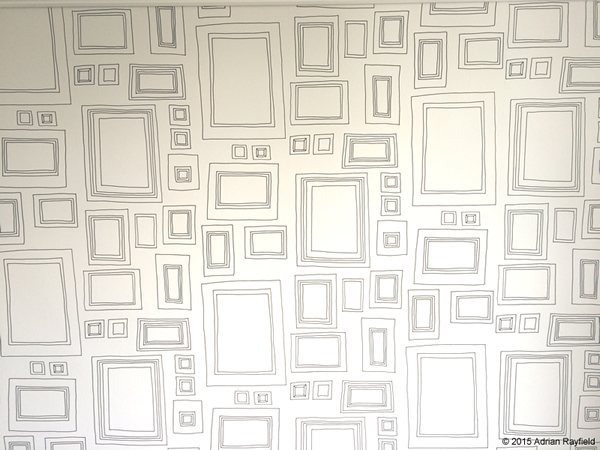
I have recently just completed a wallpapering job for a client. The room was a spare bedroom / playroom. As this room is to serve as a dual purpose room the client didn’t want the room to be too child like, or to grown up. The client looked online and decided on a wallpaper from Graham and Brown called Frames.
This wallpaper was ideal for the situation it was to be used in, modern and contemporary enough for any adults staying in the room, but also fun for a child. The frames on the paper can be used to stick family photos, postcards, artwork and you can even draw your own artwork directly into a frame to give it a totally unique style. If you do draw directly onto the wallpaper be aware that the paper is only spongeable and anything drawn onto the wallpaper may not come off.
About the wallpaper
The wallpaper is a paste the paper type, as opposed to paste the wall. The soaking time is around 5 minutes. The design / pattern match is free, so no matching up to do. The paper is 52cm wide and the rolls are 10 m long.
I found the paper easy to hang and the final result was very effective as you can see by the following photos.
Tags: bedroom, Frames, Playroom, Wallpaper, Wallpapering
Posted in Decorating Tips, News | 3 Comments »