Painting, decorating and home improvement tips blog
Transform Your Space: The Magic of Wall Murals
Posted by Adrian
August 29th, 2025
Transform Your Space: The Magic of Wall Murals
Every room in your home tells a story. Sometimes it’s subtle, a quiet whisper through colours and textures. Other times it’s bold, commanding attention the moment you walk in. One of the most powerful ways to shape that story is through your walls. After all, they make up the largest canvas in your space. While paint and wallpaper have long been the go-to choices, wall murals are quickly becoming a favourite for those who want to create rooms that feel truly extraordinary.
Why Choose a Mural?
Wall murals go beyond decoration. They immerse you in an experience. Imagine stepping into your living room and being transported to a misty forest, a vibrant city skyline, or a serene beach. Instead of just filling a wall, a mural expands the room’s personality, setting the mood and atmosphere in an instant.
And while murals might look like high-design elements that require a professional, the truth is, they’re easier to work with than you’d expect.
Simplicity in Every Strip
Modern wall murals are designed with convenience in mind. They come on a roll in clearly defined strips, complete with markings that show you exactly where to cut. There’s no guesswork involved, and no endless hours of trying to line up repeating patterns. Each strip is meant to sit side by side, forming a seamless piece of wall art.
This means even if you’ve never hung wallpaper before, you can achieve professional looking results. The process is more like assembling a puzzle with numbered pieces, you know exactly where each part goes, and the reward is a stunning mural that transforms your wall in just a few steps.
A Tailored Fit, Every Time
Another huge advantage of murals is their flexibility. Most mural panels can be printed to size, so they’re designed specifically for your wall dimensions. This ensures there’s no waste, no excess trimming, and no awkward edges to hide. Instead, you’re left with a mural that feels made-to-measure, as though it was created just for your home.
Endless Designs, Endless Possibilities
Perhaps the most exciting part of choosing a mural is the sheer variety available. Whatever atmosphere you want to create, there’s a design that fits:
- Big and bold: Oversized florals, lush tropical jungles, sweeping cityscapes, or abstract explosions of colour that turn your wall into a show-stopping centrepiece.
- Subtle yet stylish: Soft watercolour washes, gentle textures, or muted geometric patterns that add sophistication without overwhelming the space.
- Nature-inspired: Forests, oceans, mountains, or botanical prints that bring a sense of calm and connection to the outdoors.
- Artistic flair: Hand-painted effects, modern murals, or classic illustrations that bring the energy of a gallery into your home.
With so many options, you’ll be spoiled for choice and that’s the beauty of it. A mural can reflect your personality, your passions, and even your dreams.
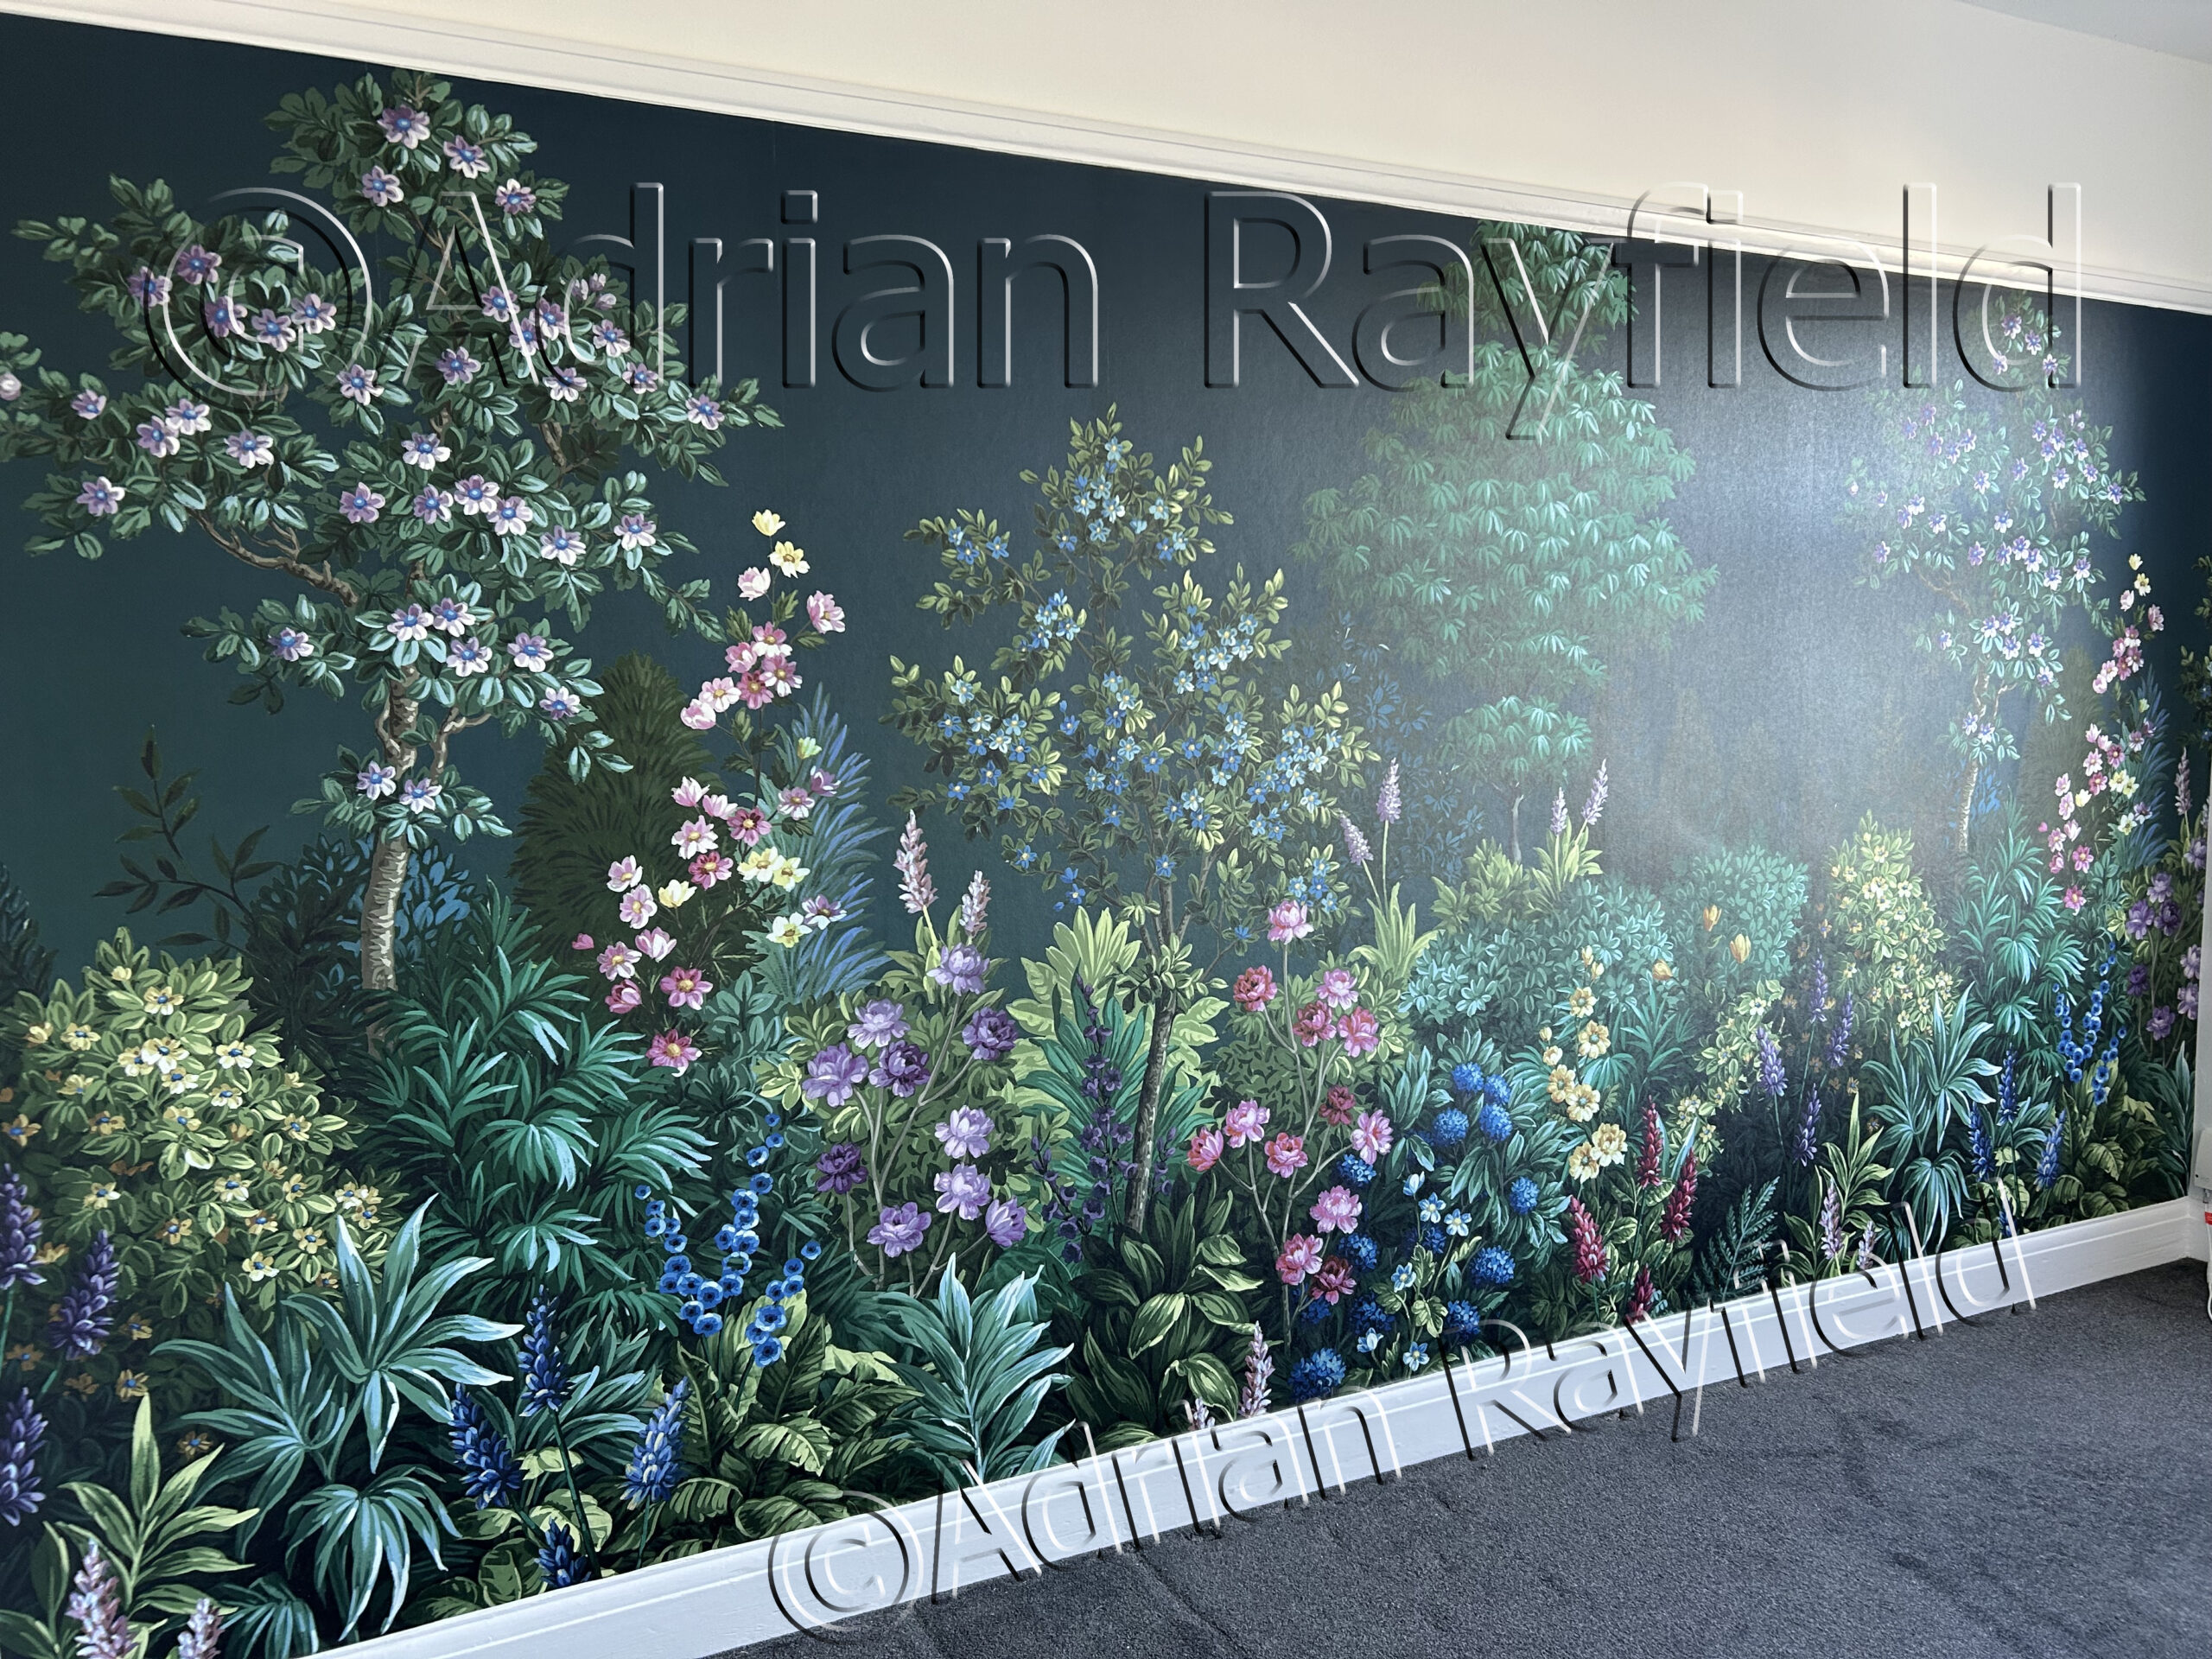
Midnight Garden Wall Mural
Murals as Backdrops
While some murals demand attention, others shine quietly in the background, enhancing the room without stealing the spotlight. Picture a soft, abstract mural behind your bed, setting the stage for restful nights. Or a textured design behind a dining table, adding warmth and depth to family meals.
In living rooms, murals can frame the sofa beautifully, creating a backdrop that makes the space feel complete. In home offices, they provide an inspiring background for creativity or a stylish setting for video calls. Even small spaces, like hallways or reading nooks, can come alive with the right mural, transforming what might otherwise be overlooked corners into memorable spots.
More Than Just Walls
The real magic of murals is how they change not just the look of a room, but the way it feels. A mural can make a small space feel expansive, a plain room feel vibrant, or a busy room feel calming. It’s not simply about adding décor, it’s about shaping atmosphere.
Unlike paint or wallpaper, which add colour or pattern, murals tell a story. They create a focal point that draws you in, sparks conversation, and makes your home feel uniquely yours.
The Power of Transformation
At the end of the day, wall murals are about transformation. They allow you to reimagine your space, to see your walls not as boundaries but as opportunities. Whether you want to escape into nature, surround yourself with art, or simply add a touch of elegance, a mural makes it possible in a way that’s both accessible and inspiring.
So if you’re dreaming of a fresh look for your home, consider a mural. It might just be the simplest way to give your walls and your entire space the transformation you’ve been waiting for.
✨ With easy installation, customizable sizing, and a world of designs to choose from, murals are more than décor—they’re a lifestyle choice, a statement, and a daily source of inspiration.
Tags: Decorating, Mural, Transformation, wall mural, Wallpaper, Wallpapering
Posted in Decorating Tips, Home Improvements, News, Resources | No Comments »
Adding a splash of colour
Posted by Adrian
January 27th, 2025
Adding a splash of colour
Adding some colour to a room can transform the look and feel of a room, don’t be afraid to experiment with colours. It doesn’t have to be a whole room, it could simply be a panel or colour, or a feature wall.
Also, it doesn’t just have to be paint you use to add colour, wallpaper is also a good option, and if you use wallpaper as a feature wall, it will add colour and the desired effect, without braking the bank with a large expense of wallpapering an entire room.
Wallpaper to add some colour
I recently was asked to wallpaper for a client, when I spoke to them on my initial visit, the said that they had lived with plain walls for a long time and wanted to add some colour. They had already decided on the wallpaper, and had decided to have a fire breast, and one wall in one room, and one wall in the hallway, all with the same wallpaper.
By adding some feature walls added colour and also tied in the areas together well, the final result was a striking geometric wallpaper that added colour to the plain walls.
The result

Wallpapered fire breast in geometric paper

Feature wall wallpapered in a geometric wallpaper

Hallway feature wall in geometric wallpaper, matching the lounge fire breast (in background)
Tags: Colour, Feature, Feature Wall, geometric, geometric wallpaper, Wallpaper, Wallpapering
Posted in Decorating Tips, Home Improvements, News, Resources | No Comments »
Colour Trends For 2025
Posted by Adrian
October 22nd, 2024
Colour Trends For 2025
Each year a team of top international design experts come together to discuss world wide trends. This is then translated into a colour scheme, then they compile a colour of the year with supporting colour palettes. They have selected a range of colours they think will be the trend throughout 2025.
What Is The Trend Colour For 2025

The colour of the year 2025 is…… 40YY 49/546 (also known as True Joy™).
“Inspired by local cultures around the world, our proud colours are created to celebrate the rich heritages that make us unique from one another. From the deep reds in Chinese culture to the dark greens of Africa, each colour allows us to feel rooted in our identities. A place where anyone can feel at home. ”
“THIS YEAR
This year, there’s a growing sense across the world that life must be better elsewhere. In times like these, there’s a desire to break free, press reset and welcome in the new.
This change allows our imaginations to run wild and gives us the chance to create something new and exciting.
Everyone just needs to believe it’s possible. That’s where our Colour of the Year and three new
colour palettes come in.”
Quote from Dulux.
You can see more of this years colour schemes here:
See more of this years colour of the year and colour schemes.
Paint Calculator
If you would like to use the colour of the year (40YY 49/546) or any other colour you need to buy and need to work out how much you need to buy, use my Paint Calculator.
Other useful links
Here are some further reading links:
-
- Past years Colour trends from Property Decorating
- Dulux Trade Expert True Joy™.
- COLOURFUTURES™ 2025 brochure
- COLOURFUTURES™ 2025
Video from Dulux YouTube channel.
Tags: Colour, Colour 2025, Colour Trends, Colour Trends 2025, Decorating, Dulux, Emulsion, Paint, Paint Calculator, Painting
Posted in Decorating Tips, Home Improvements, News, Resources | No Comments »