Painting, decorating and home improvement tips blog
Should you hire a professional decorator?
Posted by Adrian
May 28th, 2014
Should you hire a professional decorator?
Many people think they are not too bad at DIY and decorating and are willing to have a go themselves, which is fair enough. But should you hire a professional decorator to do the job for you?
There are a few things to consider before having a go yourself:
- Do you really know how to do the job
- Do you have all the necessary equipment to complete the job
- Do you have the time to do it yourself
- Do you have the money to fix mistakes
If the answer is no to any of these points above you should hire the services or a professional painter and decorator to decorate your home. Many people go charging into decorating without thinking things through, such as the order of how to do things. They then get stuck halfway through the job and either leave it for months or make a botch job of things.
Frankly life is hectic for everyone, you may have children to look after, work long hours, or have a second job. Do you really want the grief and hassle of tackling the decorating yourself? By hiring a professional decorator the whole process of making your home a beautiful place to be can be virtually stress free.
Professional decorator
Professional decorators decorate day in day out, so they will have the know how, the tools and the time to transform your home for you. Hiring a decorator can save you time and money, you can leave the decorator in the morning to go to work and come back and see the progress, and be amazed at how quick it is going, and how long it would of taken you to strip the wallpaper a bit each day!
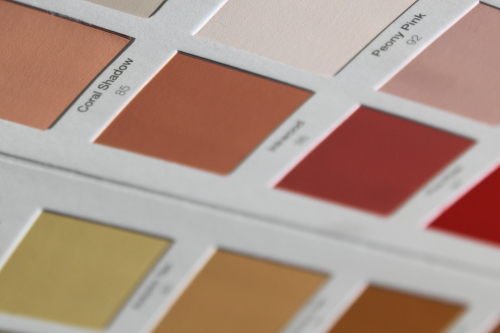
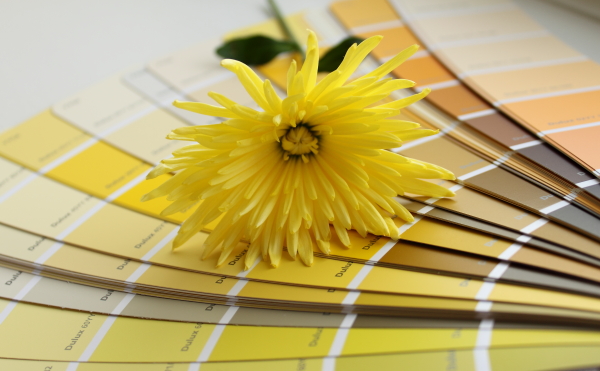
Your professional decorator can advise you on colours, give you ideas, source the required materials and save you time, money and the hassle. How long will it take you driving around trying to find the materials, get paint charts and shopping. So hiring a professional can actually save you money.
The finished decorated room
Imagine how lovely it would be to come into a room that has been professionally decorated for you and is far better than you could of ever imagined, now isn’t it worth hiring a professional decorator?
One of my favorite sayings is as follows:
If you think it’s expensive to hire a professional, wait till you hire an amateur – Red Adair
To hire a professional decorator in the Southend on Sea, Essex (UK) area contact Adrian Rayfield via his online form.
Tags: Colour, Decorating, Decorators, Materials, Painting, Professional, Southend, Tools
Posted in Decorating Tips | 2 Comments »
How to paint new wood
Posted by Adrian
April 30th, 2014
How to paint new wood
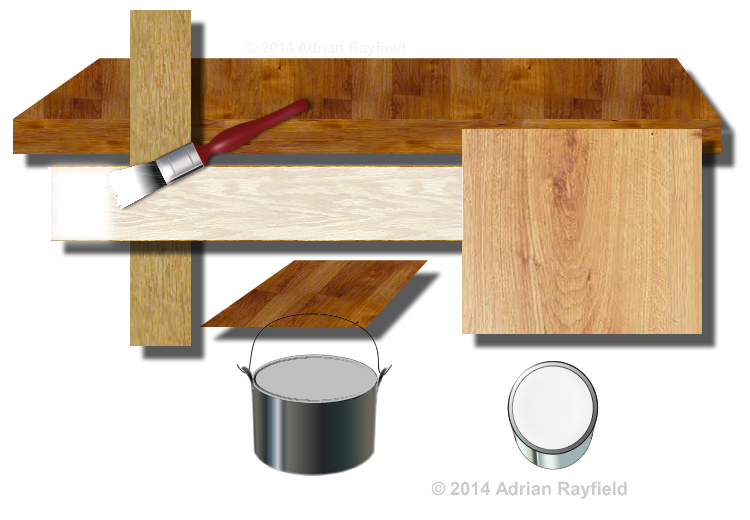
It is important when painting new wood to prepare the wood and paint it correctly, this will ensure the wood lasts for a long time. Most interior wood is softwood, such as skirting boards, door frames, architraves and doors. Whereas exterior wood can be both softwood, such as in fascia boards, but maybe hardwoods for windows and doors etc. This post mainly deals with softwood, such as pine, and painting the wood rather than staining or varnishing.
Preparation is the first job for any new wood, a rub down to ensure the surface is smooth and ready for painting. If you are going to be painting the wood, that is to say not going to varnish the wood, you should apply kotting solution to the knots. This can be applied with a brush or rag. Some knotting solution comes with a brush. Apply two or three coats to the knots and let it dry.
Primer
One the knotting is dry you can apply a suitable wood primer. This can either be solvent or water based, I prefer water based as it dries quickly. Once the first coat is dry, lightly rub down the first coat and then apply a second coat of primer.
Once this is dry, again give it a light rub down, you should now have a well coated piece of wood ready for an undercoat.
Undercoat
An undercoat is used to allow a topcoat such as gloss or satinwood to be applied. Apply one or two coats of a suitable undercoat, for some paints a coloured undercoat can be used, such as a dark grey undercoat for a dark blue or black topcoat for example.
If you are applying more than one undercoat, leave to dry fully and give the wood a light sanding between coats. You may have to give the wood two undercoats depending on how well the wood is covered and how porous the wood is.
Topcoat
Topcoat can be gloss, satinwood, eggshell, solvent based or water based they all come under the heading topcoat as it is the last coat or finishing coat to be applied to the wood.
Once you have applied the primer and undercoat you need to rub the wood down a final time in preparation for the topcoat. Dust of the wood and make sure the wood is free from dirt and grease, then apply the topcoat to the wood. In some cases a second coat may be required, if this is the case allow the first coat to fully dry and then lightly rub the first coat with fine sandpaper and then remove any dust and apply the second coat.
Giving a second coat can give a better gloss in the case of water based paints, it can also give a deeper, fuller finish.
Painting new hardwood
To paint new hardwood, such as a front door, the process is the same, you may not require any knotting solution as hardwood has far less knots. Again, rub down, prime, undercoat and topcoat ensuring you rub down between each coat to ensure a good smooth finish.
Tags: Door, Door Frame, Exterior Wood, Fascia Boards, Gloss, Hardwood, Interior Wood, Knotting Solution, New Wood, Pine, Primer, Satinwood, Skirting Boards, Softwood, Staining, Topcoat, Undercoat, Varnish, Varnishing, Windows
Posted in Decorating Tips | No Comments »
How to paint cladding
Posted by Adrian
March 24th, 2014
How to paint cladding
Cladding is mainly used on the exterior of houses, although it can be found on the inside a house also, such as wood panelling in a bathroom. Cladding can be fixed horizontally or vertically and comes in a variety of wood types, such as pine, Cedar, and Larch.
Depending on the type of wood and the finish you require will depend on how you prepare the wood for the final protective coat, but painting, varnishing, staining etc should all be painted in the following way for best results.
Painting wooden cladding
As with any painting job, preparation is key. You should sand any previously painted surfaces and use an appropriate undercoat if required before topcoating. If the wood is new you should prepare and prime the new wood before undercoating and topcoating.
If however you are staining or varnishing a primer isn’t required, but the preparation is, for example sanding previously painted surfaces.
However you are protecting your cladding and here is a tip best to achieve the best results, you should ensure the adjoining edge is painted, or the underside for example on shiplap, once this is done fill in the board itself. Always use long strokes and don’t stop half way along a board if possible, go to a joint, stop (to move ladder for example) and then start from the joint again. If you stop half way along a board then move and start again the finish coat may of dried in and you may see a join in the final finish.
What can I paint wooden cladding in
Wooden cladding can be painted in a variety of paints and finishes, it all depends on where the cladding is and the environment it is in, for example if the cladding is on the exterior of a house you need to use an exterior paint, such as a varnish, stain, gloss or satin. Always check on the paint can to ensure the paint you wish to use suits the environment the wooden cladding is in.

Tags: Cladding, Feather Edge, Paint, Painting, Shiplap, Square Edge, Staining, Tongue and Groove, Varnish, Wood
Posted in Decorating Tips | 6 Comments »