Painting, decorating and home improvement tips blog
Recently completed work
Posted by Adrian
July 21st, 2023
Recently completed work
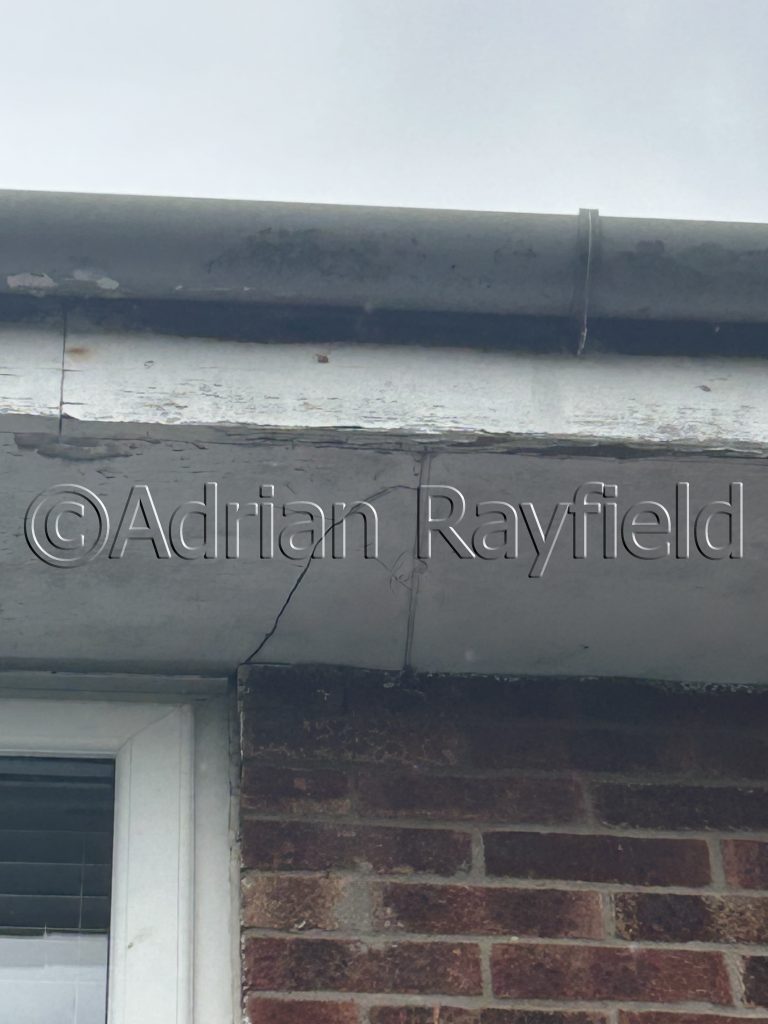
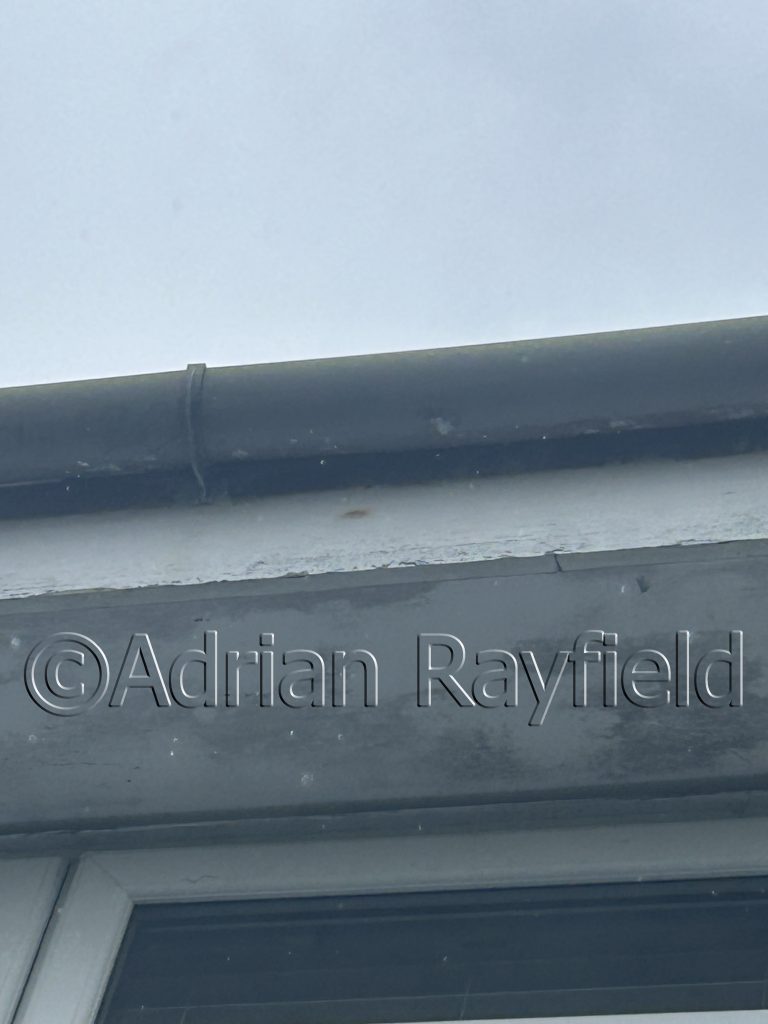
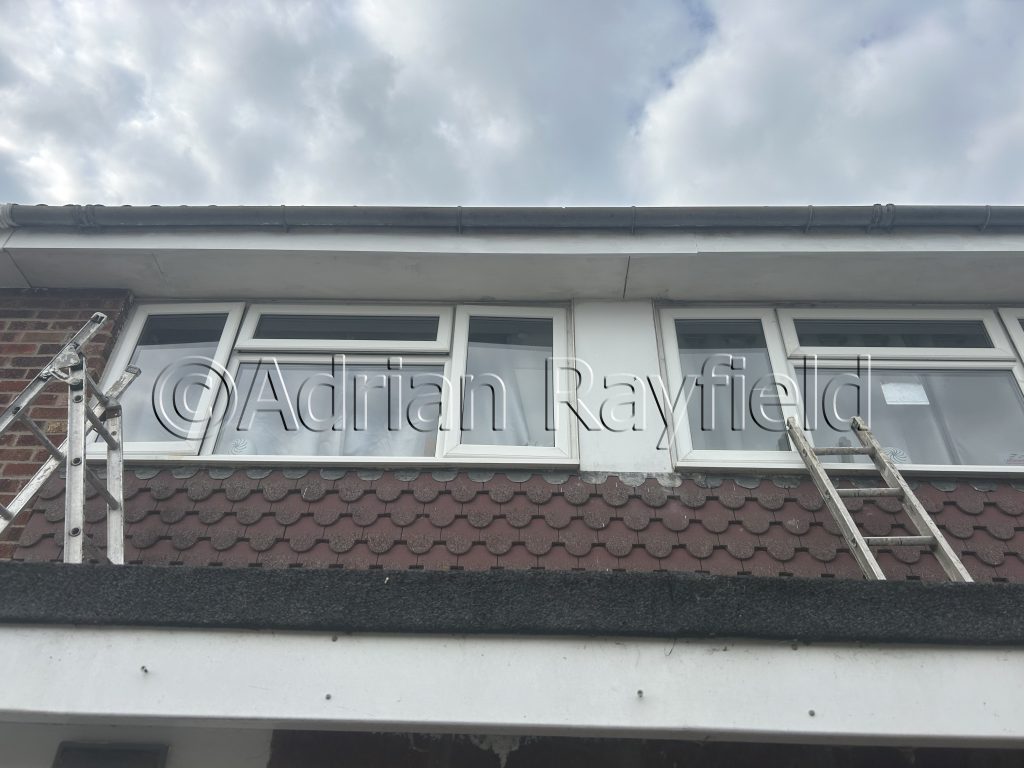
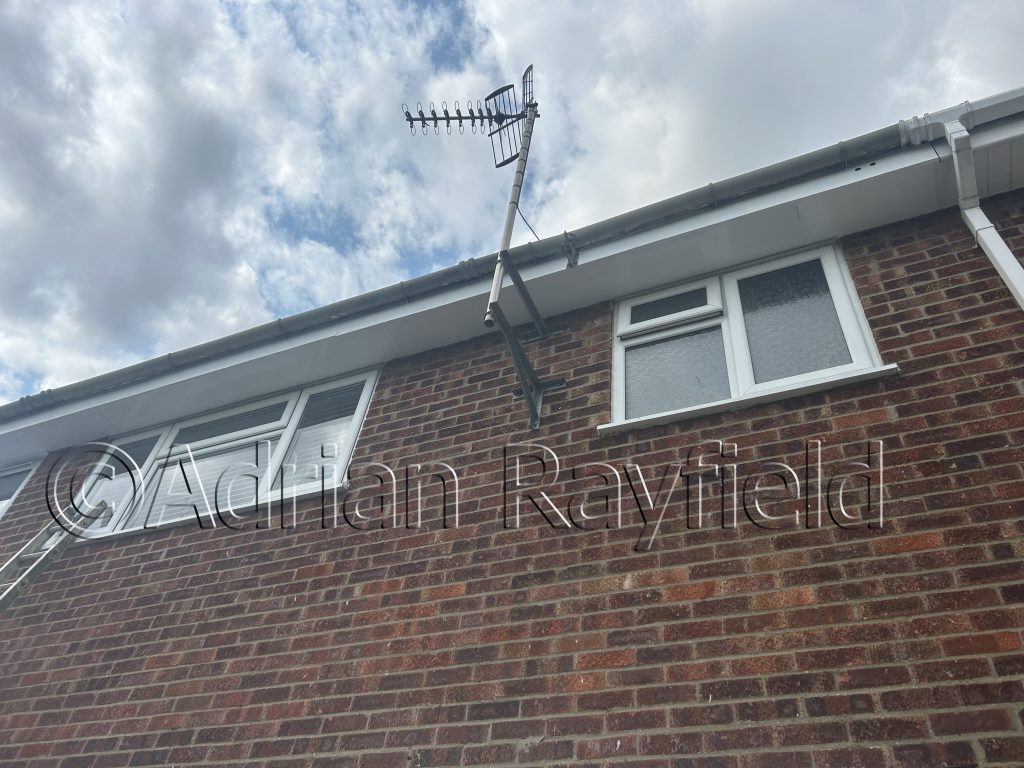
Below are some pictures of a recent exterior I completed.
As you can see from the first pictures, the fascia and soffits needed some attention. The house was a mid-terrace house, so only had fascia’s and soffits at the front and rear of the property.
After giving them a good rub down and dust off, I primed the bare wood, followed by a coat of Dulux Weathershield undercoat, and then a topcoat of Dulux Weathershield white gloss. I think you would have to agree, a massive difference from the before and after pictures. The client was very happy, and their fascia boards and soffits will look good and be protected for the next few years.
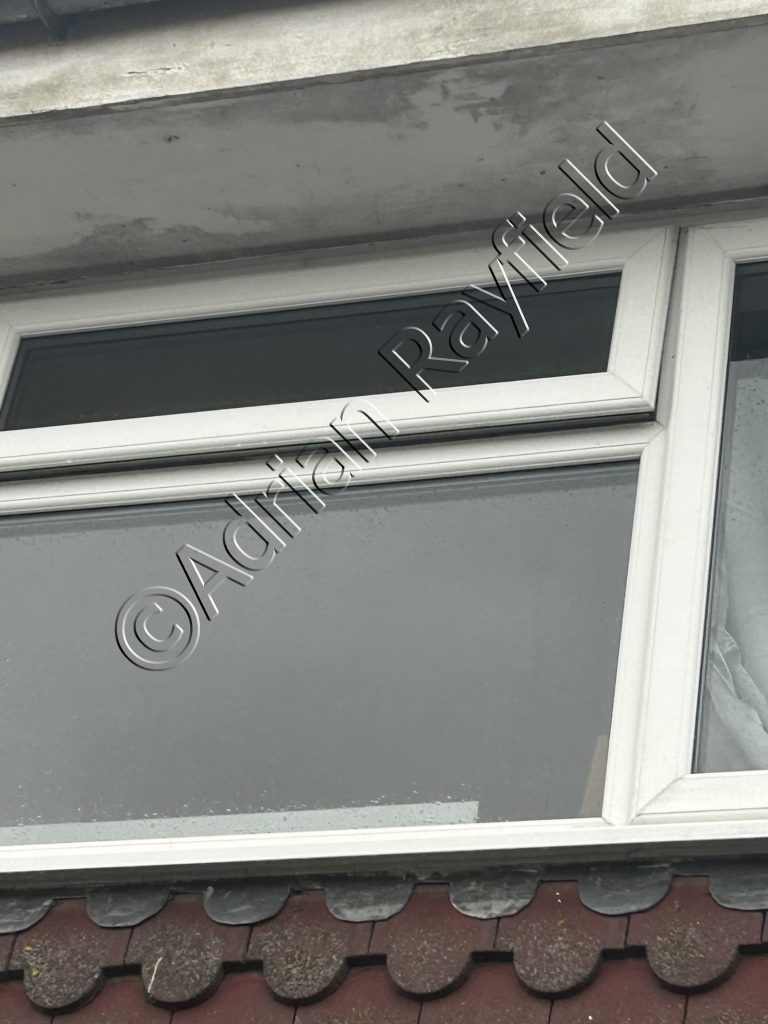
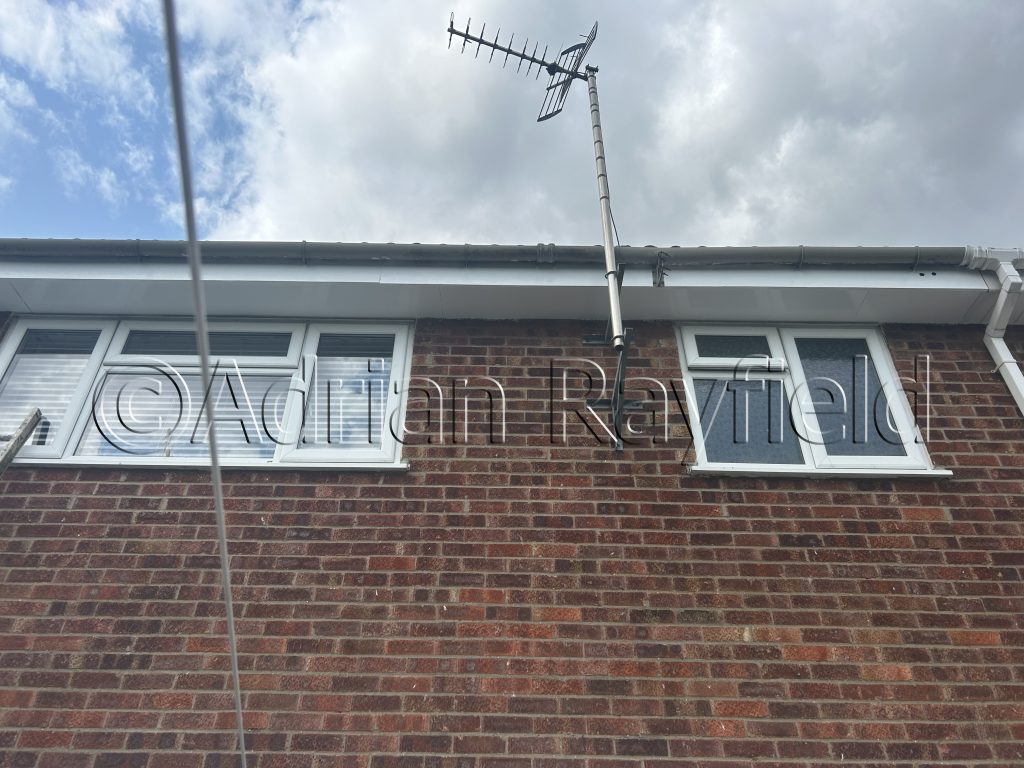
And this is the final result
Tags: Decorating, Dulux, dulux weathershield, Exterior, Exterior work, Fascia, Fascia Boards, Paint, Painting, Soffit, soffit boards, Weathershield
Posted in Home Improvements, News | No Comments »
How to paint new wood
Posted by Adrian
April 30th, 2014
How to paint new wood
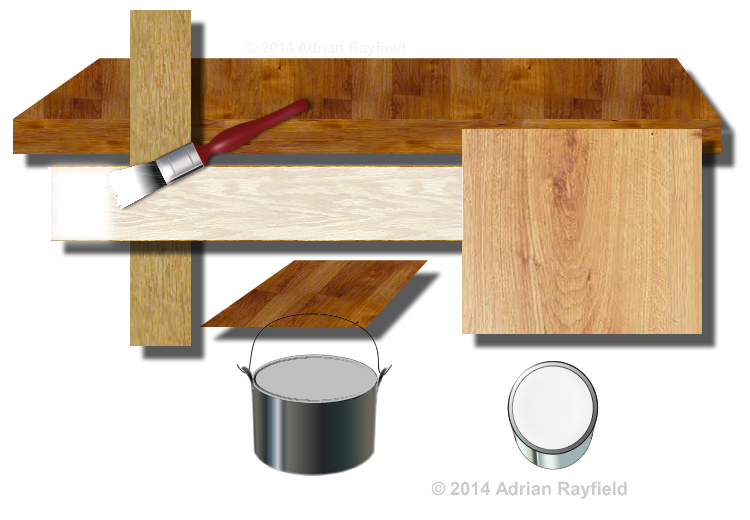
It is important when painting new wood to prepare the wood and paint it correctly, this will ensure the wood lasts for a long time. Most interior wood is softwood, such as skirting boards, door frames, architraves and doors. Whereas exterior wood can be both softwood, such as in fascia boards, but maybe hardwoods for windows and doors etc. This post mainly deals with softwood, such as pine, and painting the wood rather than staining or varnishing.
Preparation is the first job for any new wood, a rub down to ensure the surface is smooth and ready for painting. If you are going to be painting the wood, that is to say not going to varnish the wood, you should apply kotting solution to the knots. This can be applied with a brush or rag. Some knotting solution comes with a brush. Apply two or three coats to the knots and let it dry.
Primer
One the knotting is dry you can apply a suitable wood primer. This can either be solvent or water based, I prefer water based as it dries quickly. Once the first coat is dry, lightly rub down the first coat and then apply a second coat of primer.
Once this is dry, again give it a light rub down, you should now have a well coated piece of wood ready for an undercoat.
Undercoat
An undercoat is used to allow a topcoat such as gloss or satinwood to be applied. Apply one or two coats of a suitable undercoat, for some paints a coloured undercoat can be used, such as a dark grey undercoat for a dark blue or black topcoat for example.
If you are applying more than one undercoat, leave to dry fully and give the wood a light sanding between coats. You may have to give the wood two undercoats depending on how well the wood is covered and how porous the wood is.
Topcoat
Topcoat can be gloss, satinwood, eggshell, solvent based or water based they all come under the heading topcoat as it is the last coat or finishing coat to be applied to the wood.
Once you have applied the primer and undercoat you need to rub the wood down a final time in preparation for the topcoat. Dust of the wood and make sure the wood is free from dirt and grease, then apply the topcoat to the wood. In some cases a second coat may be required, if this is the case allow the first coat to fully dry and then lightly rub the first coat with fine sandpaper and then remove any dust and apply the second coat.
Giving a second coat can give a better gloss in the case of water based paints, it can also give a deeper, fuller finish.
Painting new hardwood
To paint new hardwood, such as a front door, the process is the same, you may not require any knotting solution as hardwood has far less knots. Again, rub down, prime, undercoat and topcoat ensuring you rub down between each coat to ensure a good smooth finish.
Tags: Door, Door Frame, Exterior Wood, Fascia Boards, Gloss, Hardwood, Interior Wood, Knotting Solution, New Wood, Pine, Primer, Satinwood, Skirting Boards, Softwood, Staining, Topcoat, Undercoat, Varnish, Varnishing, Windows
Posted in Decorating Tips | No Comments »
Painting Fascia boards
Posted by Adrian
October 29th, 2013
Painting Fascia boards
Painting fascia boards is an essential part of property maintenance, the fascia board is the part just under the roof and the area the guttering is screwed too. I go into more detail as to what fascia boards, soffits and bargeboards in my post Painting fascia and soffits and bargeboards.
In this post I am only talking about fascia boards, a recent job I was working on prompted me to write this post. One of the jobs on a recent exterior job I was doing was to paint the fascia boards, now this is a very typical part of a job for me so am used to preparing and painting them.
On one length of fascia board an aerial or satellite cable had been clipped to the bottom face of the board, so what’s the problem you maybe asking, well nothing except you could be shortening the life of the board. Why, you ask, well if the paint degrades behind the cable allowing water to get in you will quickly get rotten boards, the cable hold the water on the board longer as the water gets between the cable and the fascia, trapping it there far longer than if the water was allowed to run off.
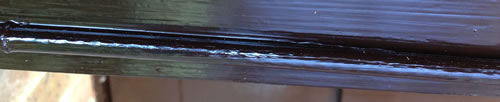
So if you need to run cabling run it behind the fascia board or along the wall so you do not trap water against the fascia.
Square and round edges
Another thing to look out for are square edges on the bottom of the fascia, the paint can not cover a 90° sharp angle as you typically get on a fascia board, you may notice the paint starts to deteriate here first and may even peel and lift exposing bare wood, as described in my post How to get paint to adhere to edges of woodwork. In this situation I always rub the square edge into a slight rounded one, this will allow the paint to cover far better and last longer, so your fascia boards should last longer and it may even prolong the amount of time you need to re-paint your fascia boards.
Just a couple of tips for painting your fascia boards, but they may help the fascia and paint on them last longer.
Tags: Exterio Painting, Exterior, Exterior Wood, Fascia, Fascia Boards, Painting
Posted in Decorating Tips | Comments Off on Painting Fascia boards