Painting, decorating and home improvement tips blog
How to fill cracks
Posted by Adrian
April 20th, 2010

How to fill crack to walls and ceilings
As many of you know who have done decorating before, preparation is key. Filling holes and cracks, and finishing them well, gives a far better finish. This is a how to guide on filling cracks. These can be on interior or exterior walls or ceilings, the principle is the same.
To start, gather the equipment needed.
You will need:
- Dustsheets – To cover floor and furniture
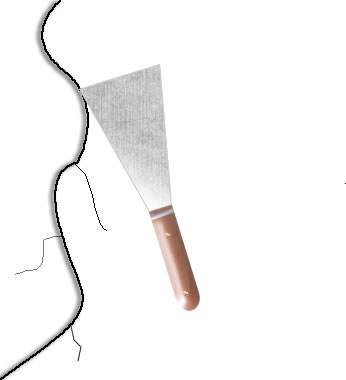
- A scraper – To apply filler
- Sand/Glass paper – To rub down dried filler
- A dusting brush – This could be a 3 inch brush
- Powder filler – To fill the crack
- PVA sealer – Optional
A quick note before you get started, decorators caulk is not suitable for filling these type of cracks, decorators caulk cannot be rubbed down and is only meant for gaps such as those around skirting boards and door frames.
Firstly you need to open up the crack slightly to enable filler to be applied. Use the edge of the scraper and run it down the crack, your aim is to make a ‘V’ shape by opening both sides of the crack.
Once you have opened the crack dust any loose debris from the crack, you can either use a dusting brush or vacuum cleaner. If the wall is very crumbly you can brush a watered down PVA sealer mix to seal it.
If you seal the crack allow the sealer to dry.
Once the crack is prepared you are ready to fill it. Take some power filler onto a mixing board (basically anything you can mix up on but don’t need anymore. So don’t use the best dinner plate!) I use an old 10 litre paint can lid. Next mix a small about of clean water with the filler and mix in. If the mix is to dry you can a little more water, if it’s too wet you can add a little more powder.
The consistency you are looking for as a creamy one, or as they say in cooking, stiff peaks.
Get some filler onto the scraper and apply it to the crack, make sure you push the filler well into the crack. Fill the entire crack and smooth off the surface, leave the filler a little proud of the crack for rubbing back later.
Allow the filler to dry completely, have a look at the crack, the filler may of shrunk a little but depending on the size of the crack and depth rubbing the filler down may leave it flush with the wall but for deeper crack a second application of filler maybe required.
If you rub the filler down and a second application is required ensure you remove the dust before re-filling.
Be sure to rub down the filler properly otherwise it will show in your final decoration.
Continue with this method for all cracks, your now ready to decorate over your cracked area.
Top tip: If I feel the filler may shrink and a second application will be required I mix the first application of filler to a stiff and on the dry side mix but not to dry so it’s still workable, I then apply it to the crack but don’t completely fill it up as I know it needs a second application, as there is less filler in the crack it will dry quicker and I can apply the second coat within a short amount of time.
Tags: Decorator Caulk, Filler
Posted in Decorating Tips | 1 Comment »

This is a great post and very helpful too! I like how you’ve provided a list of everything you need for the job and step by step on how to do it. I’m also a fan of the top tip.