Painting, decorating and home improvement tips blog
Definitely not a grey day
Posted by Adrian
August 30th, 2023
Definitely not a grey day
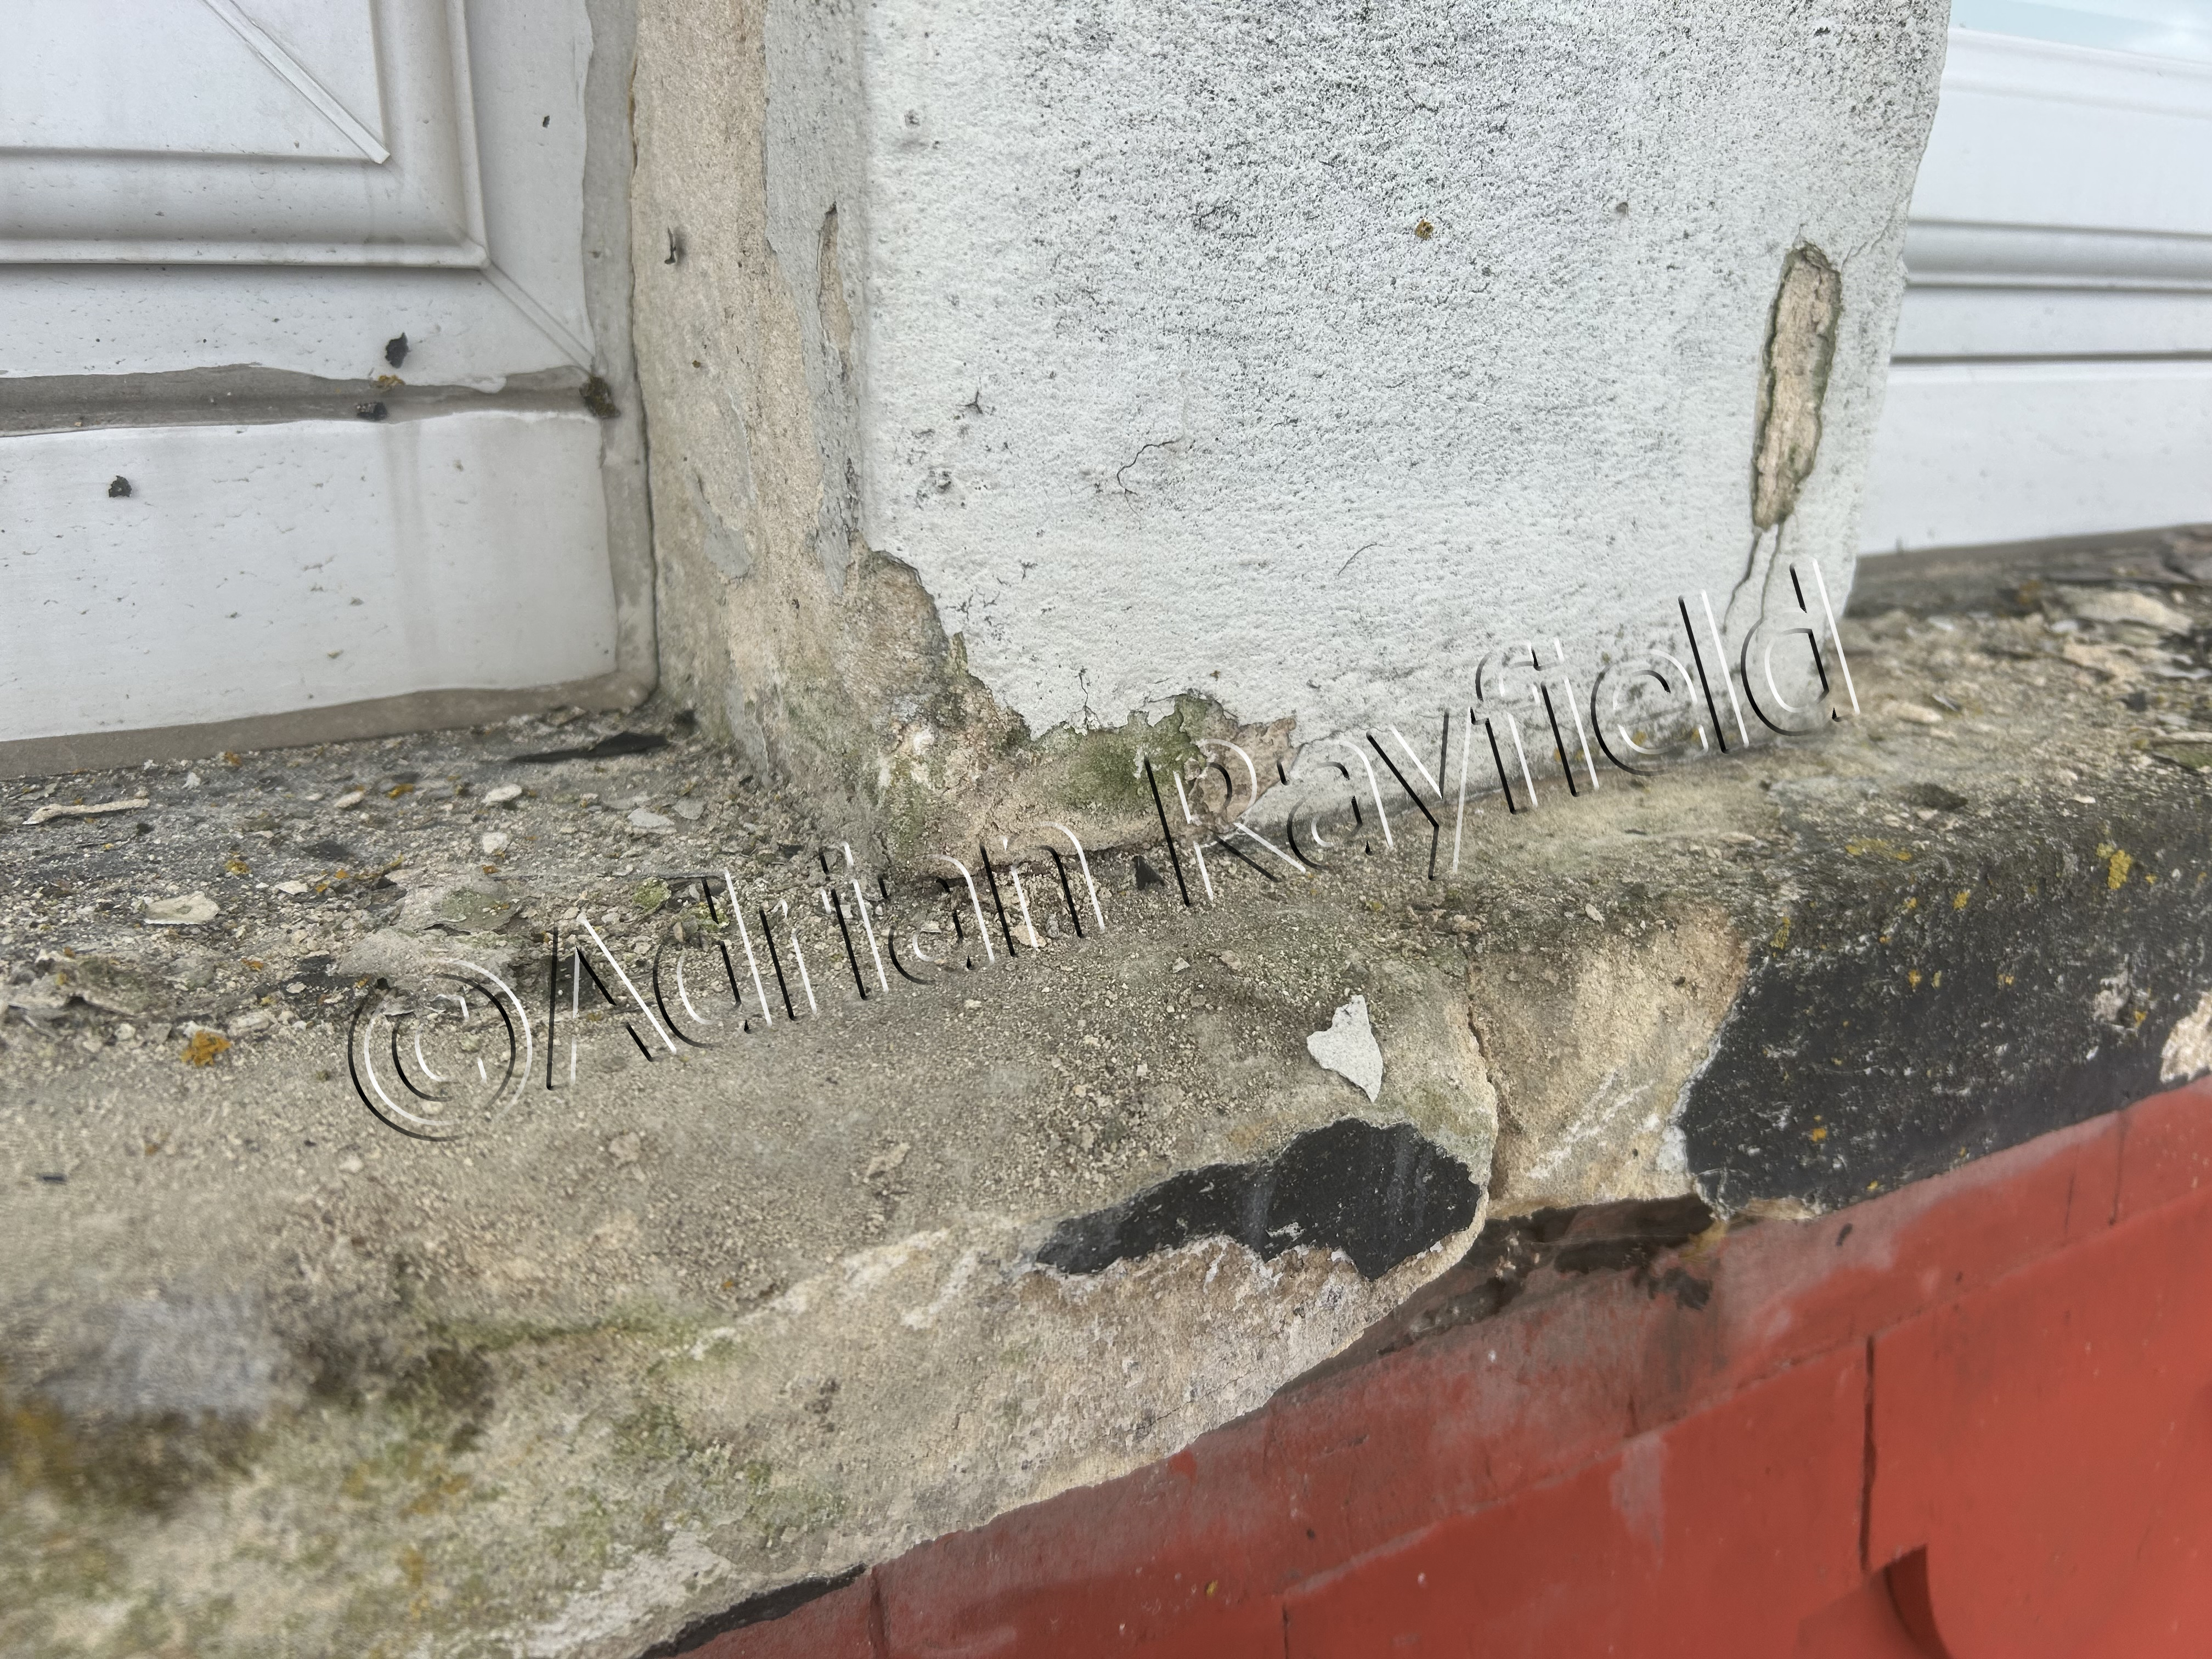
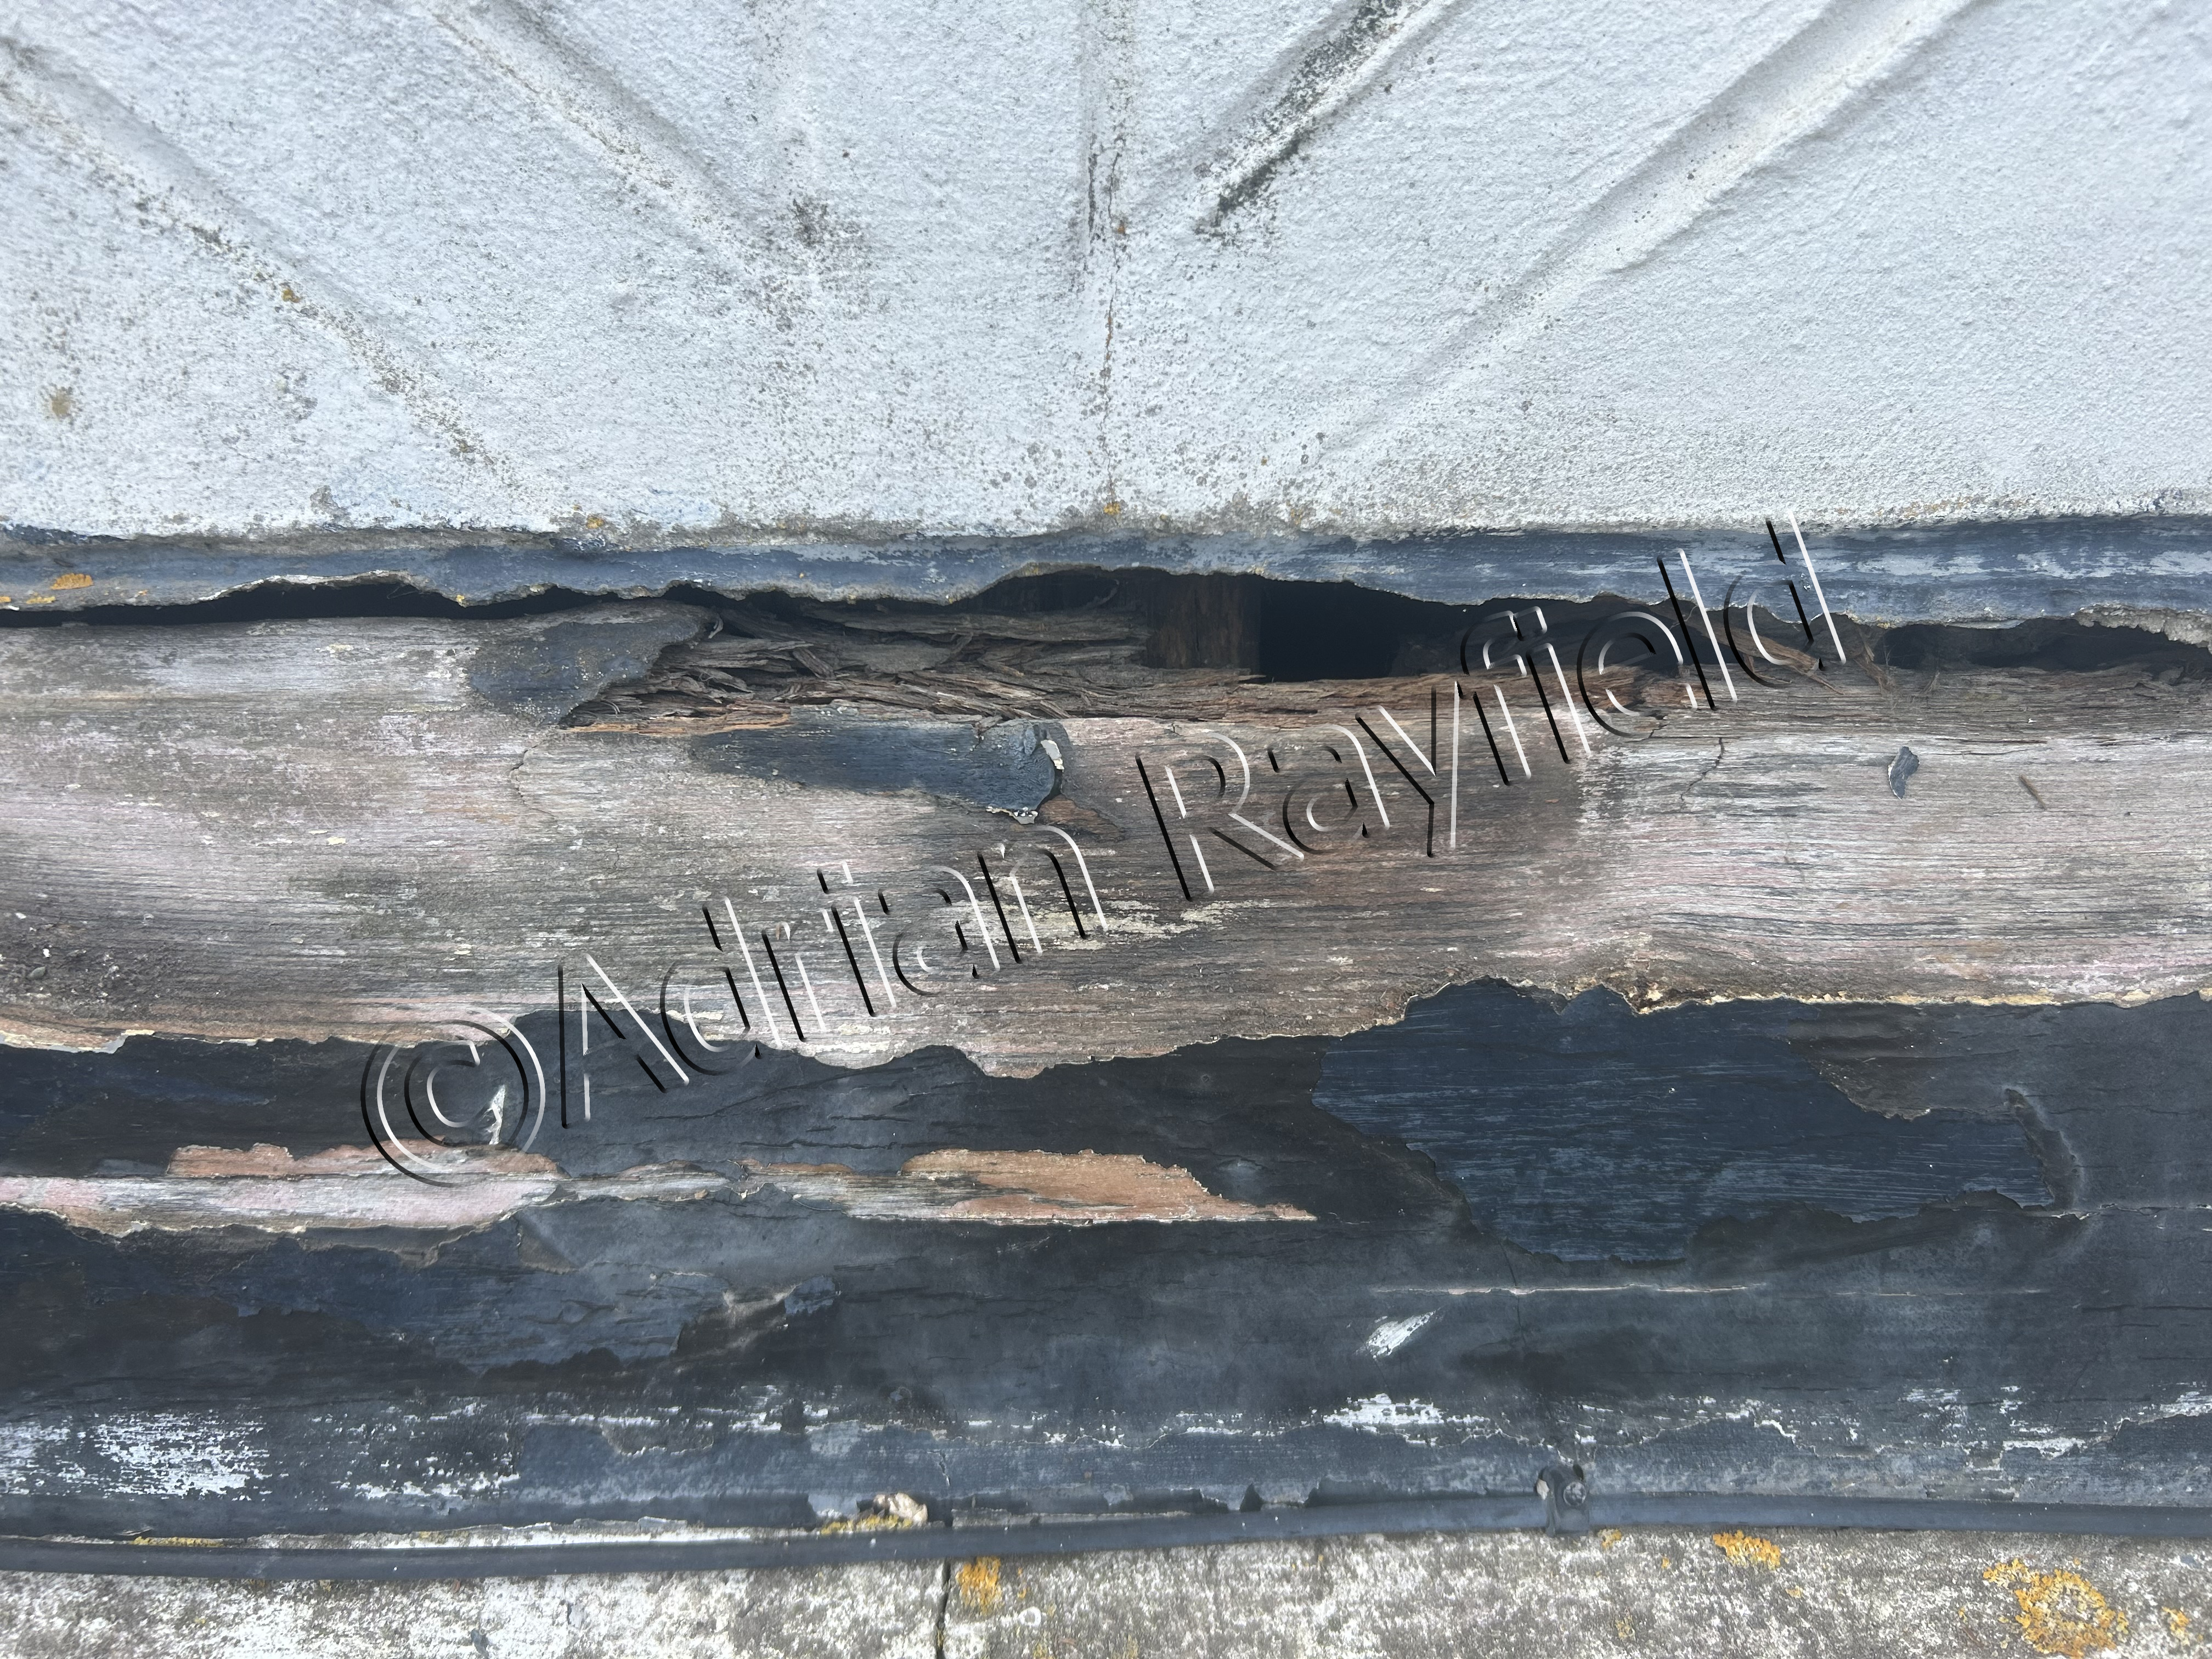
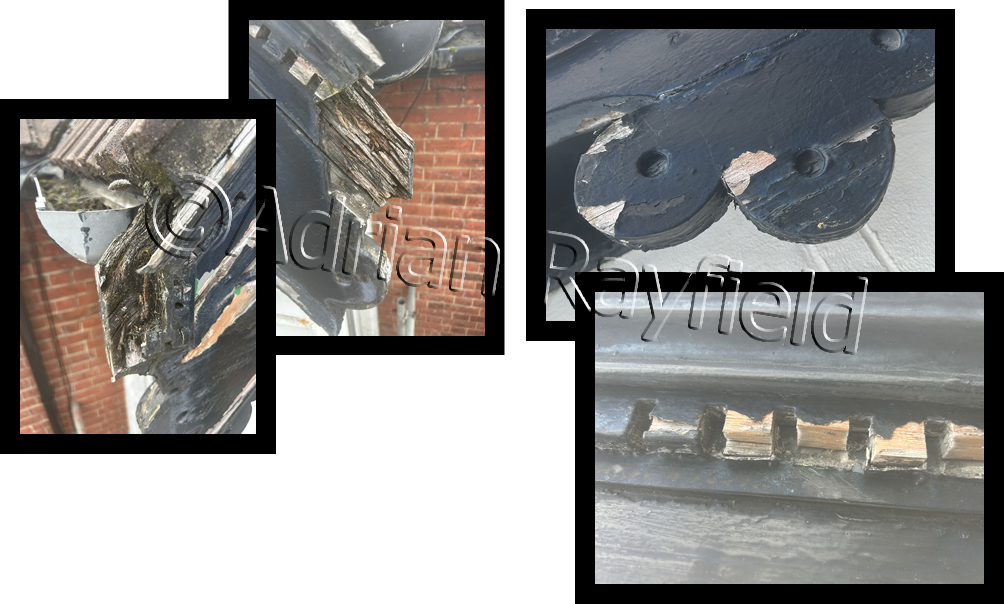
Thankfully the British summer was on my side for a few days allowing me to paint this exterior. It definitely needed a bit of TLC as the external of this property hadn’t been painted for some years. And as such had deteriorated to the point that certain areas of the woodwork had sucome to rot.
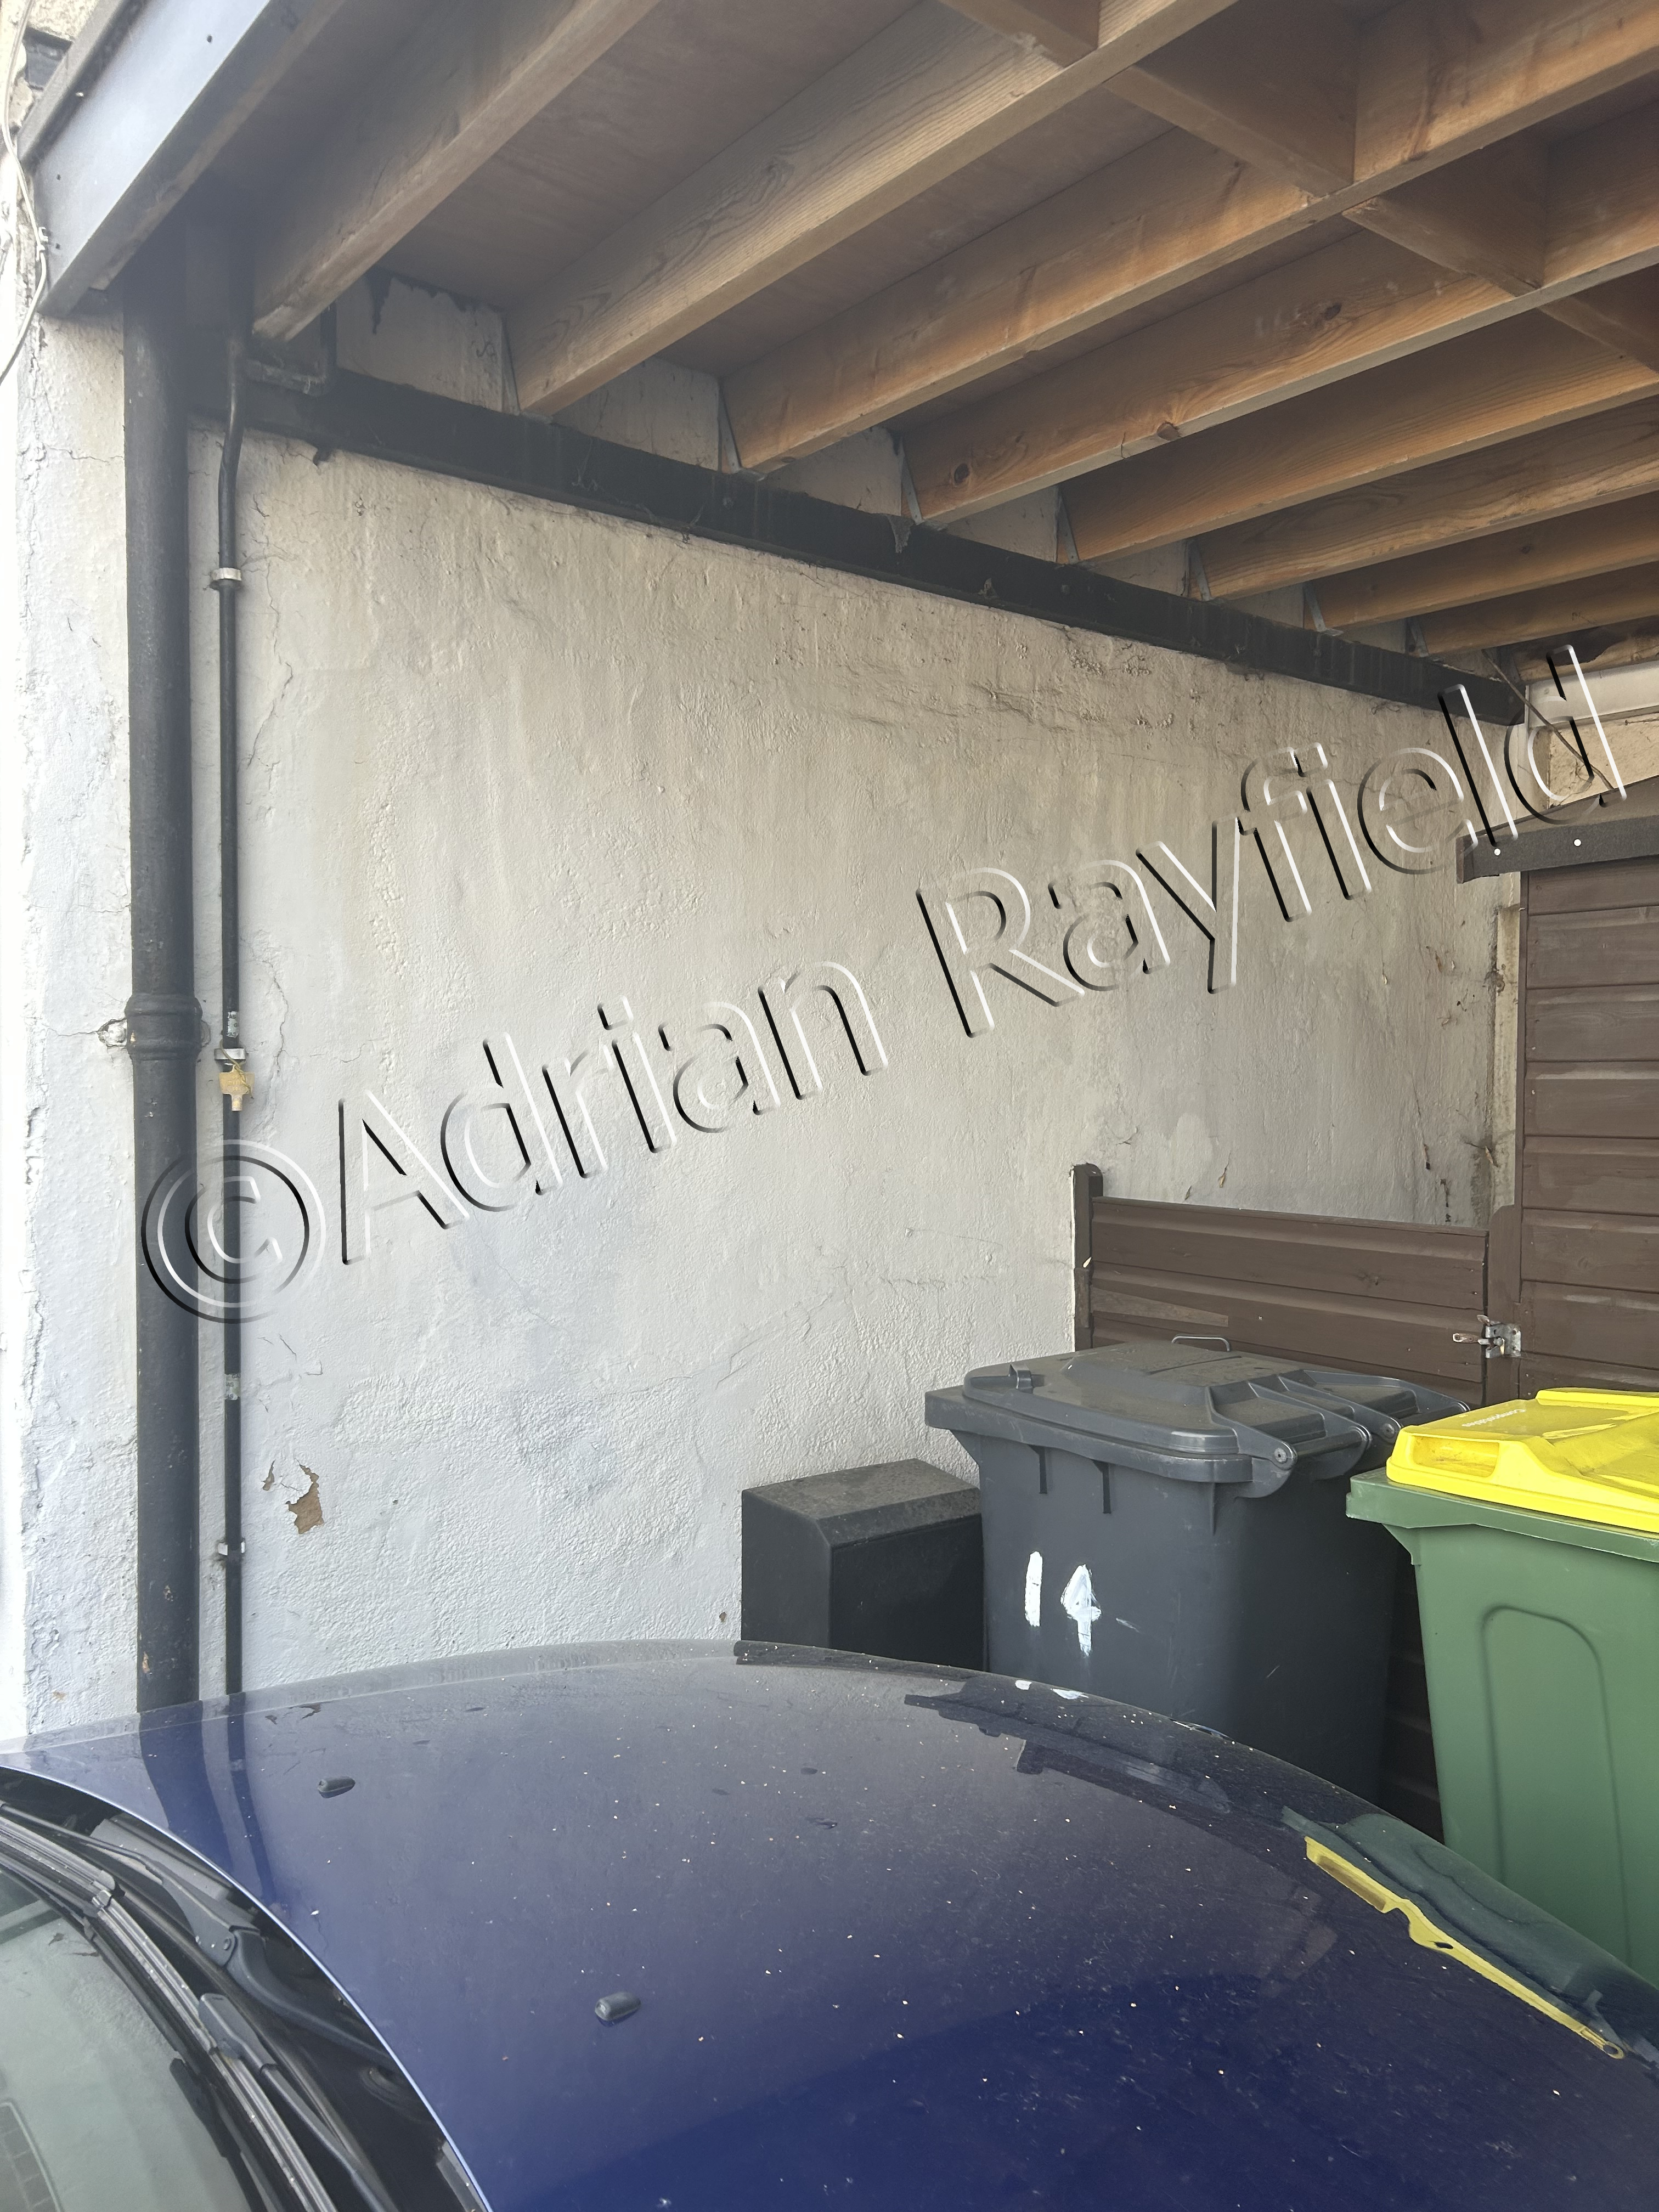
The property needed scaffolding on the front and part of the side elevation’s due to the limited access for a ladder and for the height of the apex section on the front elevation. This was sourced by the client and erected before work began.
Repairs
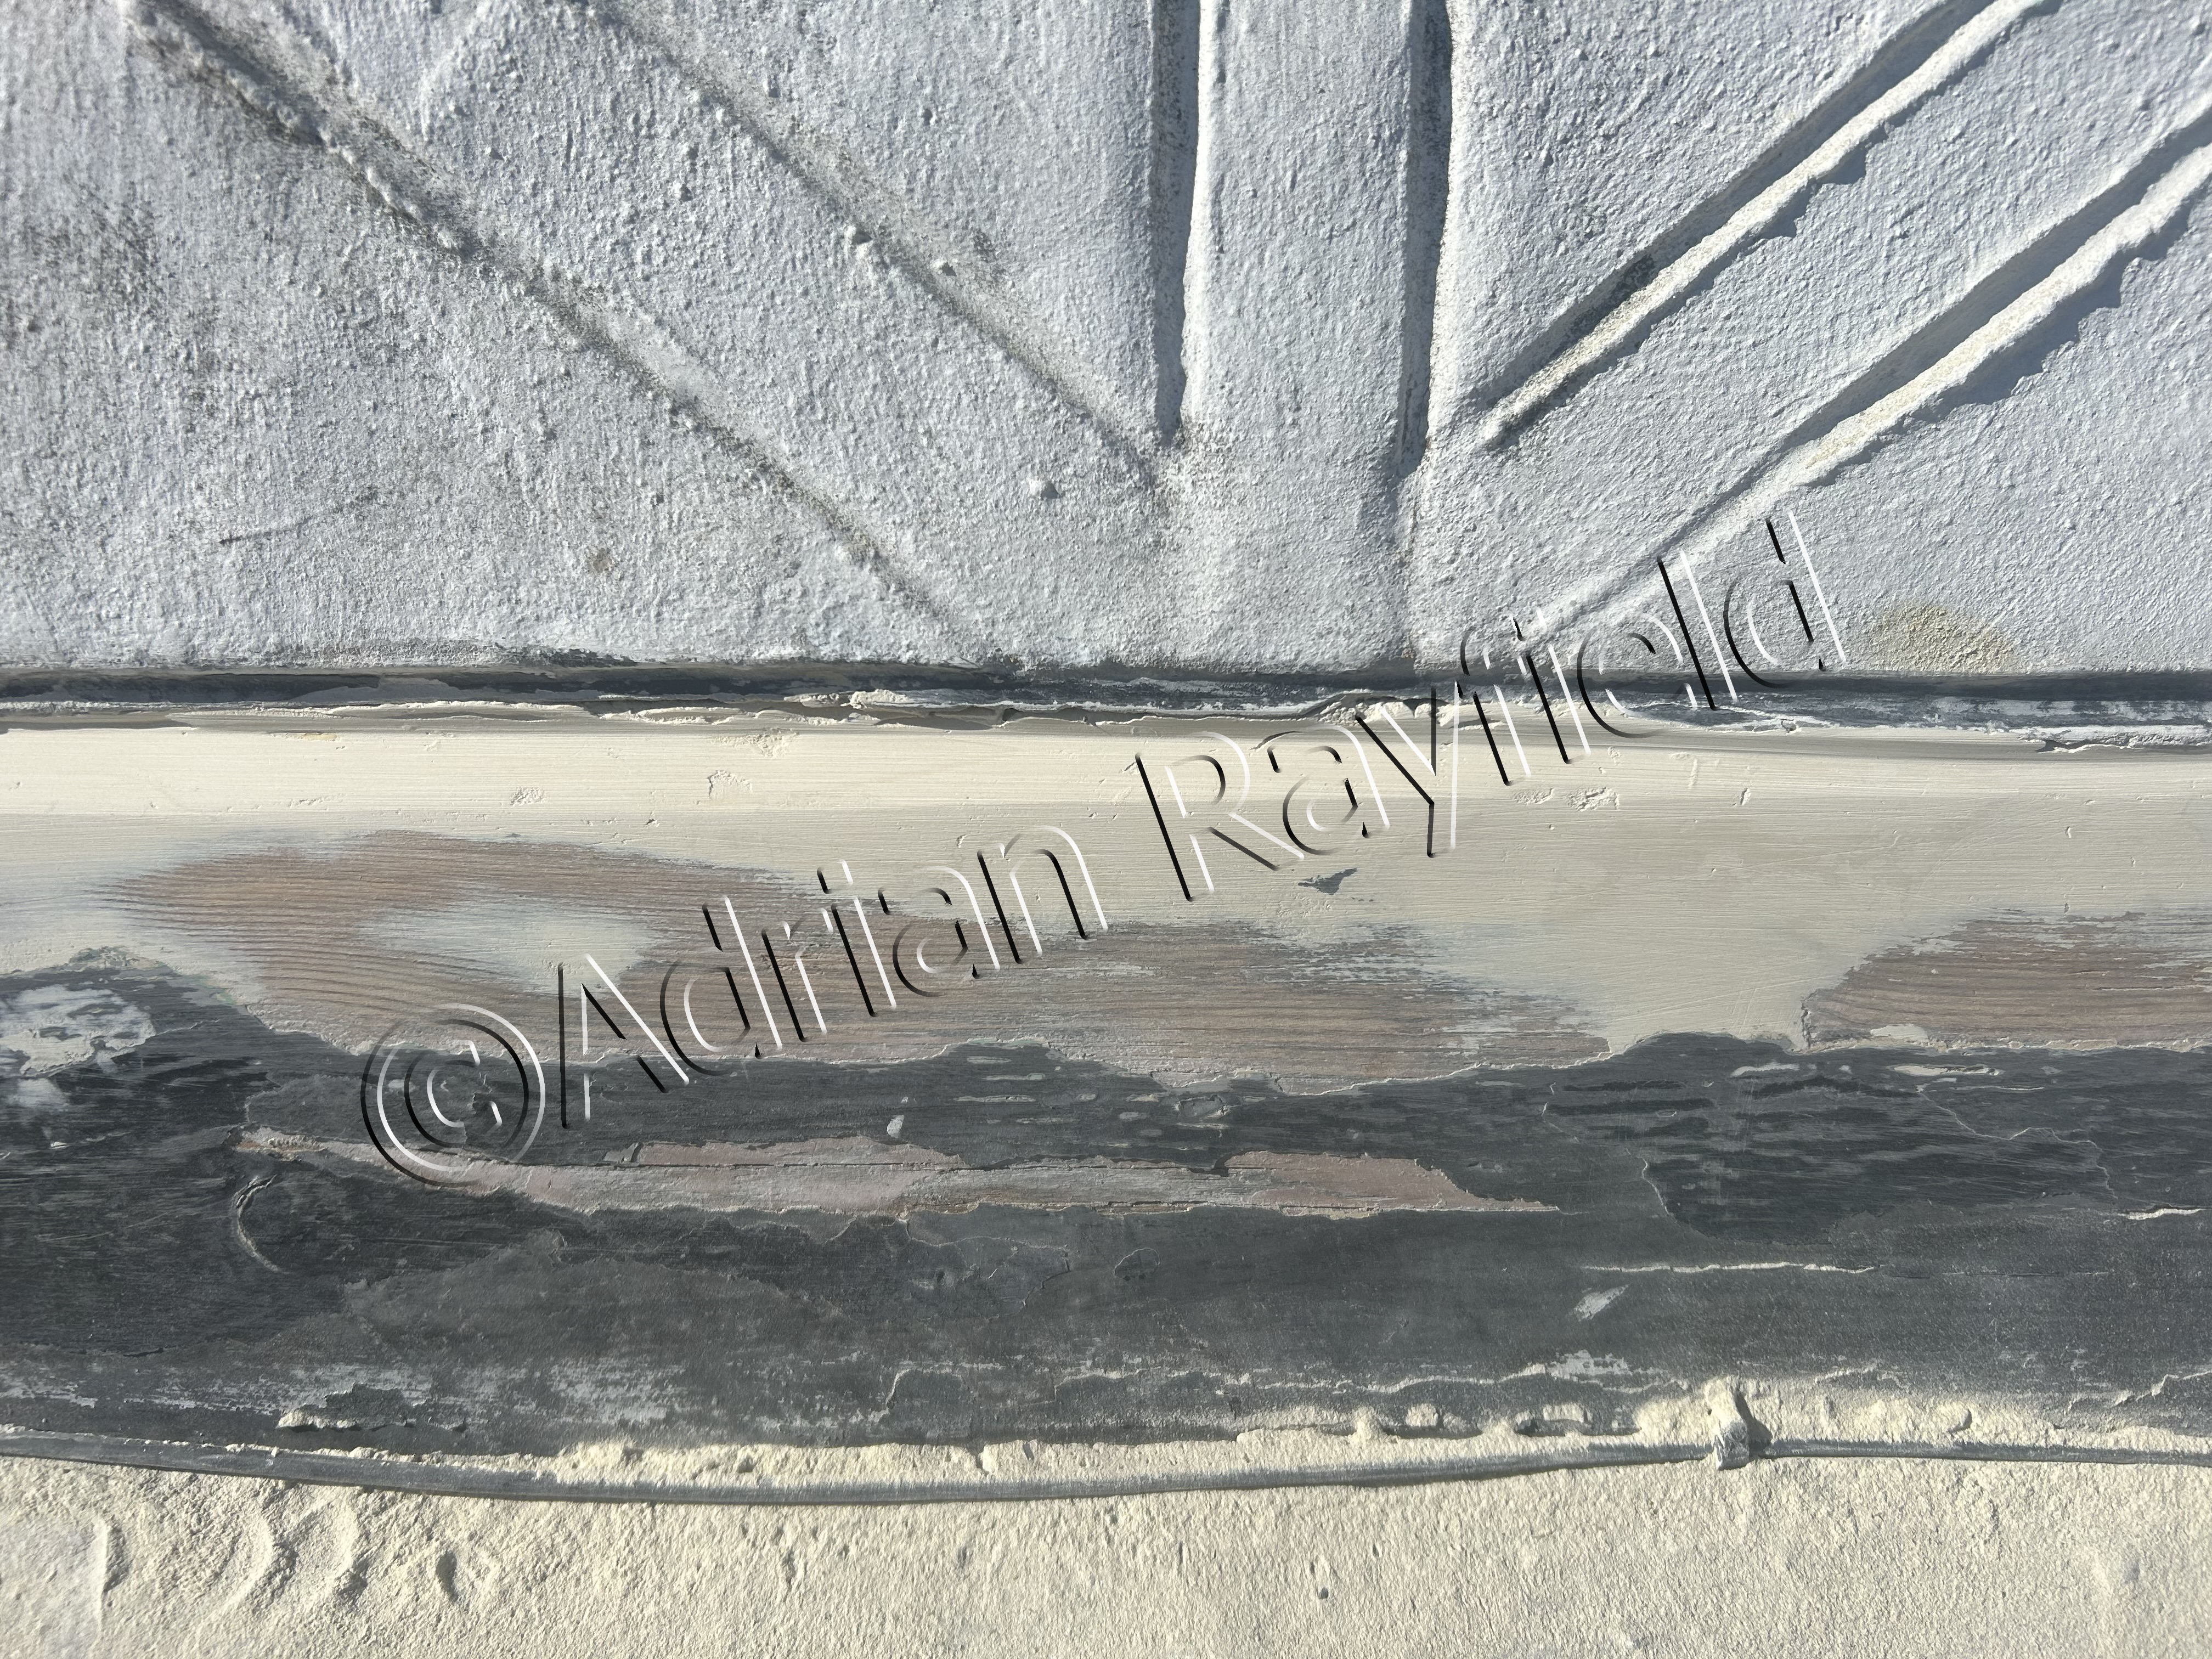
After some repairs were carried out to the masonry and woodwork, a fair amount of wood filler was used, the woodwork, masonry and carport were all painted to the clients specification and colour choices.
I always work closely with the clients and advising them on such things as if scaffolding is required and where, and also the colour choices and the best types of paints to use, this is the best way to have a good client relationship and at the end of the day everyone is happy and knows what to expect by the end of each day, and the completion of the job.
The results
Once the work was all complete, the client was very happy with the results, saying, “I am delighted with the work you have done”. You can see the before, during and after in the pictures below.
Tags: advice, apex, before and after, carport, Decorating, Dulux, Exterior, External, Filler, fillers, Masonry, masonry paint, Paint, Painting, Property, rot, rotten wood, scaffolding, wood filler, Woodwork
Posted in Home Improvements, News | No Comments »
Filling holes in wood with wooden plugs
Posted by Adrian
April 22nd, 2020
Filling holes in wood with wooden plugs
When it comes to filling holes in wood, plaster etc it is typically done with a powder filler or a two part filler, as discussed in this blog post about fillers, the different types and their uses.
But what do you do if you want to fill screw holes in wood and then varnish the wood in clear varnish or leave it natural, you could use a natural coloured filler or you could use wooden plugs or pellets. This may occur, for example if you have a hardwood window sill, such as oak or mahogany and you want to use a clear varnish on it, then you don’t want to see the filler, this is where these wooden plugs come in.
What are wooden plugs
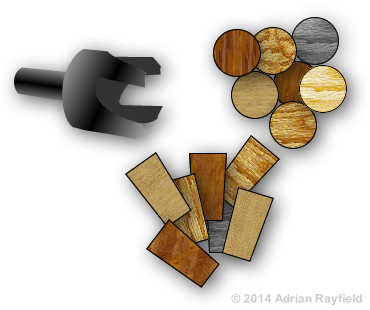
Wooden plugs are used to conceal and hide screw holes in wood without the use of a wood filler. They are made from the same wood as surrounding wood so that the grain and wood colouring match in when finished. You can make your own wooden plugs by buying a wooden plug cutter, these are available from any good hardware or timber store. They come in different sizes to match the size hole you wish to fill.
When you drill the plug you will notice the edges are slightly tapered, this is to allow for a good fit.
Using wooden plugs
Firstly you will require a piece of wood, such as an off cut of the timber you wish to fill the screw hole in. You will also need the plug cutter.
Lay the off cut on a flat surface, drill into the off cut with the plug cutter, this will produce a plug for you. Once you have the plugs you require you can fix them into place.
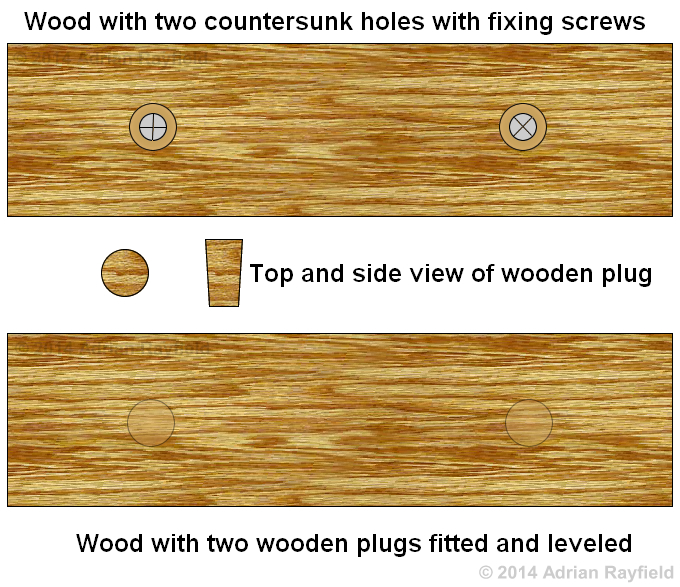
Take some wood glue and put a little around the plug and a little in the screw hole. Next place the plug into the hole making sure the grain of the plug runs the same way as the surrounding wood, give the top of the plug a little tap with a hammer to ensure a good tight and secure fit. Wipe any excess glue that may ooze out with a damp cloth, allow the glue to fully dry.
When the glue has fully dried you can finish the plug off, to do this you need to carefully remove the top of the plug with a sharp chisel, leave the plug just proud of the surrounding timber. The remaining plug can then be sanded down level with the surrounding area.
Once you are happy with the plug you can apply the finishing coat over the wood and the screw hole will almost be invisible.
Tags: Filler, Lumber, Powder Filler, Timber, Varish, Wood, Wooden Pellet, Wooden Plug, Wooden Plug Cutter, Woodwork
Posted in Decorating Tips, Home Improvements | No Comments »
What is decorators caulk
Posted by Adrian
February 22nd, 2019
What is decorators caulk / filler
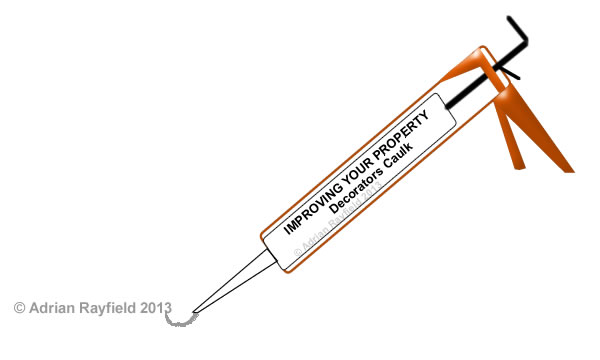
Decorators caulk is a decorating gap filler, is made of an acrylic and is flexible once dried. It is ideal for areas that have movement but cannot be used like a powder filler and cannot be rubbed down, it can be painted over. It is the best kept decorators secret ever, my wife had never heard about “flexi-filler” as she calls it until I met her.
Notice the spelling also, it is decorators caulk, not cork.
What is decorators caulk used for
Decorators caulk, or decorators filler as it’s sometimes called is used for filling gaps around door and window frames, along the top of skirting boards, gaps around the ceiling and coving line and is ideal for using if there is movement due to it’s flexible properties.
Use decorators caulk for:
- Around Door frames
- Around Window frames (Wood or UPVC)
- Skirting boards
- Ceiling and wall line
- Around coving
- Staircases
- Interior wall corners
How long does decorators caulk take to dry
This is dependent on many factors such as room temperature and humidity, size of gap filled and porousness of where it has been applied. The drying time can be anything from 20 minutes to 2 or more hours. If unsure it is best to leave for a few hours before over painting it.
How to use decorators caulk
Decorators caulk is easy to use, we have written a post detailing how to use decorators caulk on our other blog DIY By Design so there isn’t any need to cover it in depth here.
Why does decorators caulk crack
Decorators caulk may crack if the gap you filled is too large, it may also sink or shrink slightly. If this is the case apply a second layer of caulk over the top of the first one.
If the caulk has cracked or crazed when you have painted it, this could be you didn’t leave it long enough for it to dry.
It isn’t uncommon for paint to crack or craze on top of the filler, this is mostly a problem for emulsions, a simple solution is to paint over the caulk with a non-vinyl paint, such as an acrylic primer.
Update
I have done a review on a caulk that doesn’t crack or craze, I have been using it for a while and the results are good.
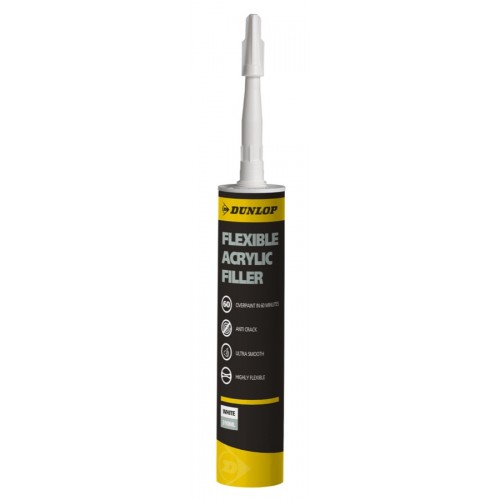
Read my Review Of Dunlop Pro Decor Flexible Acrylic Filler Caulk here. And if you would like to buy some for yourself you can buy Dunlop Pro Decor Flexible Filler caulk from here.
Tags: Acrylic, caulk, Caulking, Ceiling, Coving, Decorators Caulk, DIY, Door, Filler, Frame, Handyman, Skirting Boards, Window
Posted in Decorating Tips, Home Improvements | 1 Comment »


