Painting, decorating and home improvement tips blog
How to repair an Artexed ceiling
Posted by Adrian
August 2nd, 2016
How to repair an Artexed ceiling
I recently decorated a room for a client, part of the job was to repair an Artexed ceiling where the joint tape had come away for whatever reason, either previous water damage or simply failed tape.
I decided to make a video showing how I repaired the ceiling and through to its completion, painted.
So here is the short video showing the steps taken from start to finish.
The same principles can be applied for Artexed walls also.
You may also want to read this article, How To Remove Artex, specifically the section headed “Artex And Health Issues” especially if you have older Artex in your house.
How to repair an Artexed ceiling video
A short video showing step by step how to repair an Artexed ceiling.
Tags: Artex, Ceiling, Joint Tape, Painting, Repair, Texture, Textured, Wall
Posted in Decorating Tips, Resources, Video | No Comments »
Painter and decorator based in Southend on Sea
Posted by Adrian
April 19th, 2016
Painter and decorator based in Southend on Sea
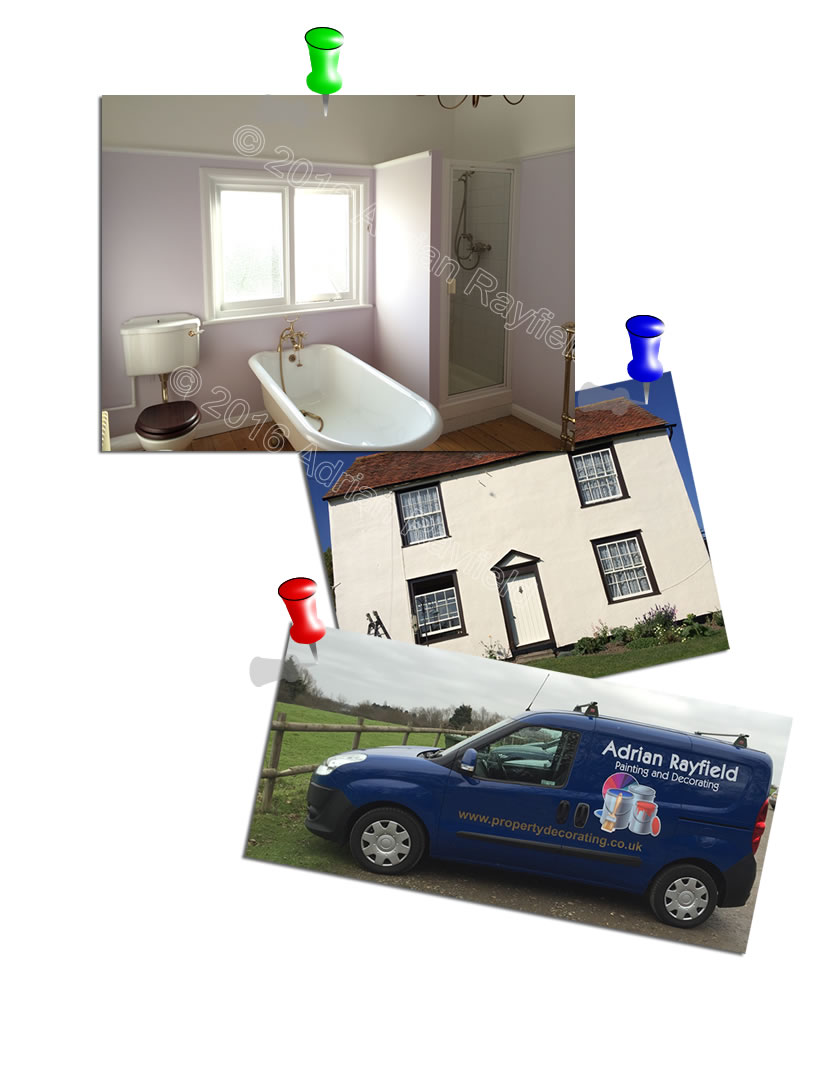
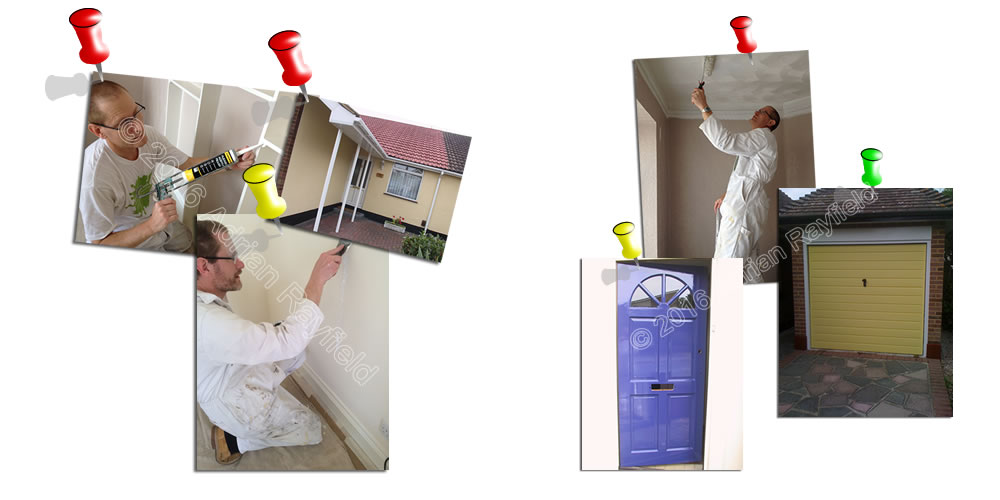
Having lived and worked in the Southend area and working as a painter and decorator since 1993 I have over this time covered a variety of decorating and home improvement and handyman projects. Covering mainly residential work but not exclusively as I have done some commercial projects also. Some of the areas covered are Great Wakering, Barling, Southchurch, Rochford, Southend, Thorpe Bay and surrounding areas.
I find sticking to this area I can keep a good reputation and my name is seen and known around the area, I used to travel further afield but rarely do these days.
Having started my business before the internet became popular I have grown with the web and have websites, blogs, social media such as Twitter and Facebook as well as doing some videos on YouTube. I have also been asked to do reviews for several decorating items and paints. I have also created and coded myself some calculators to help you work out the quantity of materials required for your job. I can work these out for you on an onsite visit and source them if you require.
If you would like me to do your decorating, please do not hesitate to give us a call on 0845 0037 508 or use our online estimate form to arrange an onsite visit. I will visit your property and discuss your requirements, materials and answer any questions you may have, you can also be rest assured that I will be the person who will be doing your job, we do not sub-contract out work, this gives both parties an excellent working relationship. I do not give prices over the phone or without looking at the job, once I have seen and discussed with you your requirements, you will receive an estimate from me, either via email or post.
Tags: Blog, Decorating, Decorator, Facebook, Home Improvement, Painting, Residential, Review, Southend, Southend on Sea, Twitter, Website, You tube
Posted in News | 1 Comment »
How to clean paint brushes
Posted by Adrian
September 2nd, 2015

How to clean paint brushes
Once you have used your paint brush you have three options, option one is to simply throw it away. This is costly and if you have spent out on a good brush it is a serious waste of money! Option two, store the brush in a brush storage container or similar. This is good if you will be using the same brush with the same colour again in the future. Option three, clean your paint brush.
Depending if you are a professional painter and decorator or a DIYer and how much you have spent on your brushes will determine what you will do with your brushes. For professional painters we like to look after our brushes as we tend to buy good quality brushes that aren’t cheap so keeping them for as long as possible requires they are looked after and cleaned out.
Cleaning your brushes
If you are using water based paints then all you need is some water and soap and maybe a brush comb. Once you have finished with it and ready to clean the brush, get as much out of the brush as you can by wiping it on the edge of the paint can. Then run the brush under warm water, have the bristles facing down so the paint runs out of the bristles rather than up them and into the ferrule where it can dry and go hard.
Once the worst is washed out you can use a little soap to help wash any colour out of the bristles. Once you have done this you can use a brush comb to remove any stubborn and dried paint for the bristles, then give it a final rinse and shake out the water.
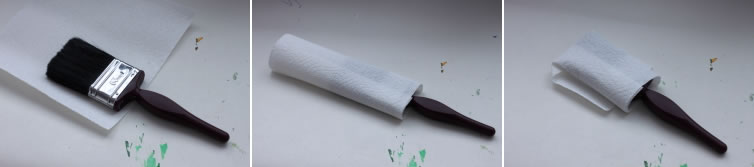
You should now store the brush either in it’s original packaging or wrapped in kitchen towel to help keep all the bristles straight, ready for it’s next use.
If you are using oil based paints, you should start the same way and remove as much paint as possible, then use a brush cleaner or white spirit to wash the brush out in, you may have to use clean brush cleaner to make sure all the paint and colour is removed. You can then treat the brush as you would one you have used in water based paints, so wash in warm soapy water, use a brush comb if required and store in its original packaging or paper towel.
Storing brushes
If you are going to use your brush again in the not too distant future you can buy a brush storage container, there are several on the market. By using these storage containeryou can quickly and easily come back to your brushes, they will still be soft, in the colour you want and ready to go. So they are well worth the investment if you use your brushes a lot or are a painter and decorator.
Tags: brush, Brush Cleaning, Brushes, Decorating, Oil-based paint, Painting, water-based paints
Posted in Decorating Tips | 2 Comments »