Painting, decorating and home improvement tips blog
How to Choose a Paint Roller
Posted by Adrian
September 23rd, 2016
How to Choose a Paint Roller
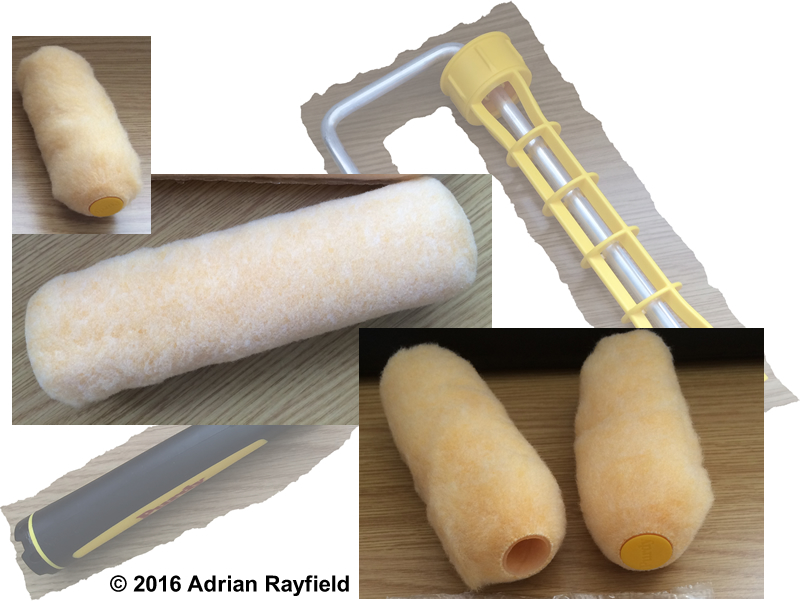
When it comes to painting walls, ceilings or trim you need to consider the type of roller you need to use for the best results for the job you are doing. This not only includes the length of the roller but the nap or pile of the roller, a bigger nap roller will hold more paint, whereas as a smaller nap roller will hold less but will give a smoother finish.
You also have to have the correct roller cage or arm for the roller sleeve. Roller sleeves have a different diameter core, or hole, for where the cage fits into, it may have a 1 ½ inch or a 1 ¾ inch core so make sure you have a matching cage and roller sleeve.
Some rollers, such as a 4 inch mini rollers don’t need a cage, the sleeve has a small diameter core that slides over a arm. This is essentially a length of metal that has a right angled bend on the end to accept a mini roller sleeve. If you get a long arm for a 4 inch microfibre sleeve it is ideal for getting into those hard to reach places such as behind a radiator.
Some manufacturers do however make small rollers that do need a small ¾ frame for there 4 inch rollers.
Choosing the right roller sleeve for the job
Below is a list of roller sleeve pile thickness (nap) for a particular job, there are slight variations between manufacturers so thickness given is only a guide.
- Short pile – ⅜ nap (10mm approx) Ideal for smooth surfaces, newly plastered ceiling and walls, emulsions, eggshell and satin finishes.
- Medium pile – ½ nap (13mm approx) Ideal for semi-rough surfaces such as Artexed ceiling and walls, flat walls and ceilings, emulsions.
- Long pile – ¾ nap (19mm approx) Ideal for semi-rough to rough surfaces, emulsions, masonry paint.
- Extra long pile – 1 ¼ nap (32mm approx) Ideal for rough to very rough surfaces, masonry paints, emulsion.
- Mini microfibre roller – ⅜ nap (10mm approx) Ideal for smooth finishes, emulsion, new plaster.
- Foam roller – High Density Foam Ideal for smooth finishes, trim, gloss, satin and varnishes.
So basically a thin nap is ideal for flat surfaces, trim etc and thick nap is ideal for rough textured surfaces such as heavy artex or masonry. Foam rollers are great for trim, doors etc.
It is worth paying for a decent roller set up if you intend to use it more than once, some cheap DIY store offerings should be avoided as they do not last and the sleeve may molt leaving you with bits of roller sleeve in you paint, or you spending more time picking bits out of the paint rather than painting.
Tags: Ceiling, Eggshell, Emulsion, Foam, Long, Masonry, Medium, Microfibre, mini, Nap, Paint, Pile, Plaster, Roller, Satin, Short, Sleeve, Walls
Posted in Decorating Tips | 1 Comment »
How to paint a front door
Posted by Adrian
May 18th, 2015
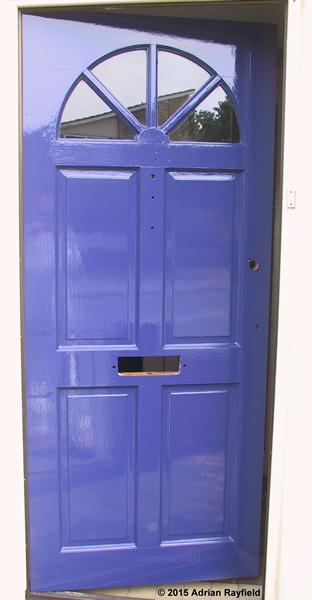
How to paint a front door
From time to time you will need to paint your front door, if it is wood that is. Ideally pick a couple of dry days to complete the job such as spring or summer. Pick a good quality exterior paint to ensure a long lasting job.
The front door is one of the most seen parts of your house, a good looking door gives a good impression to visitors, and especially if you are selling your house as it gives kerb appeal.
You should gather all the tools required before starting, you will need:
- Screwdrivers
- Adjustable spanner
- Sandpaper (various grades)
- Primer
- Undercoat
- Topcoat (Satin or gloss)
- Paint stripper (optional)
- Heat gun (optional)
- Scraper (optional)
Ironwork / Door furniture
The first job is to remove all ironwork or door furniture such as locks, knocker, letterbox, escutcheon, door pull and numbers. This will make it far easier for working on the door. Put everything to one side being careful not to lose any screws as some can be tiny and you will need them again later to refit the ironwork / door furniture. You may need an adjustable spanner for the knocker or letterbox.
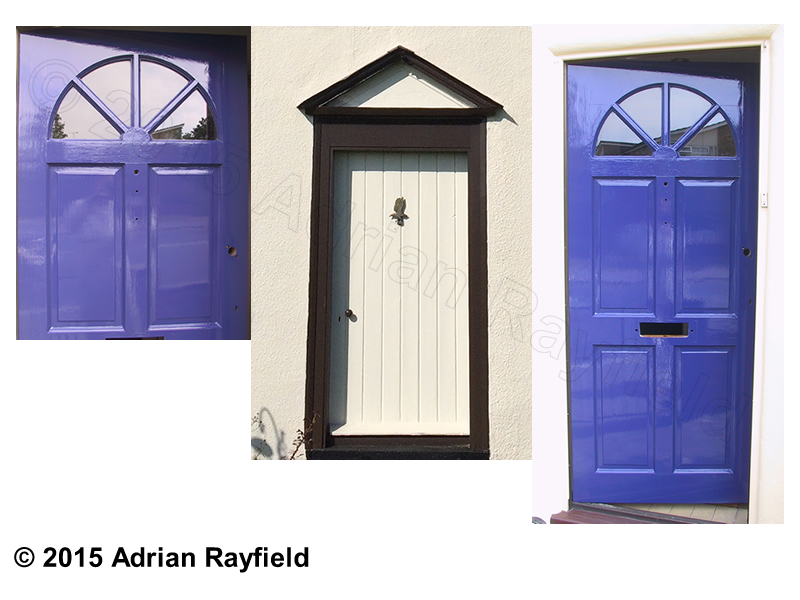
Preparation
As with all decorating jobs, preparation is key and will take most of your time. Now is the time to decide if you are simply going to re-decorate your door, or give it a real overhaul and strip the existing finish off back to bare wood.
If you are going to remove all the existing paint finish you can do this either by using a heat gun and scraper, or paint remover and scraper. The choice is really up to you. Once the door is stripped give it a good rub down and fill any crack and holes and sand these level and smooth. Once you have done this you are now ready to move to the next section, prime.
If you decide against stripping the door back to bare wood, or it simply doesn’t need it you should give the existing surface a good clean off to remove dirt and grime with a cloth and maybe water, the give the surface a good rub down. Fill any cracks or unwanted holes and rub them down level and smooth. Dust off and you can move onto the next section, prime.
Prime
Once you have prepared the door you should prime the entire door if you have stripped it back to bare wood, or spot prime bare wood if you have just rubbed down and filled. Allow to dry before moving onto undercoating.
Undercoat
Once you have primed the door, whether it be the entire door or spot primed, give the primer a light sand down before applying one or two coats of undercoat. Allow each coat to dry fully if you give it more than one coat sand back between coats for that perfect smooth finish.
Topcoat
Once you have prepared the door correctly and given it it’s necessary coats of primer and undercoat you can now give the door it’s final sand back and the final coat, the topcoat. This maybe a satin finish or a gloss. Again you may want to give two topcoats, but read the manufacturer’s instructions to ensure you leave enough time between coats, and a word of warning, if you sandback, you a fine paper and use light strokes. If you are too harsh you could scratch the surface too much, or even worse roll up the first coat and ruin all your hard work.
Non-painted or varnished doors
This post deals with painted doors, such a glossed doors but for other finishes, such as varnish or stained door the principle is the same, apart from you wouldn’t use primer or undercoat, however the preparation part is still applicable and needs to be done.
Tags: Door, Door Furniture, Filler, Filling, Gloss, Ironwork, Knocker, Letterbox, Lock, Paint, Painting, Preparation, Primer, Satin, Topcoat, Undercoat, Varnish, Woodstain
Posted in Decorating Tips | 1 Comment »