Painting, decorating and home improvement tips blog
How to cut wallpaper
Posted by Adrian
February 28th, 2017
How to cut wallpaper
If you are hanging any type of wallpaper, making a good clean cut can make or break a job. The last thing you want to see are torn ragged edges, so the key to cutting wallpaper is to use sharp tools.
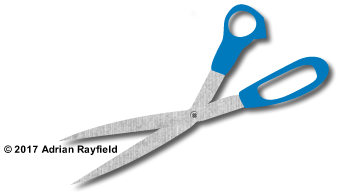
Scissors
Scissors can be used to trim paper, cut paper and remove excess paper as you hang, so a good paper hanging pair of scissors are always good to have to hand when wallpapering. To use scissors to trim the top and bottom of the paper, use a pencil to mark a line where you need to cut making sure the paper is well pushed in. Mark and then lift the paper slightly and trim carefully along the line with the scissors or papering shears.
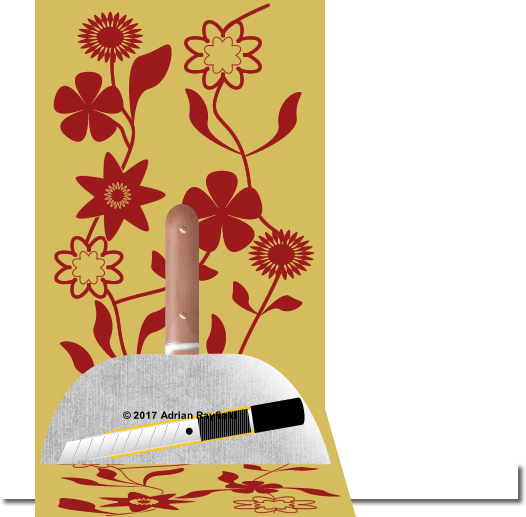
Knife

A knife is the most popular choice, and the best type to use are a craft knife or one that has snap off blades. This way you can simply snap an end off and you have a sharp cutting edge again, this should be done regularly to avoid the knife dragging and tearing the paper. The amount of cuts between each ‘snap’ of blade will depend on the surface you are cutting on to. Wood and plaster will blunt the blade quickly.
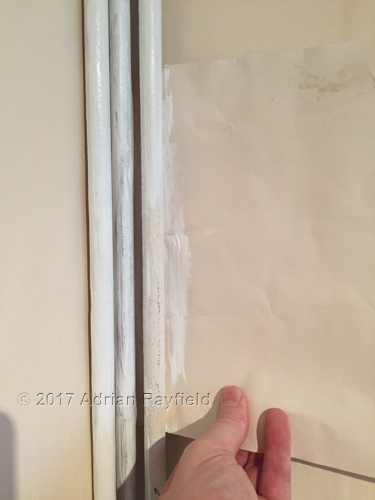
To trim the paper make sure the paper is pushed well into where the cut will be, then use something like a wide scraper to hold the paper and then cut along the edge with a sharp knife. Having a sharp knife will make life easier and you can trim on one cut.

Other tools
There are a number of other tools on the market such as rotary cutters, battery powered cutters, triangle shaped and wedge shaped cutter. All these tools work on the same basic principle, they use a sharp cutting blade to trim the paper. Some I have to say are more successful than others, and some last better than others but at the end of the day it is personal preference to which tool you prefer to use.

Wallpaper Calculator
If you need to work out how many rolls of wallpaper to buy, why not use our Wallpaper Calculator to do it, it even has a feet to metre convertor.
Tags: Cutting Wallpaper, Decorating, Knife, scissors, Scrapper, Tools, Trim, Wallpaper, Wallpaper Calculator, Wallpapering
Posted in Decorating Tips | No Comments »
Painting pipes and Pipework
Posted by Adrian
January 31st, 2017
Painting Pipes and pipework
From time to time we have to paint pipes or pipework, this can be inside or outside a property. It could be plastic PVCu drainage pipes from kitchens or bathrooms, or maybe copper water pipes for heating etc.
What ever the situation un-painted pipes can look unsightly, pipes look better painted. They maybe in a different colour, sometimes a different finish such as gloss or satinwood.
To get a good professional finish you don’t want to get paint from the pipes onto the surrounding area, such as walls. A good trick is to put cardboard of a sheet of paper or old wallpaper behind the pipes to protect the area behind getting splashed or the brush touching the wall as you try to get the back part of the pipes, once done you will have beautifully painted pipes and no paint on the walls behind.
This tip works for all types of pipework, interior and exterior.
How to paint pipes and paintwork
To paint new copper pipes you need to ensure they are free from any plumbing flux and grease, so a wipe over with soapy water, methylated spirits or white spirit should remove this. With the pipes clean you can prime the pipes and then topcoat. I prefer satinwood but you can use gloss or emulsion. Oil based paints can yellow on hot water or heating pipes due to the heat.
To paint previously painted copper pipes, give them a quick wipe over to remove any dust etc, gently rub down to give a key, prime / undercoat and them topcoat with your preferred paint.
To paint plastic PVCu pipes, such as soil pipes, drainage pipes etc, ensure they are free from dirt and debris, including any plumbing grease etc. Give them a rub down with a fine grit sandpaper to give it a key, then prime, and paint with topcoat of choice.
Tags: Bathroom, Copper, Downpipe, heating, Kitchen, Painting, Pipes, Pipework, Plumbing, UPVC
Posted in Decorating Tips | No Comments »