Painting, decorating and home improvement tips blog
Spring clean – Cleaning your garden furniture
Posted by Adrian
April 20th, 2019
Spring clean – Cleaning your garden furniture
After the long cold winter we have just endured the garden looks a little worse for wear, but now we are getting some warmer spring like days it is the perfect time to get out into the garden. Apart from cutting back and pulling out the winter bedding plants and cutting the knee length grass, the garden furniture (unless kept in a shed or garage) will be in need of some tender loving care.
If you have plastic garden furniture you will have less work to do, if you have wooden furniture it does need looking after and the spring is the ideal time to do it, ready for the summer.
Plastic and metal garden furniture
If you have plastic or metal garden furniture all you really need to do is either pressure wash them off and dry them or use a bucket of warm soapy water and a sponge or cloth to wipe them over and remove the ground in winter dirt and grime. Check for condition, and check for rust on metal furniture and treat as required.
Wooden garden furniture
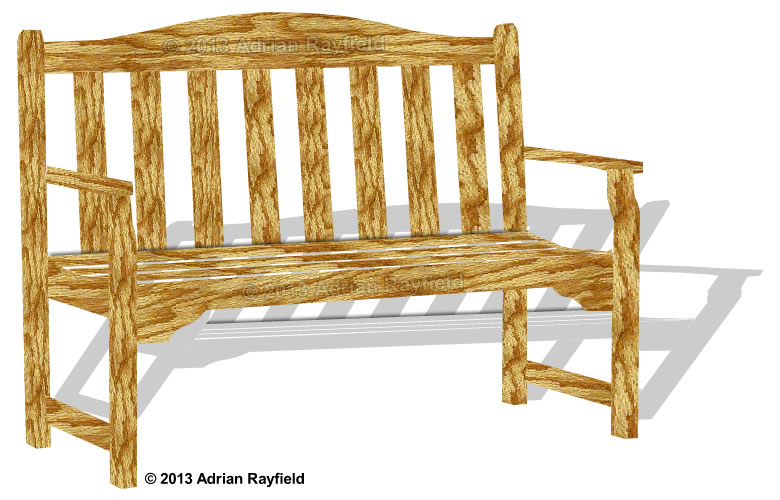
If you have wooden garden furniture you need to spend a little time cleaning and protecting them. A lot of garden furniture is simply oiled with teak oil to protect them from the elements. Some furniture may be painted or stained, but whatever they are protected with, a good clean is needed first.
Ideally a pressure washer is the perfect tool for the job, a quick blast from one of these and you will remove the grime, once you have washed the furniture down, let it dry before doing anything else to it. If you do not have a pressure washer, a bucket of warm soapy water and a nail brush and then a good rinse will do.
Check the condition of the furniture, has any of the seat slats rotted over the winter, if so you will need to replace them. The last thing you want is the mother-in-law to come round for a barbecue and sit on a chair and fall through it!
Once any repairs have been carried out you can get on with protecting the furniture, if you have stained wood give it a light rub down with sandpaper before coating it, if the furniture is painted a colour, with a gloss for example, you should treat this as you were painting any wood on your house. Give it a rub down, an undercoat and then a topcoat.
If you have furniture that is oiled rather than stained or painted, allow to dry after washing and rub it down to remove any ‘furry’ bits. Once it is smooth you can oil it with an oil such as teak oil, use a rag to apply the oil, leave to soak in and then apply another coat. Apply 3-4 coats for good penetration and protection. Allow 24 hours to dry before using the furniture.
Once you have cleaned your garden furniture you’re set for the summer. When it comes to the winter, if you have the space it is always best to put the furniture in a shed or garage but if this is not possible consider covering it up for the winter, it will mean one less job for next spring.
Tags: Garden Furniture, Metal Furniture, Plastic Furniture, Pressure Washer, Teak Oil, Wooden Furniture
Posted in Decorating Tips, Home Improvements | No Comments »
What is decorators caulk
Posted by Adrian
February 22nd, 2019
What is decorators caulk / filler
Decorators caulk is a decorating gap filler, is made of an acrylic and is flexible once dried. It is ideal for areas that have movement but cannot be used like a powder filler and cannot be rubbed down, it can be painted over. It is the best kept decorators secret ever, my wife had never heard about “flexi-filler” as she calls it until I met her.
Notice the spelling also, it is decorators caulk, not cork.
What is decorators caulk used for
Decorators caulk, or decorators filler as it’s sometimes called is used for filling gaps around door and window frames, along the top of skirting boards, gaps around the ceiling and coving line and is ideal for using if there is movement due to it’s flexible properties.
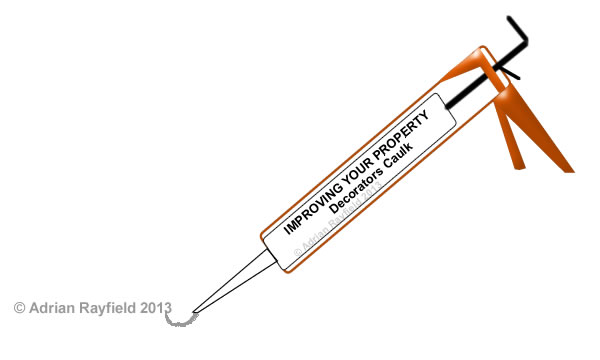
Use decorators caulk for:
- Around Door frames
- Around Window frames (Wood or UPVC)
- Skirting boards
- Ceiling and wall line
- Around coving
- Staircases
- Interior wall corners
How long does decorators caulk take to dry
This is dependent on many factors such as room temperature and humidity, size of gap filled and porousness of where it has been applied. The drying time can be anything from 20 minutes to 2 or more hours. If unsure it is best to leave for a few hours before over painting it.
How to use decorators caulk
Decorators caulk is easy to use, we have written a post detailing how to use decorators caulk on our other blog DIY By Design so there isn’t any need to cover it in depth here.
Why does decorators caulk crack
Decorators caulk may crack if the gap you filled is too large, it may also sink or shrink slightly. If this is the case apply a second layer of caulk over the top of the first one.
If the caulk has cracked or crazed when you have painted it, this could be you didn’t leave it long enough for it to dry.
It isn’t uncommon for paint to crack or craze on top of the filler, this is mostly a problem for emulsions, a simple solution is to paint over the caulk with a non-vinyl paint, such as an acrylic primer.
Update
I have done a review on a caulk that doesn’t crack or craze, I have been using it for a while and the results are good.
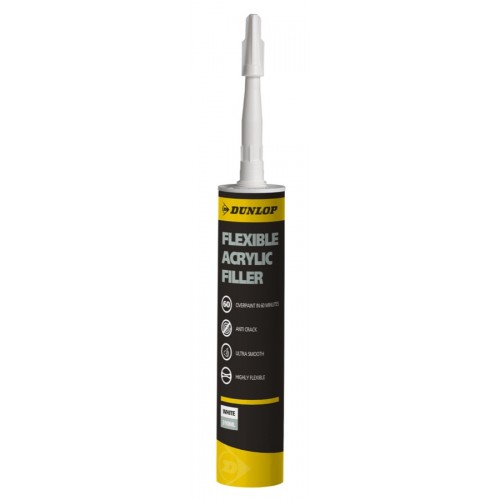
Read my Review Of Dunlop Pro Decor Flexible Acrylic Filler Caulk here. And if you would like to buy some for yourself you can buy Dunlop Pro Decor Flexible Filler caulk from here.
Tags: Acrylic, caulk, Caulking, Ceiling, Coving, Decorators Caulk, DIY, Door, Filler, Frame, Handyman, Skirting Boards, Window
Posted in Decorating Tips, Home Improvements | 1 Comment »
Types of wallpaper paste
Posted by Adrian
January 23rd, 2019
Types of wallpaper paste
There are many types of wallpaper paste and choosing the correct one can be confusing. Hopefully this post will help you decide the appropriate paste for the paper you are hanging.
The first place to look is on the hanging instructions themselves, this may come as a leaflet that came with the paper of a leaflet in the roll itself. If you are at all unsure ask your supplier or the wallpaper manufacturer directly.
Cold water paste
This is the type of paste that you mix yourself, you mix it with cold water. The amount of water depends on the type of paper being hung, you can find out how many litres of water to use on the paste sachet or box it comes in.
Getting it mixed correctly is the important part so it is strong enough to hold the paper. It is the easiest paste to remove as it is water soluble. This type of paste is starch based.
Here is a short video of how to mix the perfect wallpaper paste up:
All purpose
This paste is made for the majority of wallpapers from lining papers, to embossed and vinyl papers, but you should always check before using paste, especially on specialised papers.
Heavy duty
As the name suggests, this paste is for heavy duty or heavy weight papers, giving stronger adhesion than standard adhesives. It is however harder to remove when redecorating and if you get paste on the front of the paper, so care should be taken not to mark or damage the front of the paper and remove any excess paste as soon as possible.
Extra strong
This type of paste can be in the form of a powder paste or ready mixed, it is ideal for medium weight papers such as lining paper, embossed and anaglypta papers.
Paste the wall
As the name suggest, paste the wall adhesives mean you apply the paste direct to wall and not the back of the paper. This paste is only used for paste the wall papers as the paper has been designed that way and pasting the paper isn’t required.
Ready mixed
Ready mixed pastes come in tubs and are formulated and are vinyl based and do not dry out until they are exposed to air, such as when applied hung wallpaper. Some wallpapers recommend using a ready mixed paste whereas some wallpaper manufacturers may recommend their own ready mixed paste to ensure good adhesion to the surface the paper is being applied to.
The ready mixed pastes do tend to be more expensive than say cold water mixed pastes.
Wallpaper Calculator
Apart from your paste, you will need how many rolls of wallpaper, or ceiling paper to buy. We have a handy calculator for you do work out how many rolls you need to buy. Simply go to our Wallpaper calculator or Ceiling paper calculator, enter the measurements and hit the submit button, the amount of rolls you require will then be returned.
Tags: All purpose, Calculator, Ceiling, Cold Water Paste, Heavy duty, How to mix wallpaper paste, Paste, Paste the wall, Video, Wallpaper, Wallpapering
Posted in Decorating Tips, Home Improvements | No Comments »