Painting, decorating and home improvement tips blog
How to paint a ceiling
Posted by Adrian
April 11th, 2010

How to paint a ceiling
To start gather all the equipment needed
You will need:
- Dustsheets – To cover floor and furniture
- A brush – 1½ or 2 inch
- A roller cage – for the roller sleeve to go onto
- A roller sleeve – for smooth and lightly textured artexed ceilings use a fine or medium pile roller, ideally a 9-inch sleeve, for heavily artexed ceilings a long pile roller sleeve may be required
- A roller tray – big enough for a 9-inch roller
- A paint kettle – to tip some paint into for cutting in
- Paint – The paint for the ceiling, normally emulsion (use our paint calculator to determine how much paint you need)
- A step ladder
First move any furniture out of the room and cover any remaining furniture or alternatively cover the floor and furniture with dustsheets. Make sure you can reach the entire ceiling without over reaching, as this is unsafe. Next open your tin of paint and stir well, tip a small amount into the paint kettle, then fill the paint tray.
Now cut in (i.e. paint around the edge) using the brush and kettle, cut in around the ceiling including any light fittings. If you have coving, paint this with the brush also.
Once you have cut in, take your roller and get some paint onto it, roll it on the tray to work the paint into the roller sleeve and get it all around the sleeve.
Now take the roller and roll it over the ceiling, I find it best to work away from a natural light source such as a window
Work in small area’s in front, behind and either side of you, then top the roller up and move to the next area.
When you second coat the ceiling it maybe an idea to work at adjacent angle to avoid any missed area’s, this will also ensure you don’t end up with lines and also will give a nice even coat across the ceiling.
When you second coat the ceiling, cut in as before but this time don’t brush the coving, use a fairly dry roller to go over the coving, this will give a nicer finish. In my opinion anyway!
Tags: Ceiling, Emulsion, Paint, Paint Calculator, Roller
Posted in Decorating Tips | 2 Comments »
How to solve problems with cracks around the ceiling
Posted by Adrian
March 24th, 2010
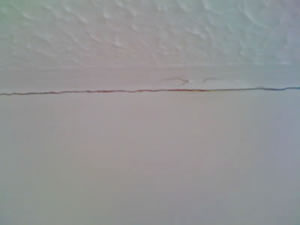
Cracking ceiling
The problem
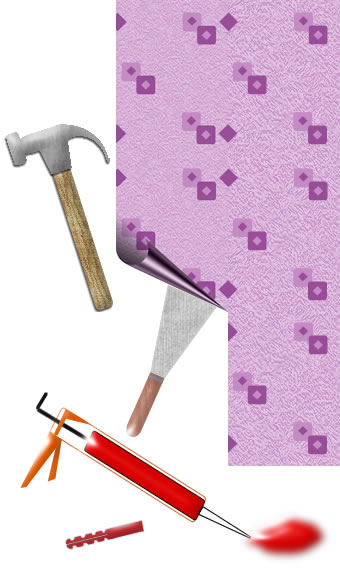
Movement in the ceiling or walls often causes cracks around the ceiling line as they expand and contract. Raking out the crack and filling can solve the problem as can applying decorator’s caulk to the crack. Both of these solutions may only be a short-term fix.
Houses are ‘living’ things and naturally expand and contract with the heat and cold, modern houses are often built with stud interior walls, in other words are made from timber and plasterboard, these naturally move over time.
Other causes of these types of cracks could be house settlement, especially on new builds or extensions. They are nothing to worry about.
Continue reading How to solve problems with cracks around the ceiling
Tags: Ceiling, Coving, Decorator Caulk
Posted in Decorating Tips | 13 Comments »
Decorating and preparation
Posted by Adrian
February 9th, 2010
Decoration or Preparation?
Preparation is key
A good decorating job consists of 90% preparation and 10% decoration, get these percentages around the wrong way, and you’ll know about it.
Taking the time to prepare before you decorate will pay dividends by giving you a far superior finish.
Things such as removing old wallpaper, washing things down, dusting off all take time but need to be done and done right.
For ceiling and walls
Remove any old wallpaper first. Stick back any loose paper if you just want to paint over it.
Make sure any loose plaster is rectified; fill holes and cracks.
Remove any old rawl plugs and fill the holes.
Ensure filler is sanded down properly and not left high, as it will show.
Woodwork
Make sure you rub down woodwork before painting it.
Use a suitable primer on any bare wood, then undercoat it and then topcoat it.
If you topcoat straight over topcoat and not give the surface a key first the topcoat applied will easily chip or scratch off.
General
Let new plaster completely dry out before decorating.
Deal with any damp problems at source rather than just cover it up.
Remove any mould that may of grown and treat the affected area.
Remember, preparation is key. Do it well and it will show in the finished job, do it badly and you will see it forever!
Get a professional in if you are unsure what to do or simply don’t want to take the time to “prep for you dec”.
Tags: Ceiling, Decorating, Decoration, New Plaster, Preparation, Walls, Woodwork
Posted in Decorating Tips | 1 Comment »