Painting, decorating and home improvement tips blog
Stepping back in time
Posted by Adrian
September 17th, 2023
Stepping back in time
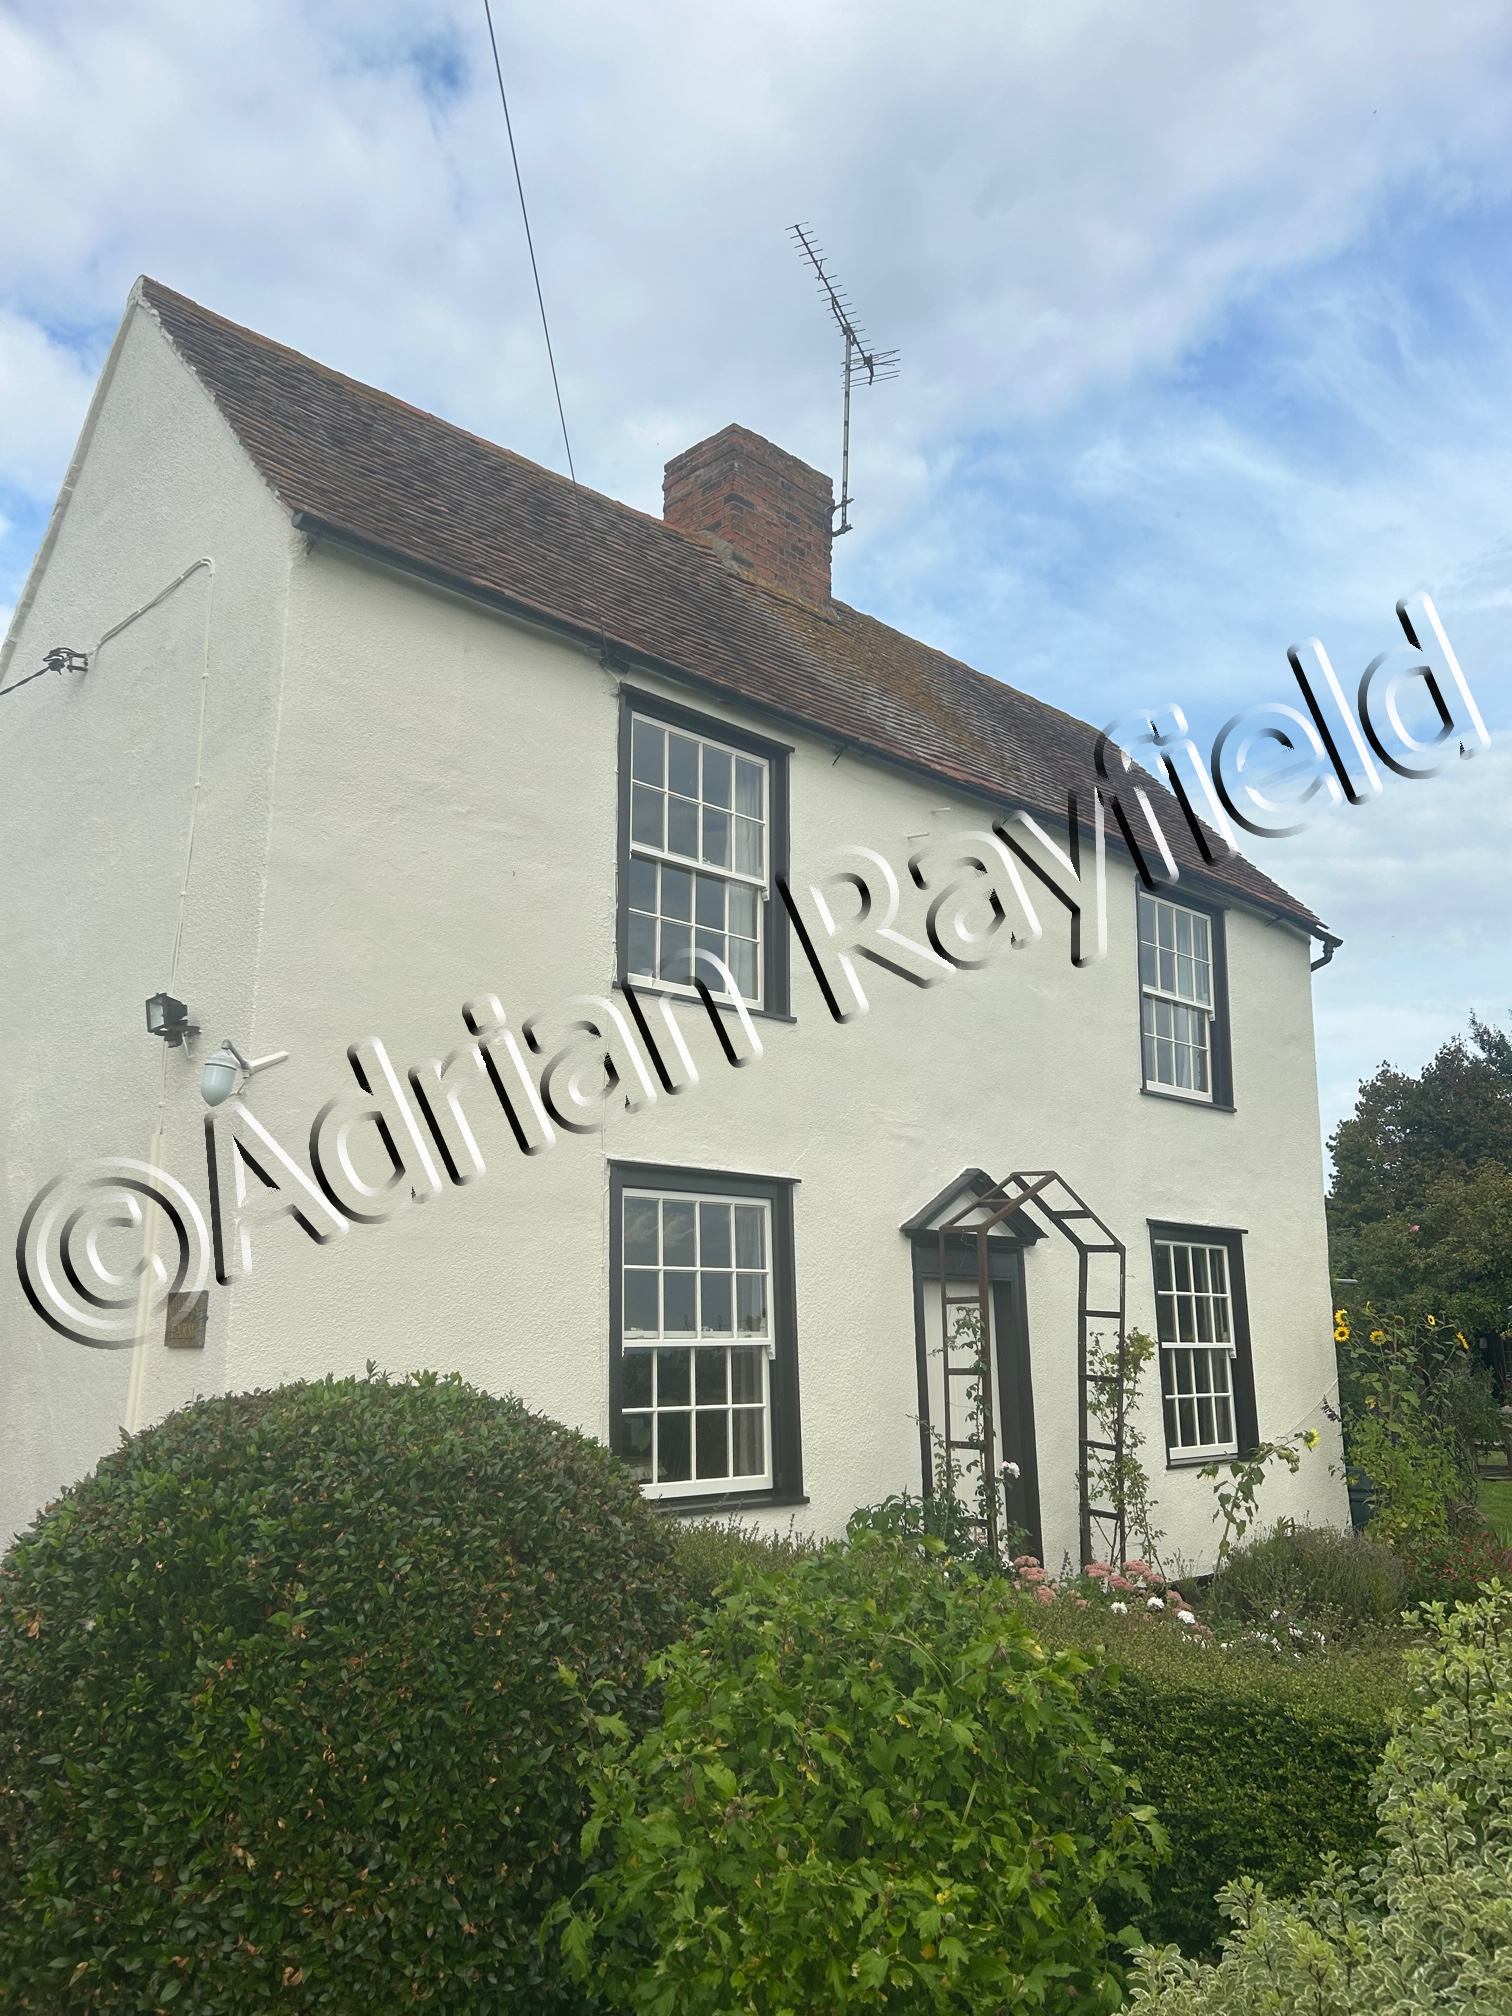
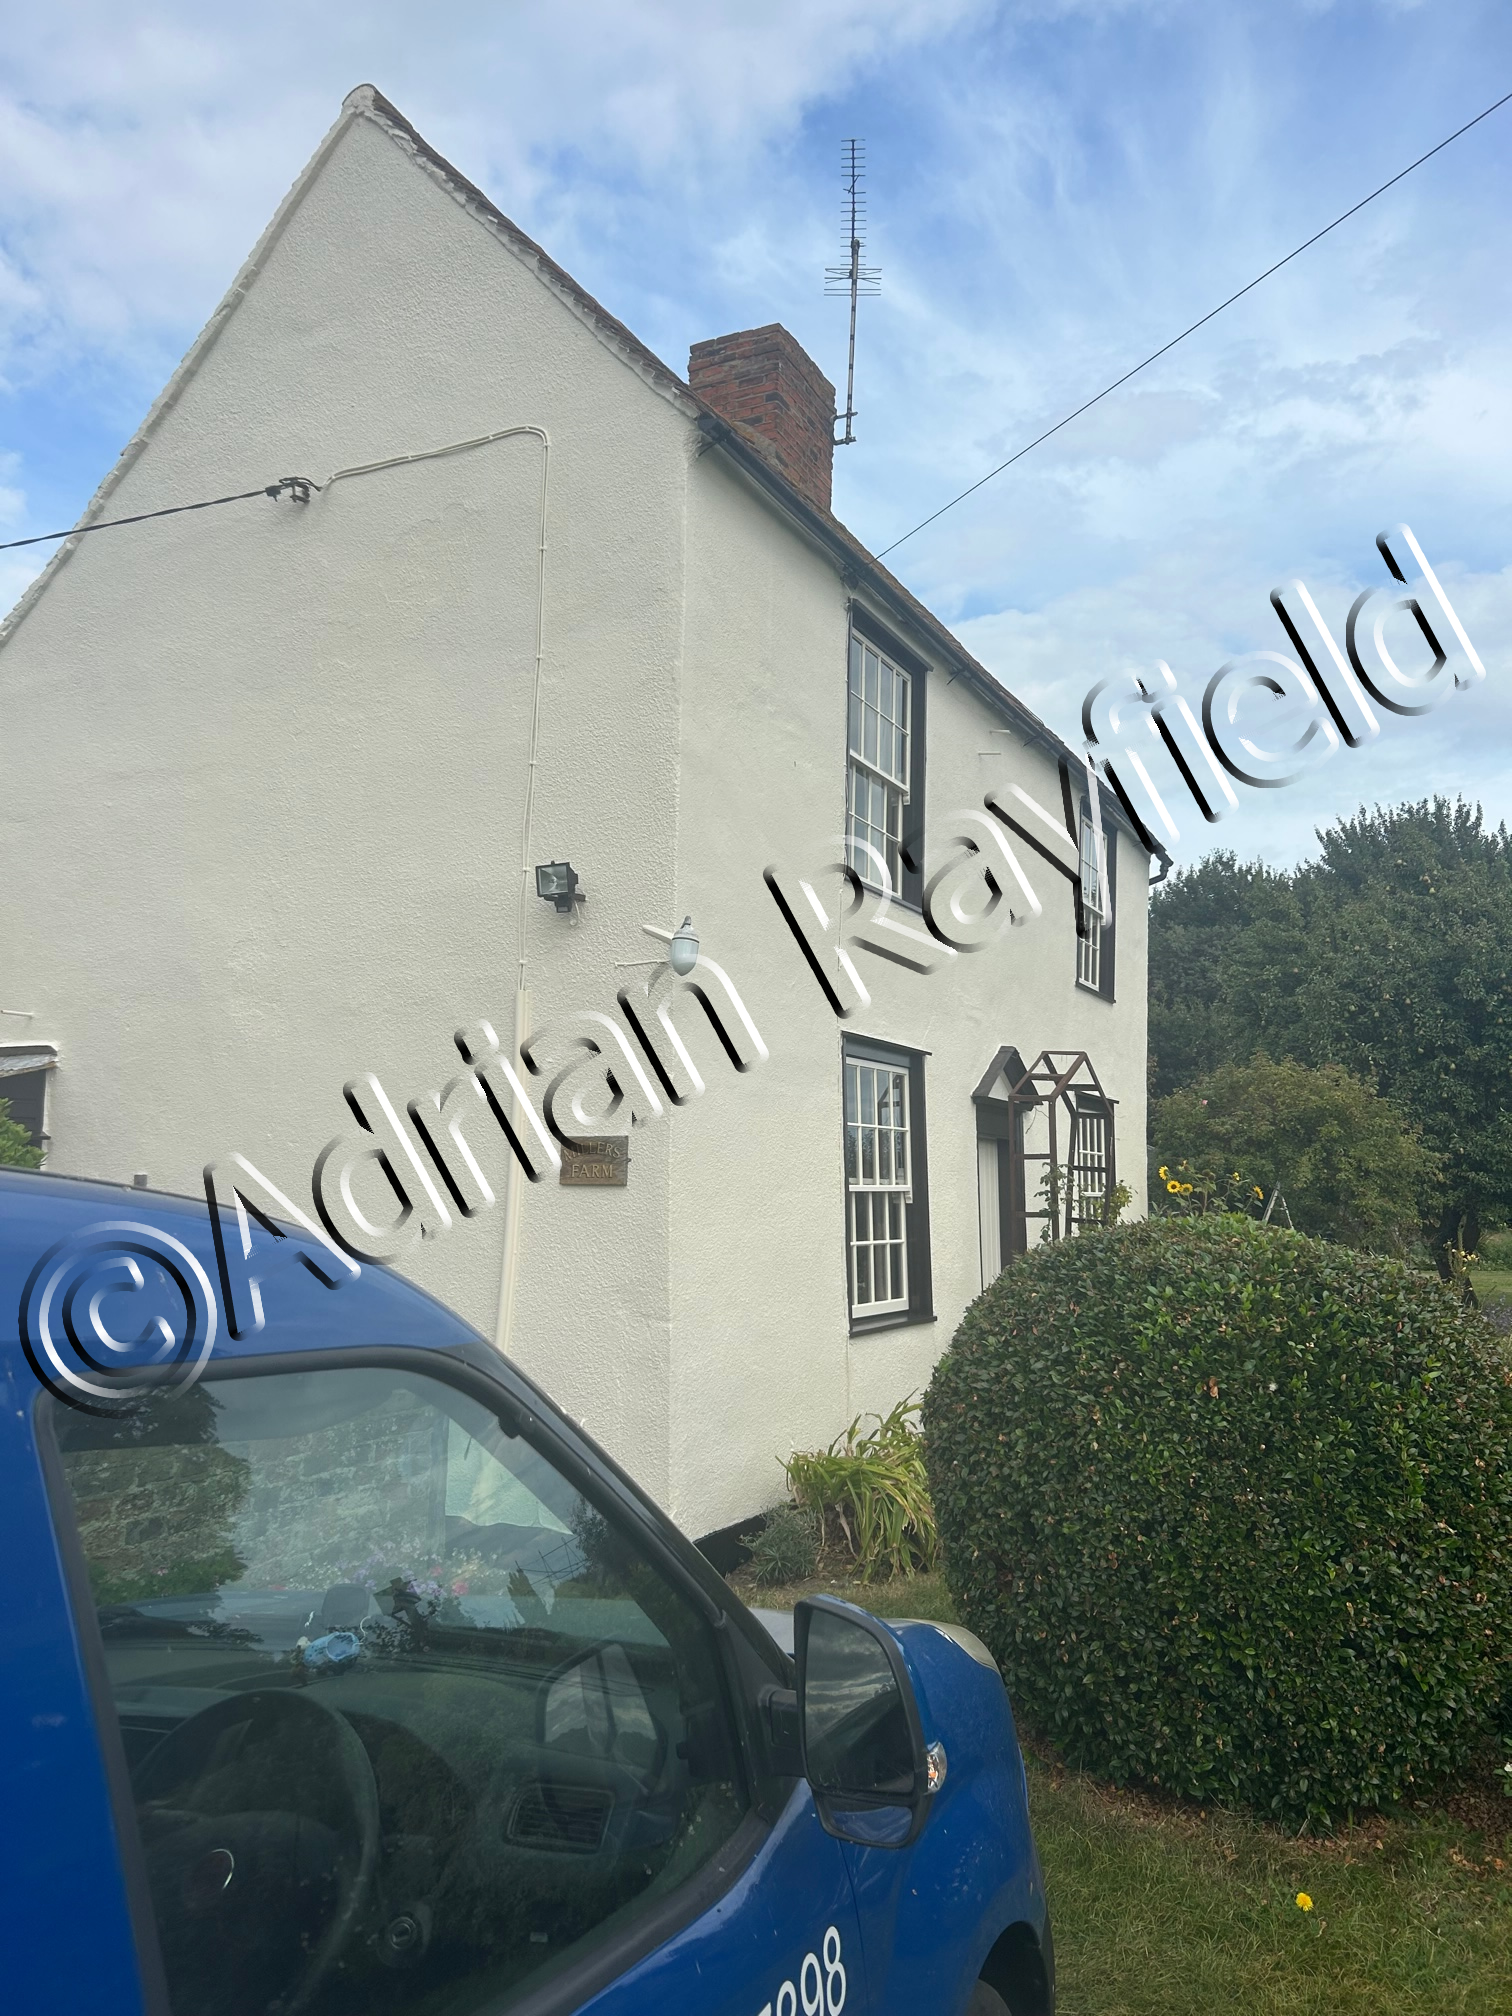
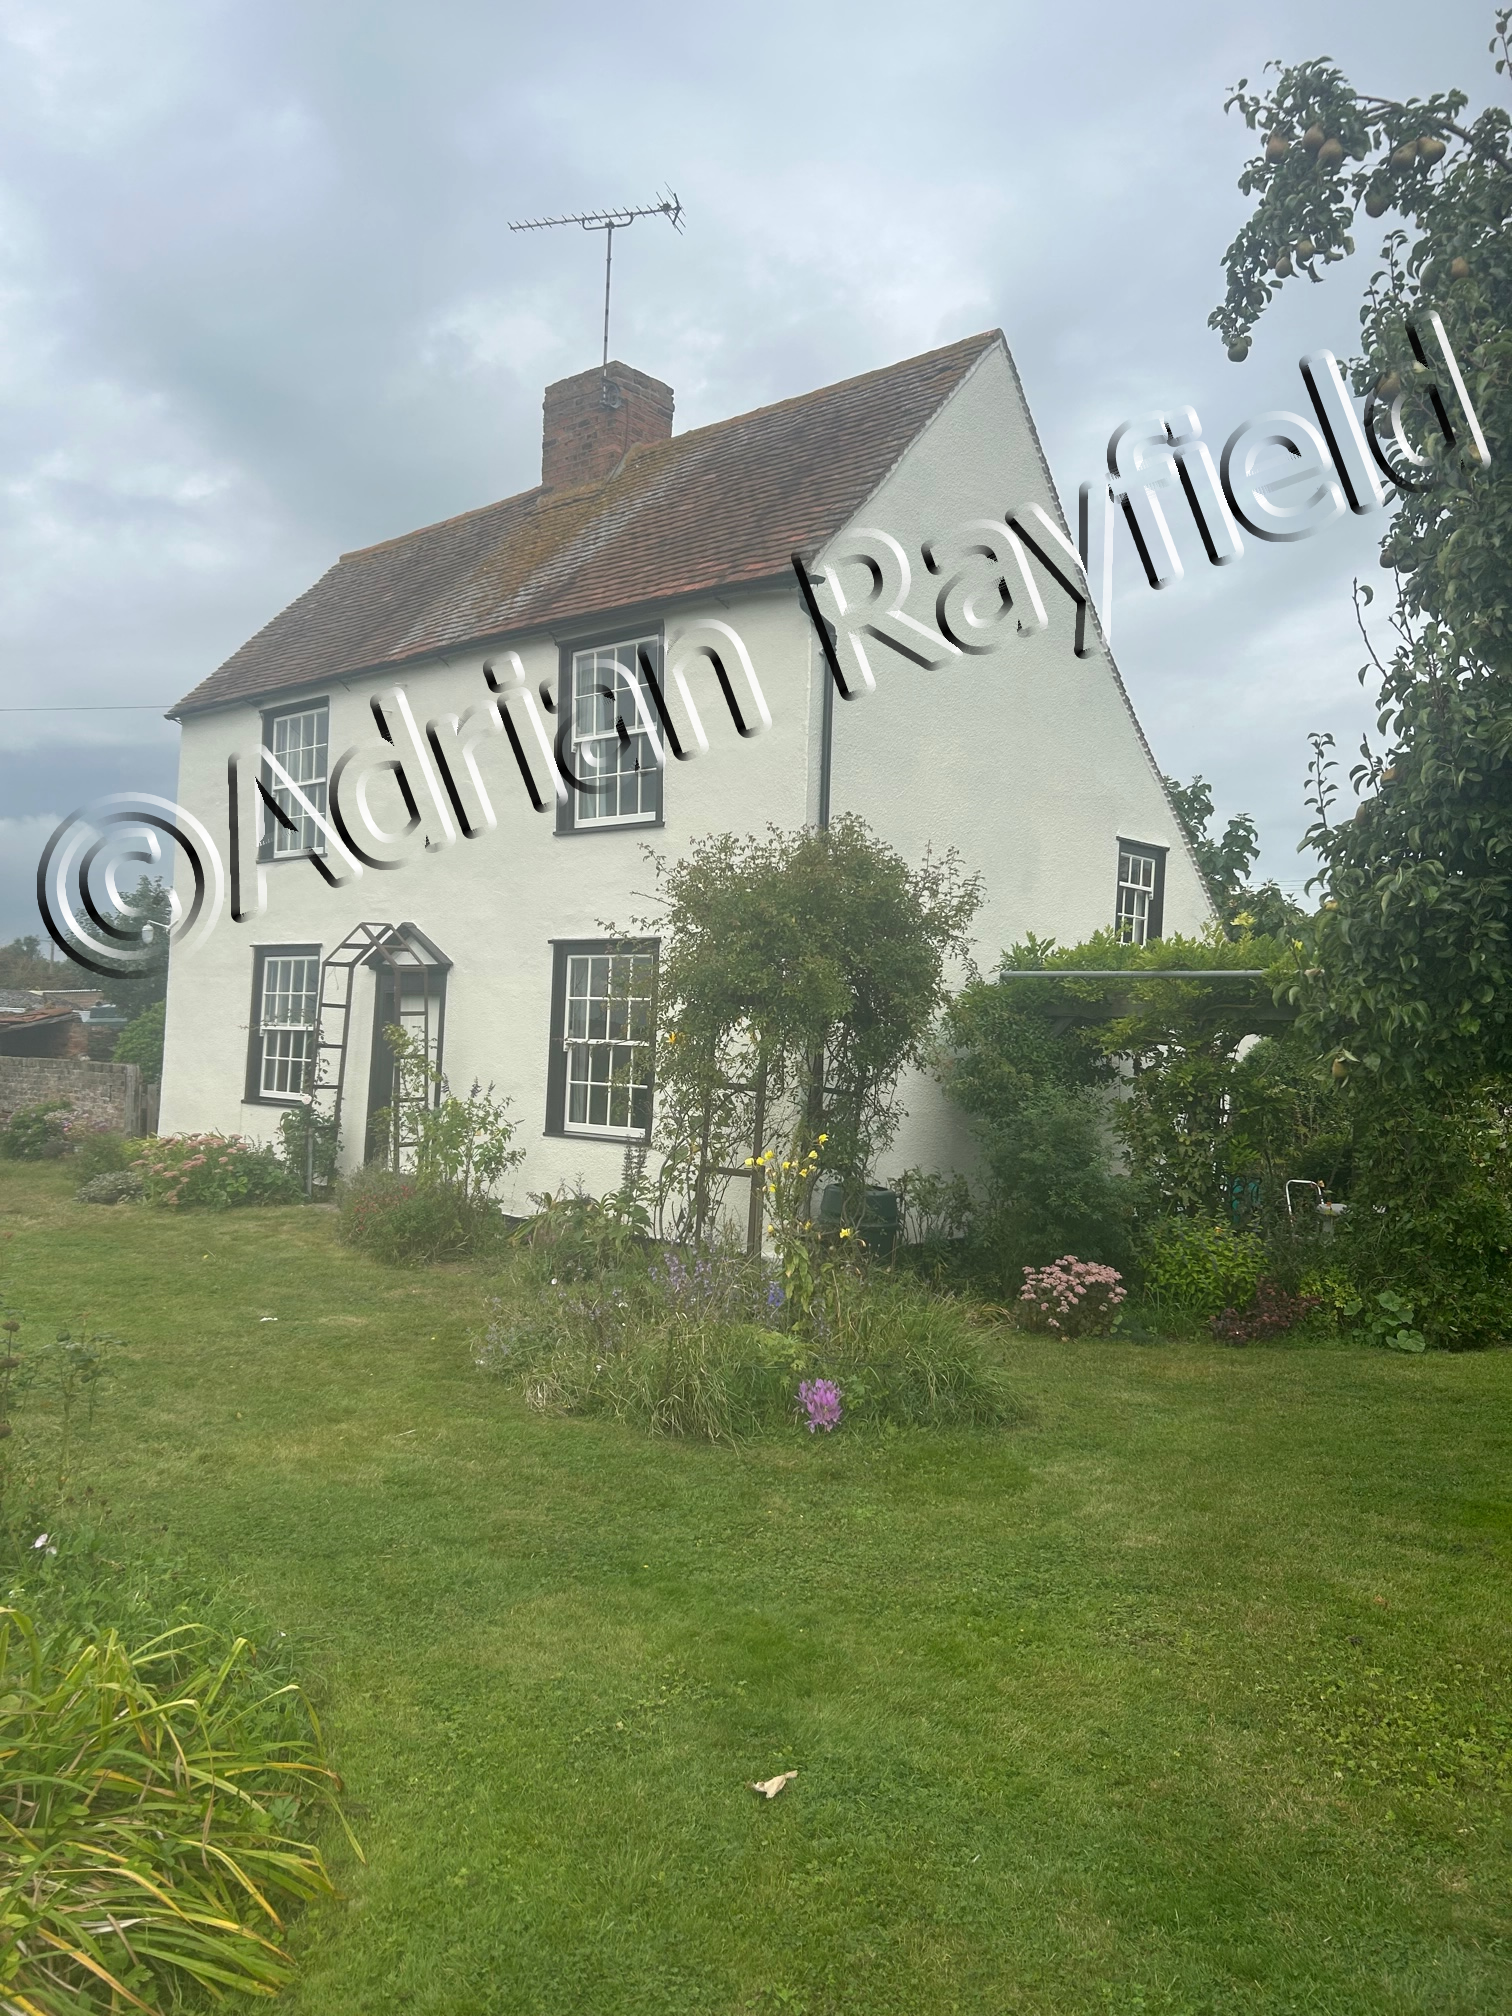
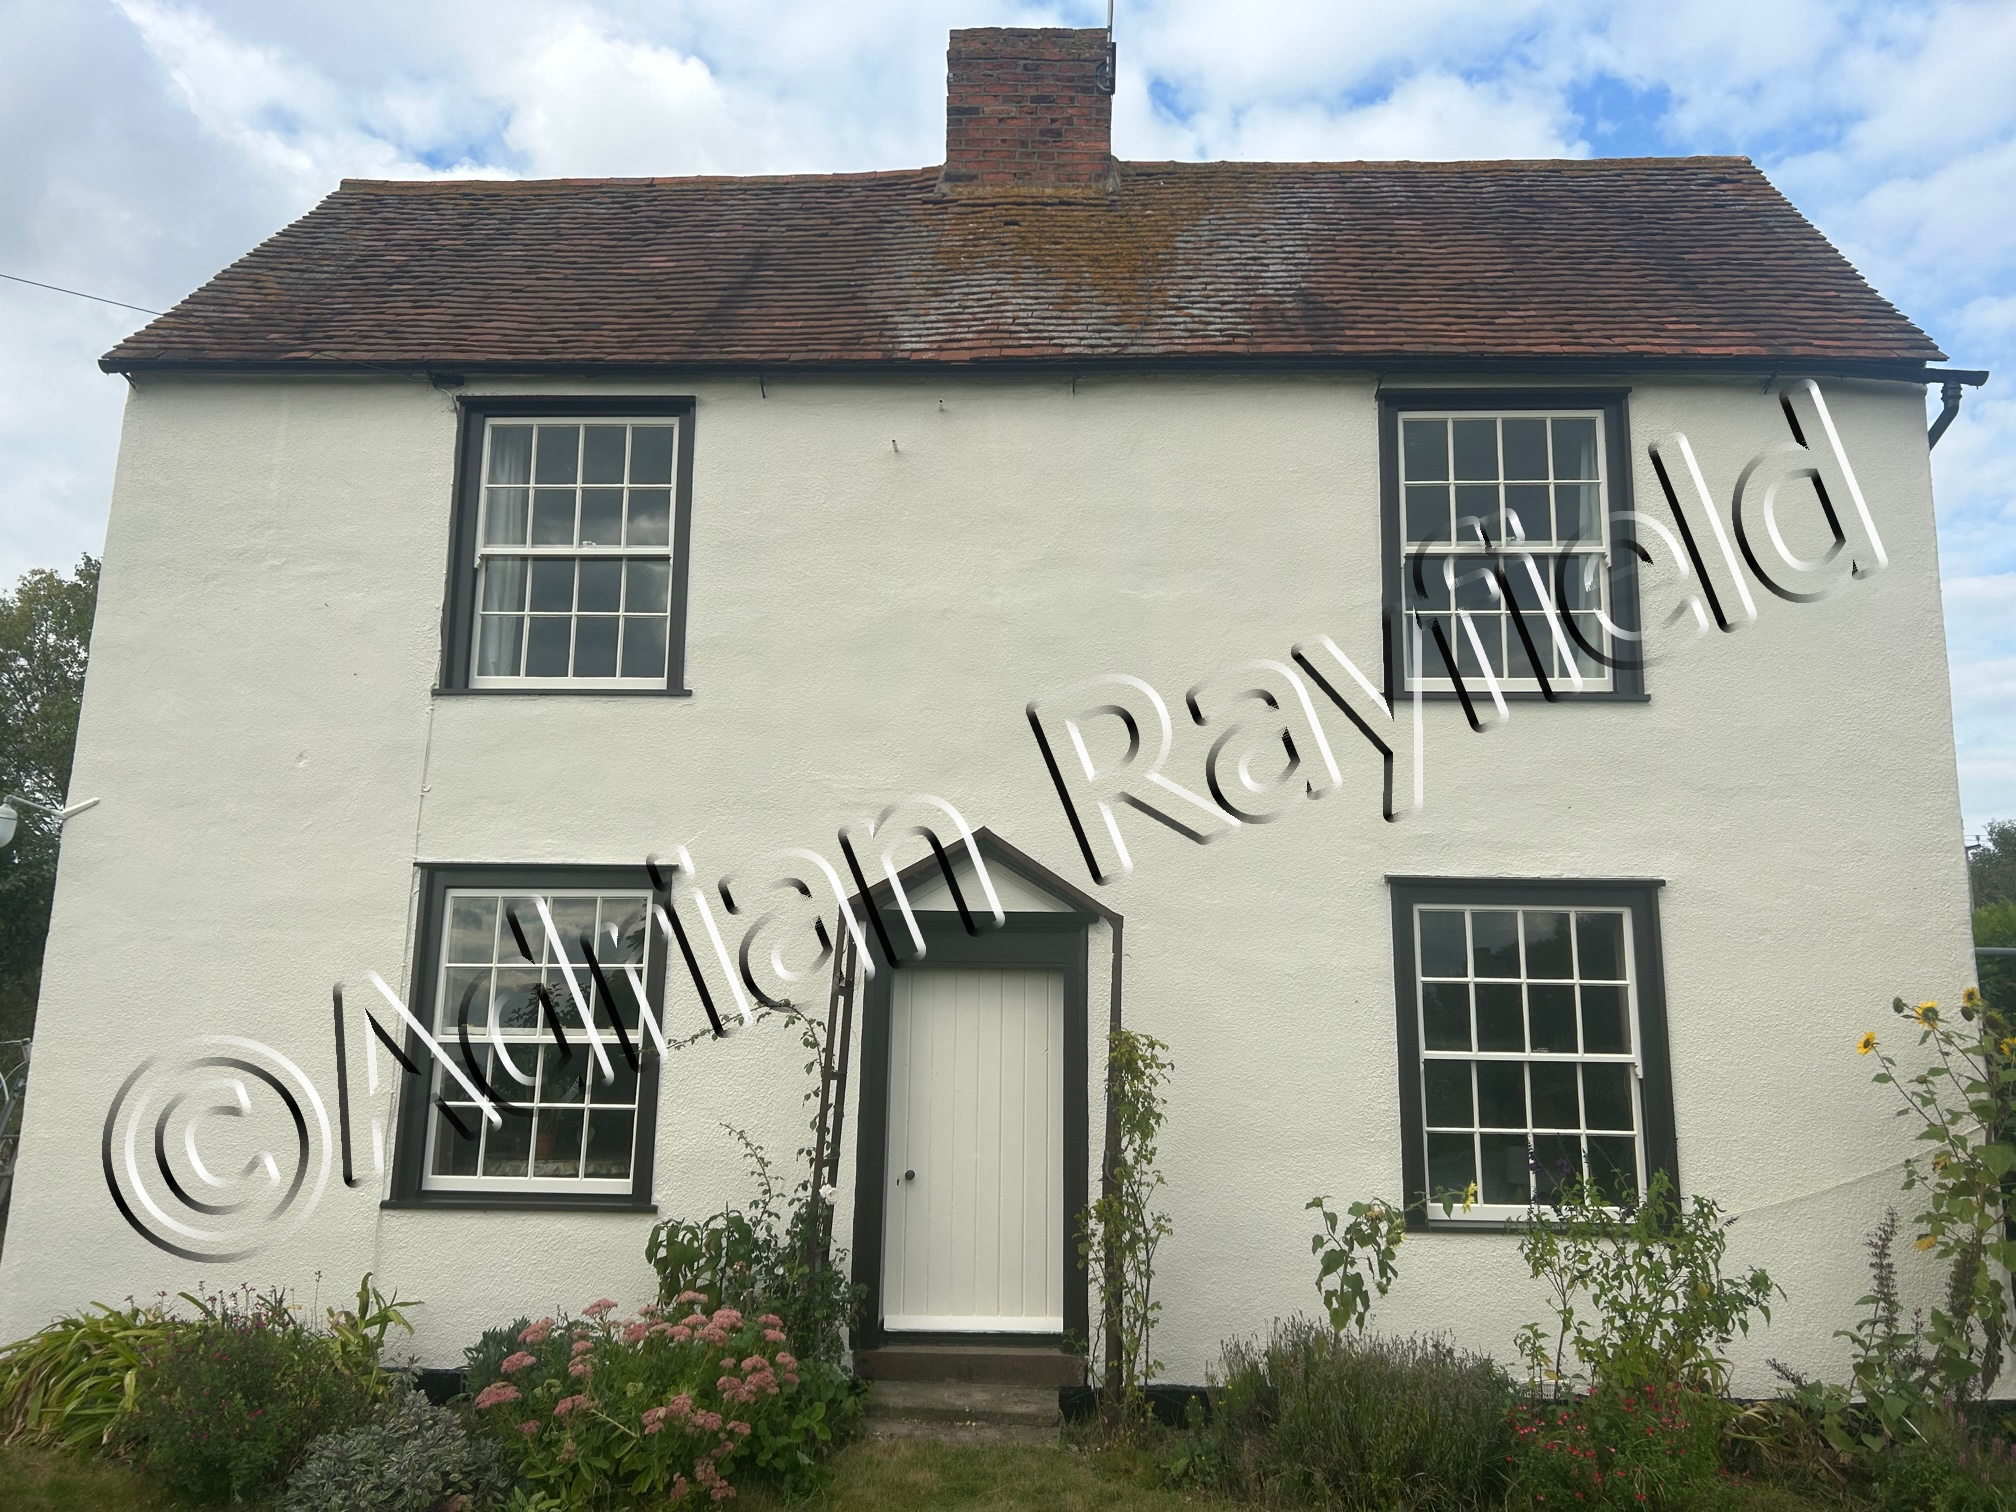
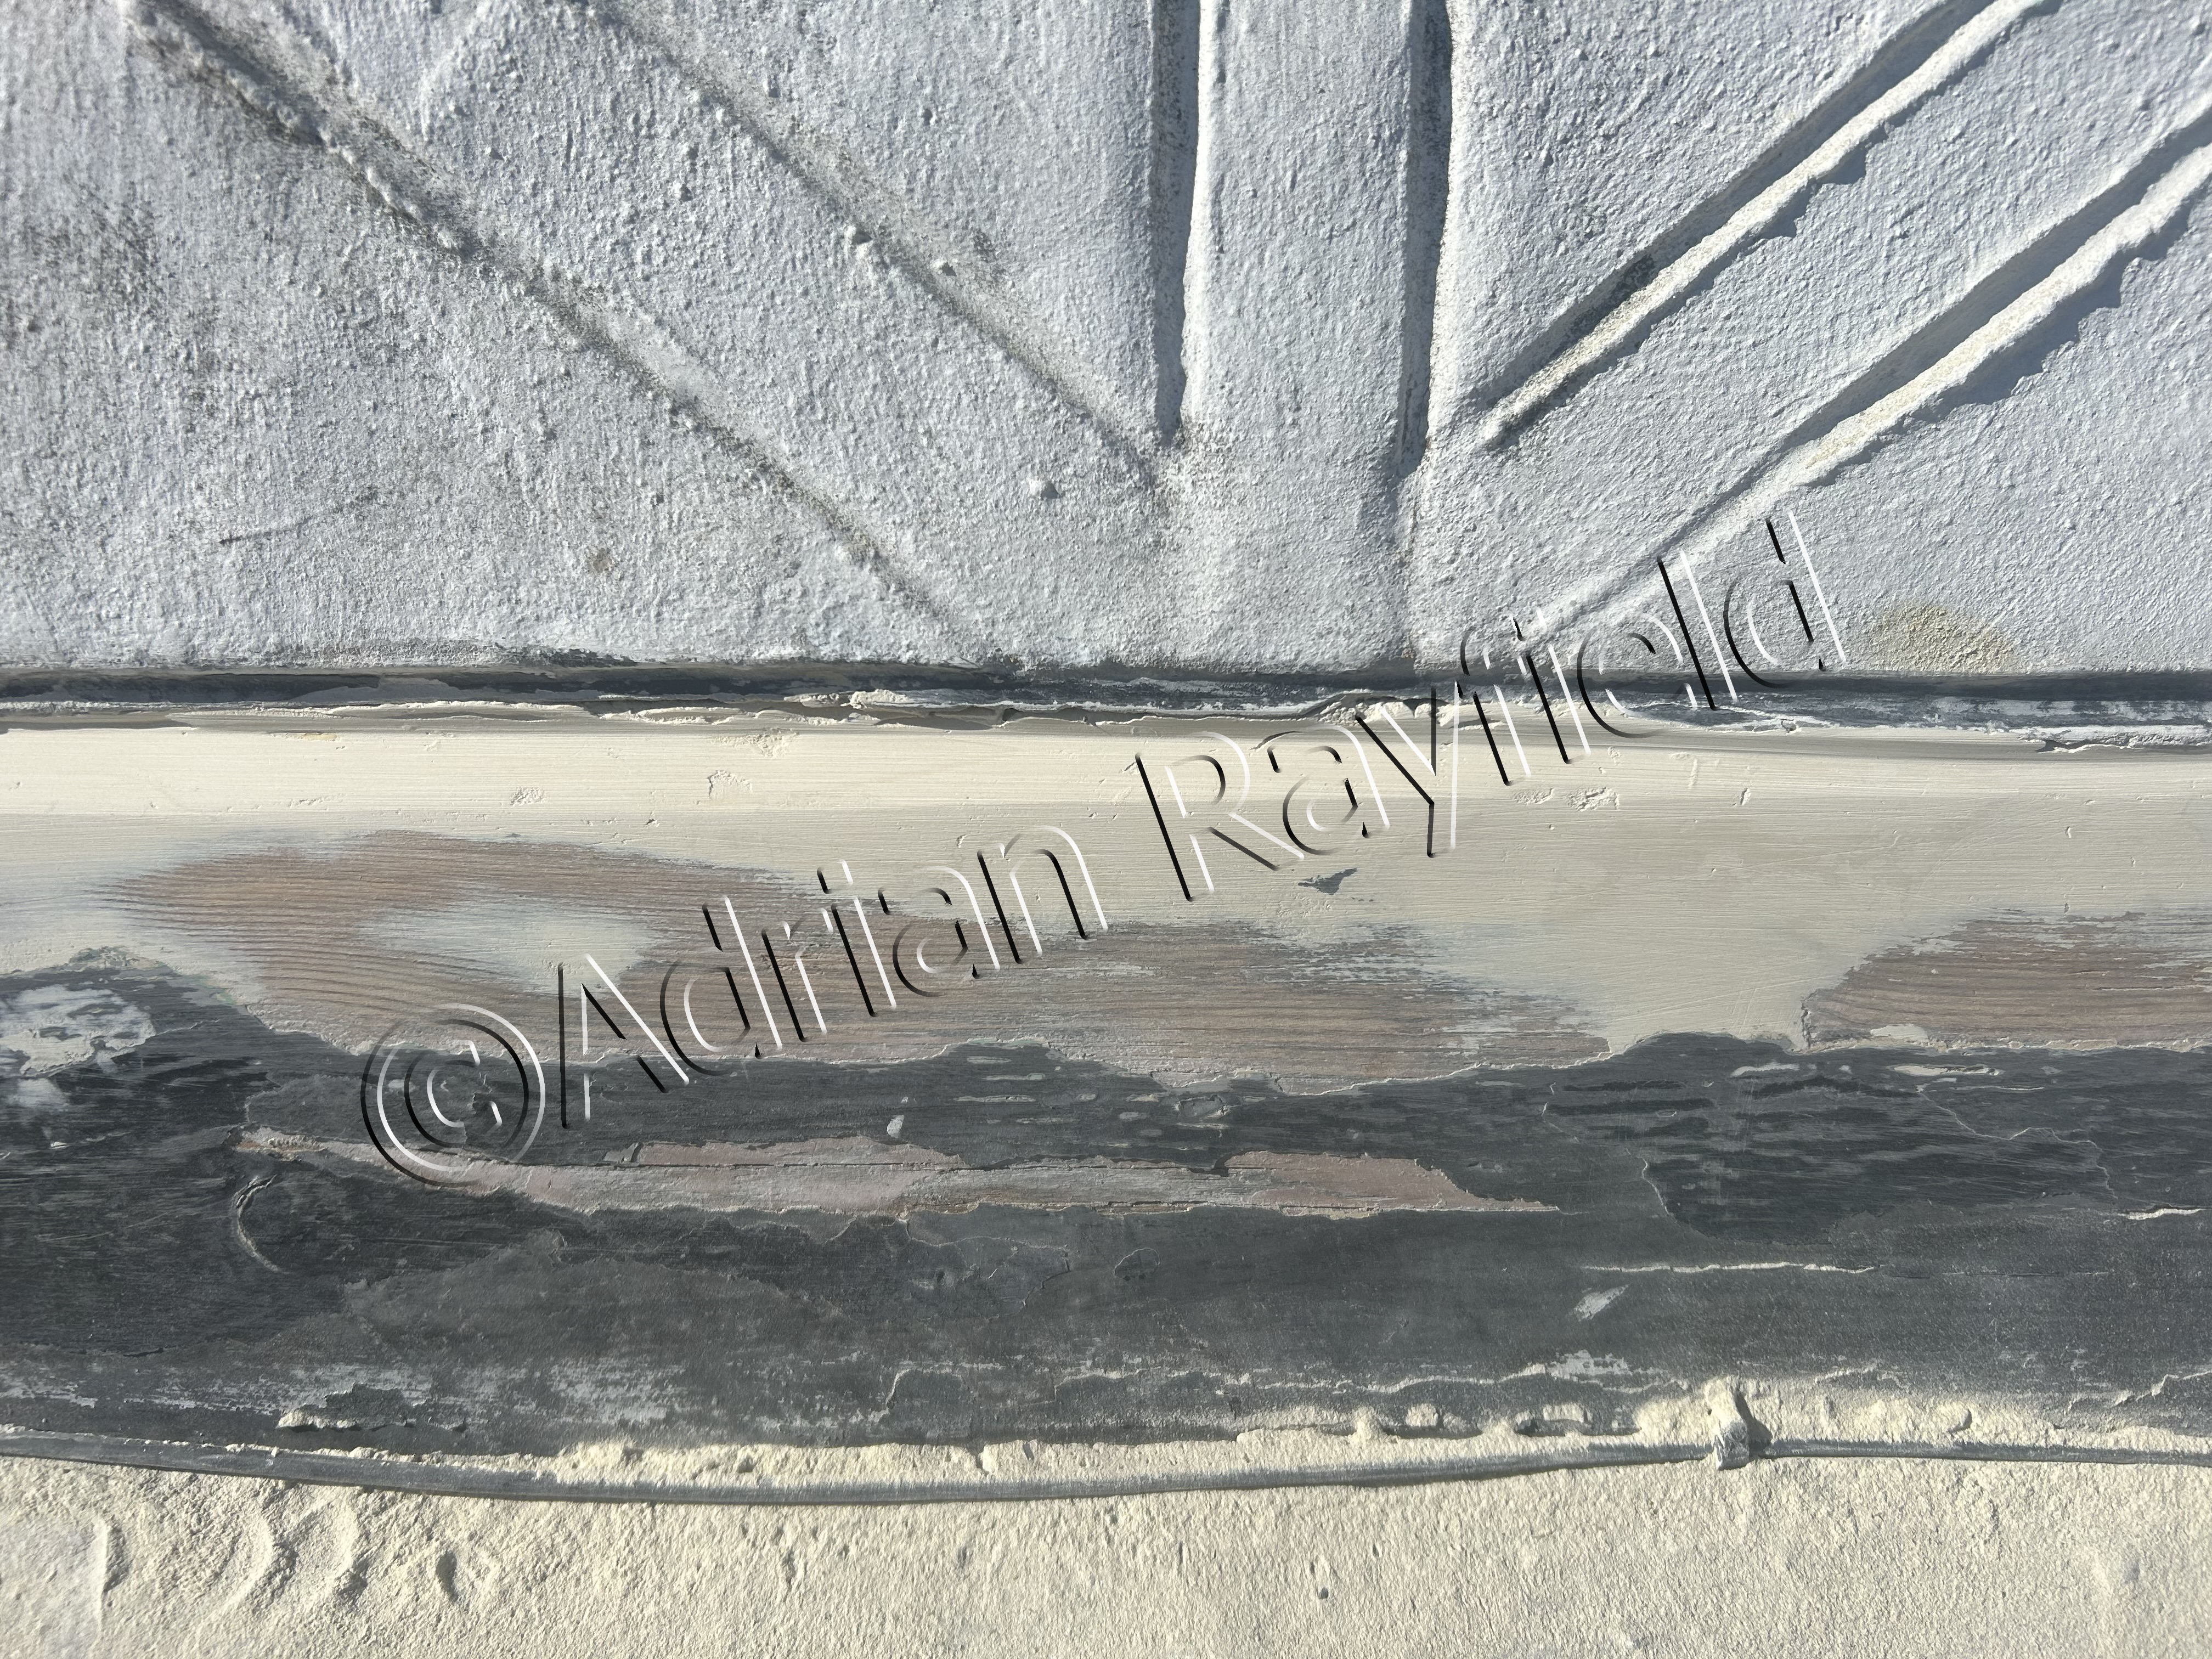
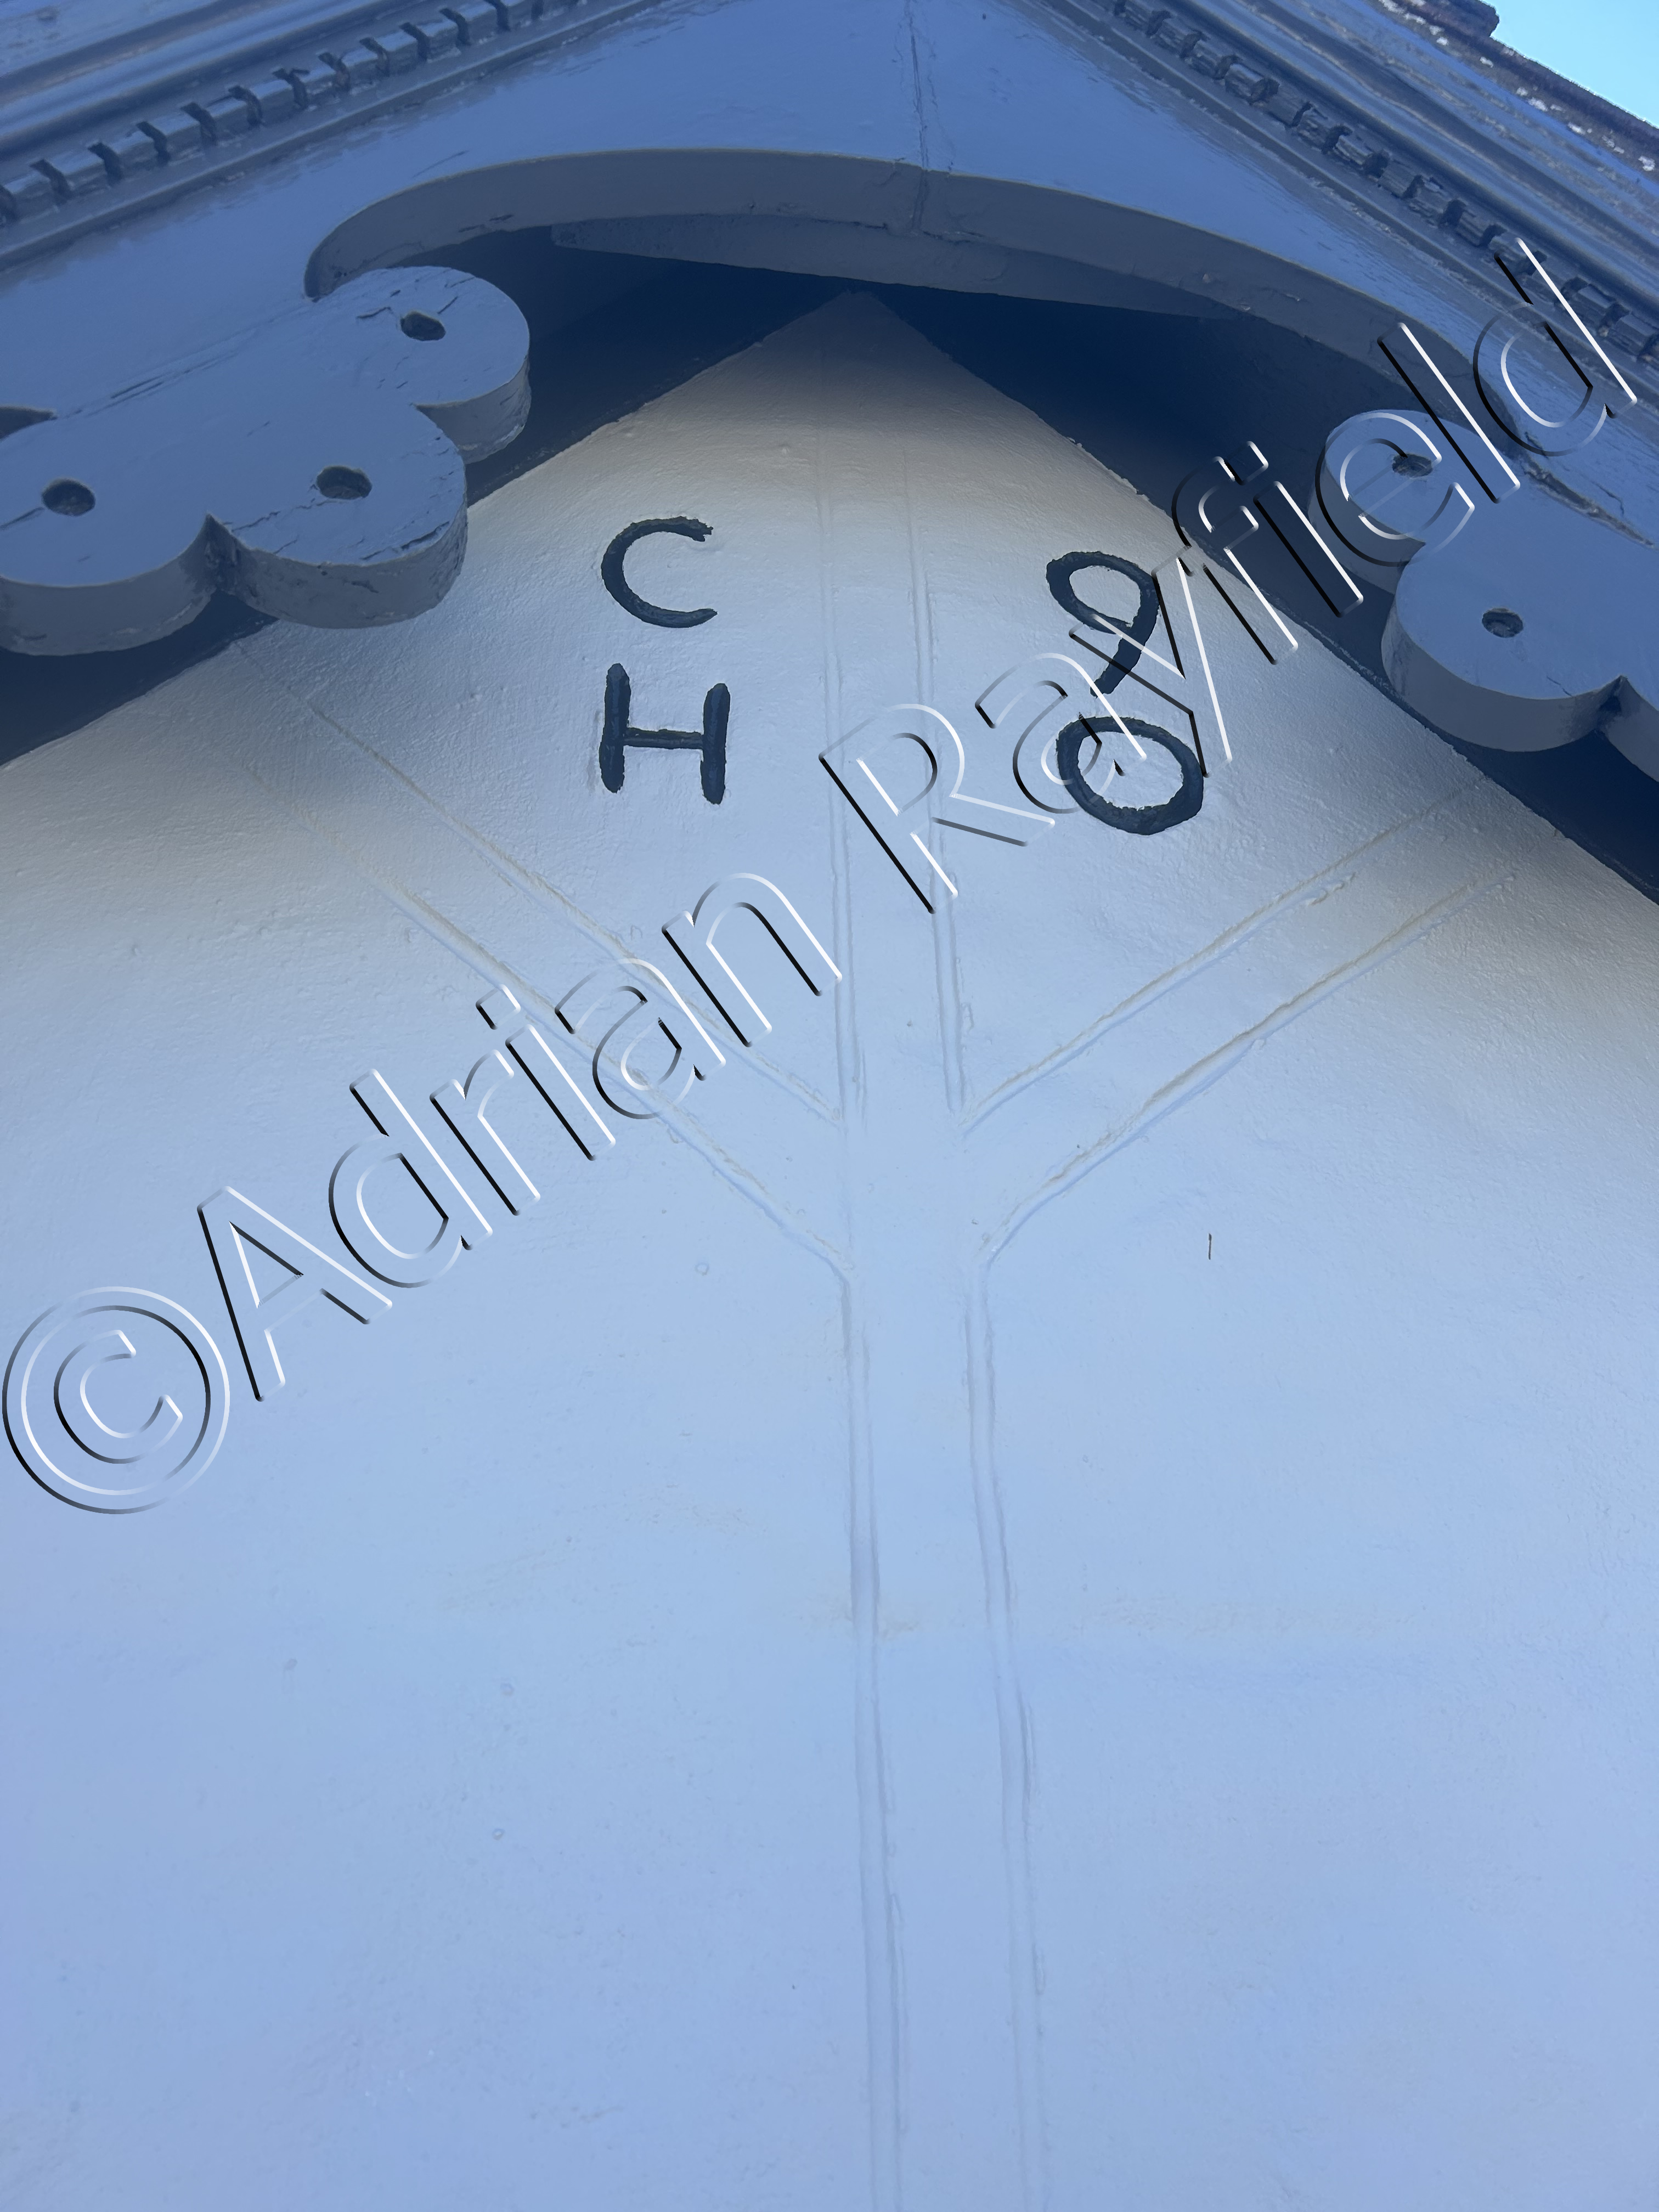
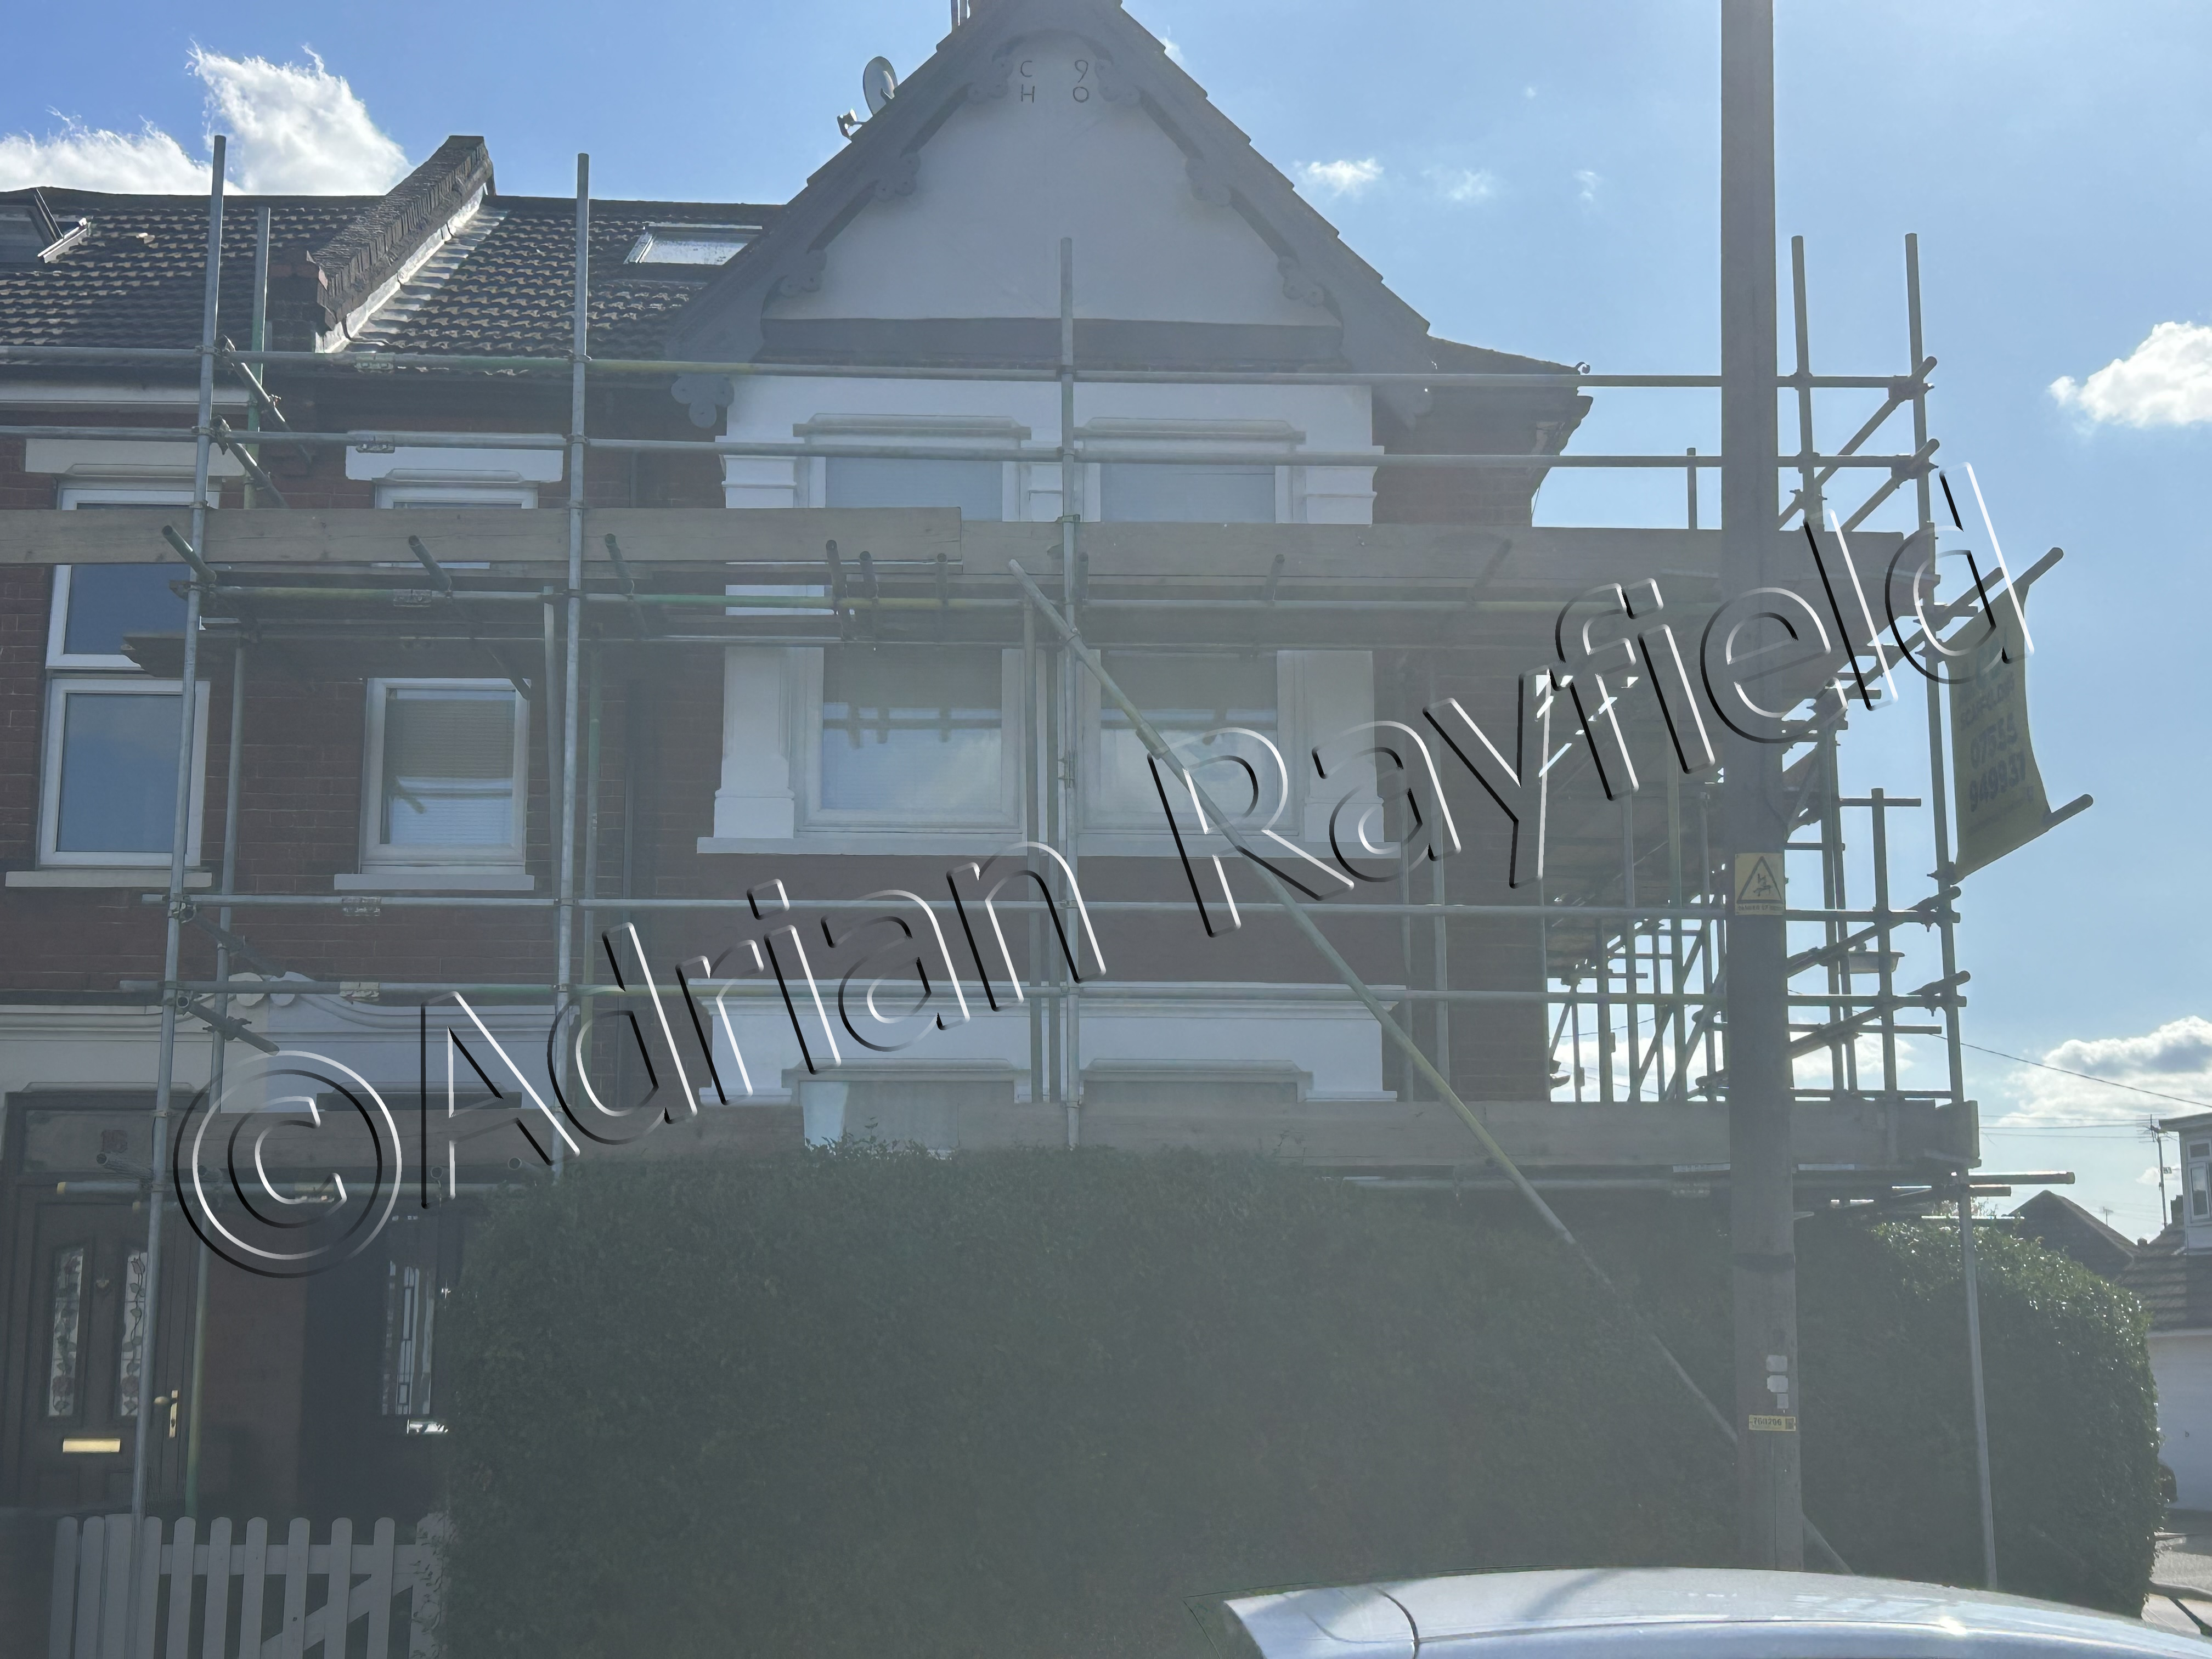
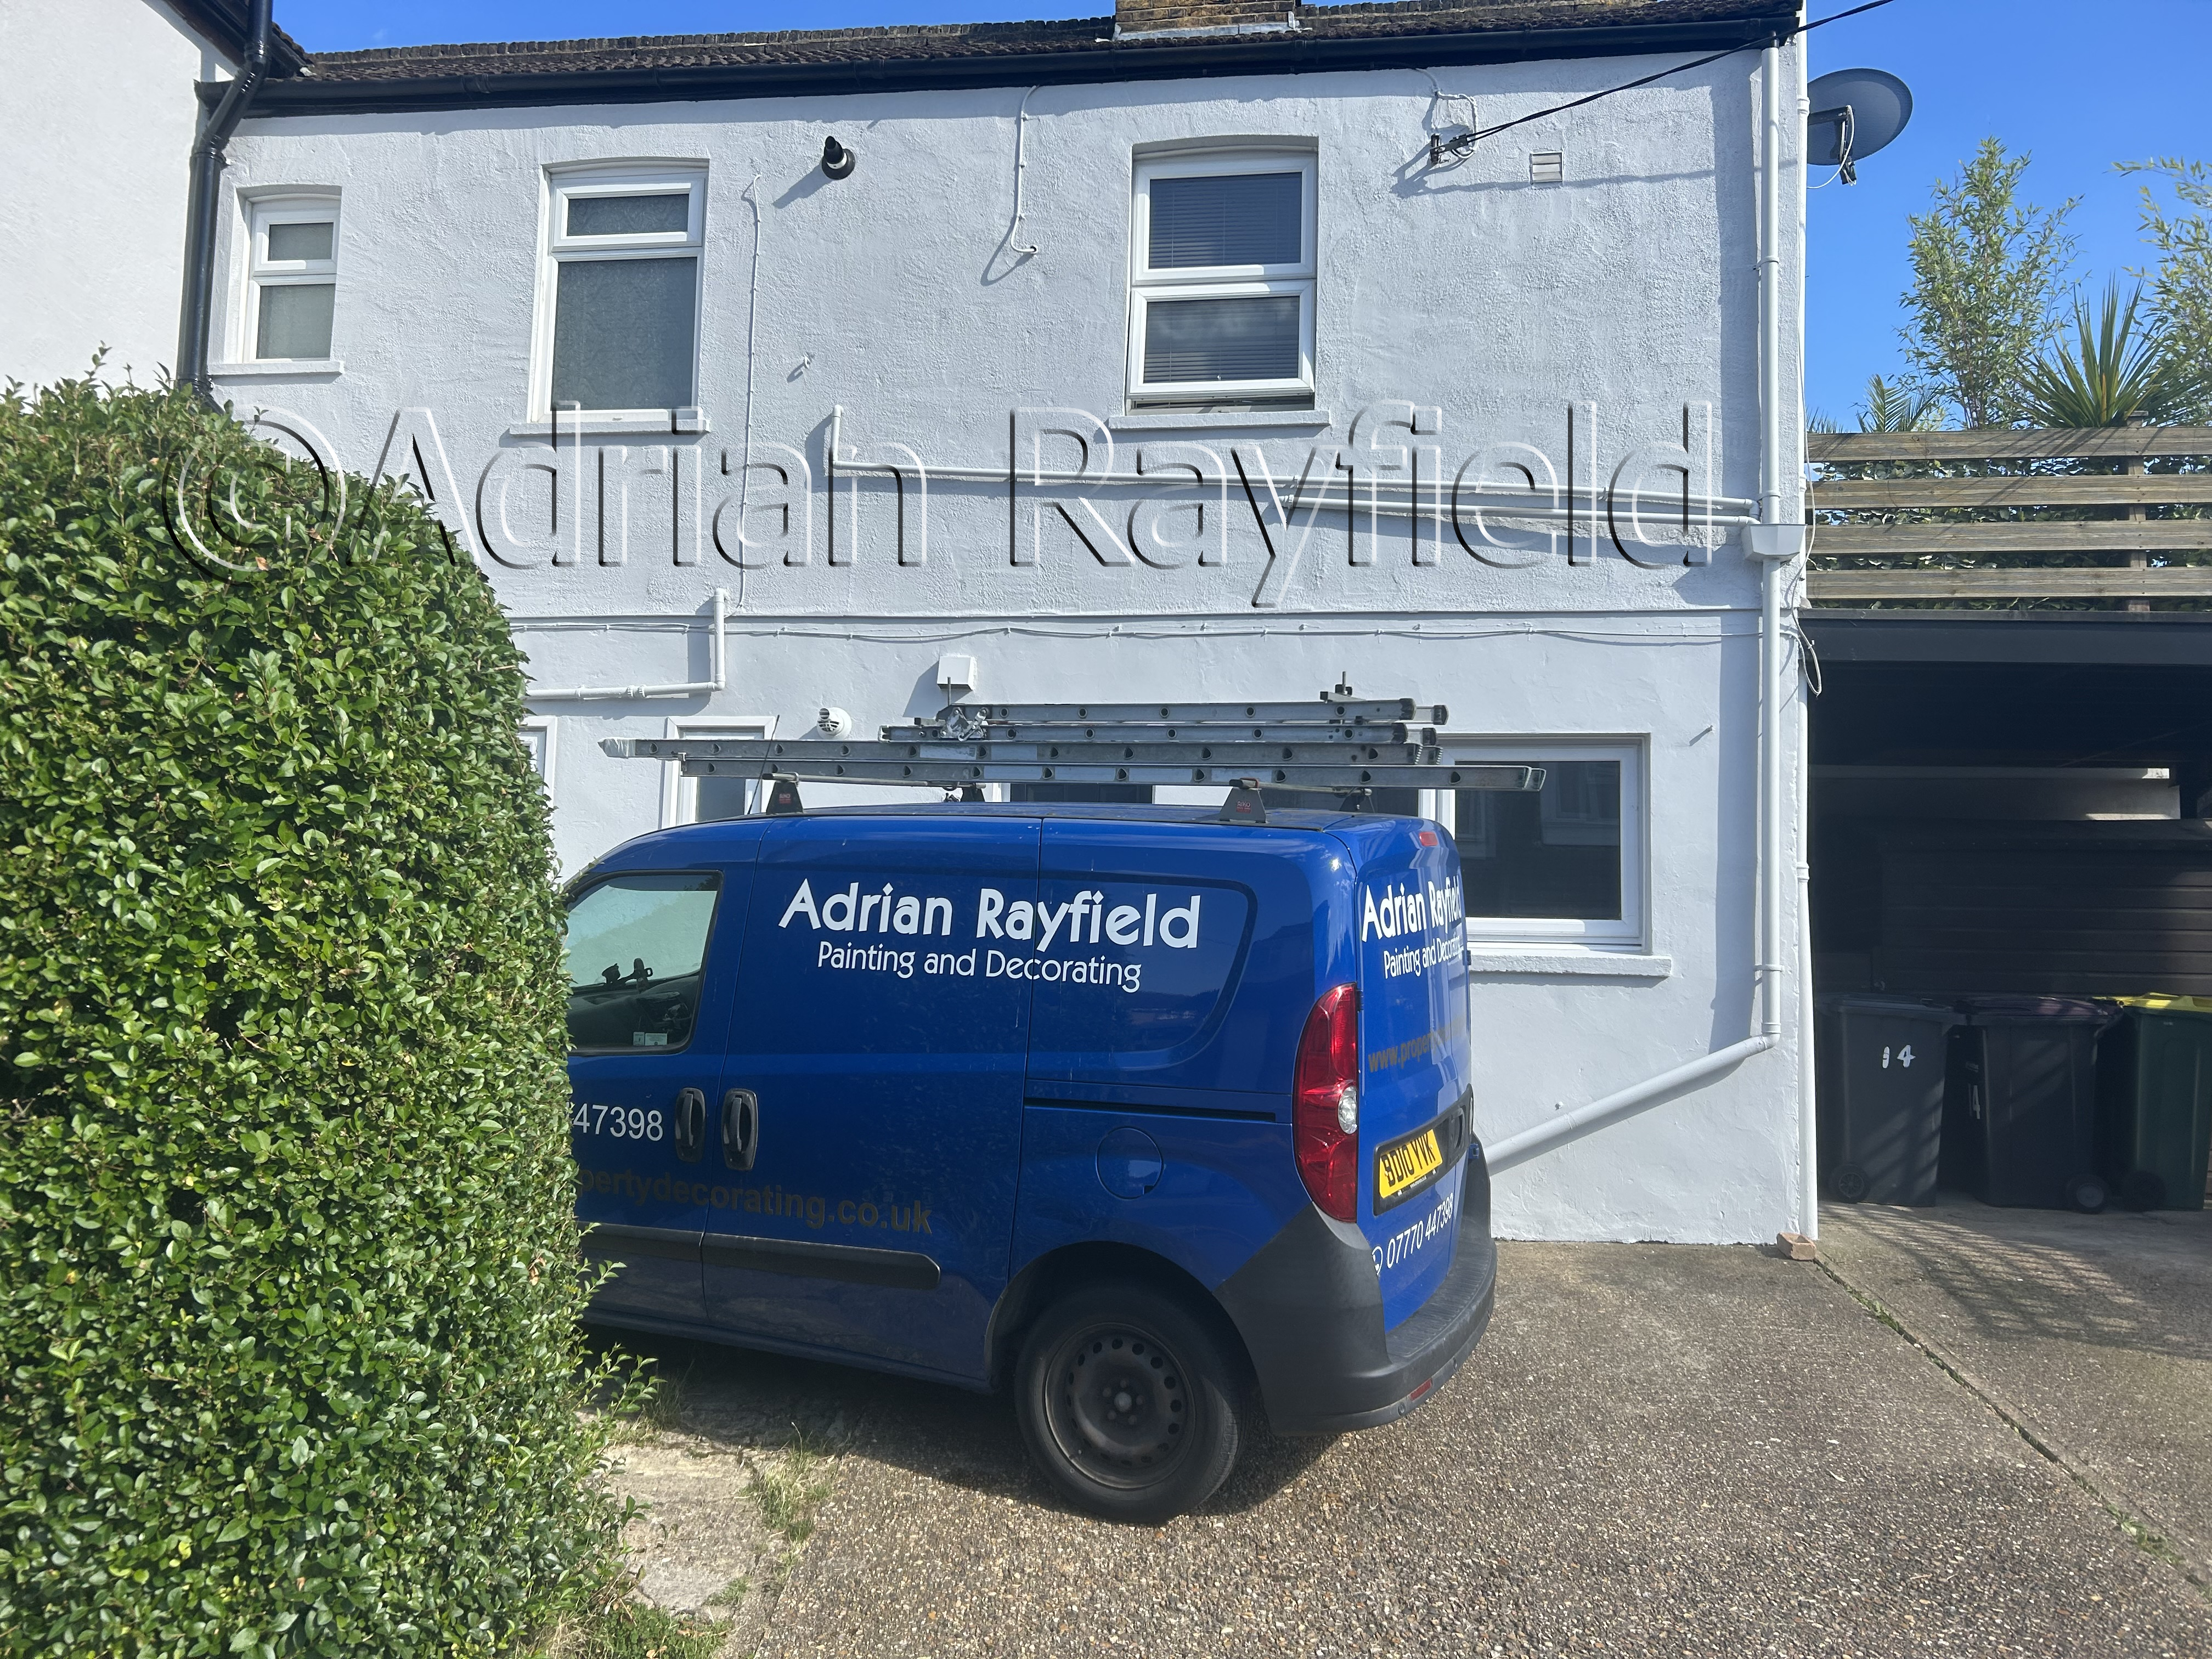
Stepping back in time, kind of. I revisited this 17th century property again recently to paint the exterior again, which I did back in 2014. Both the woodwork and the masonry had weathered well considering the property is exposed on all sides
Some filling was needed to repair some minor rot on a couple of windows, the masonry has lasted well, but as it is so exposed to the elements it had faded, and there was some mould and lichen growth.
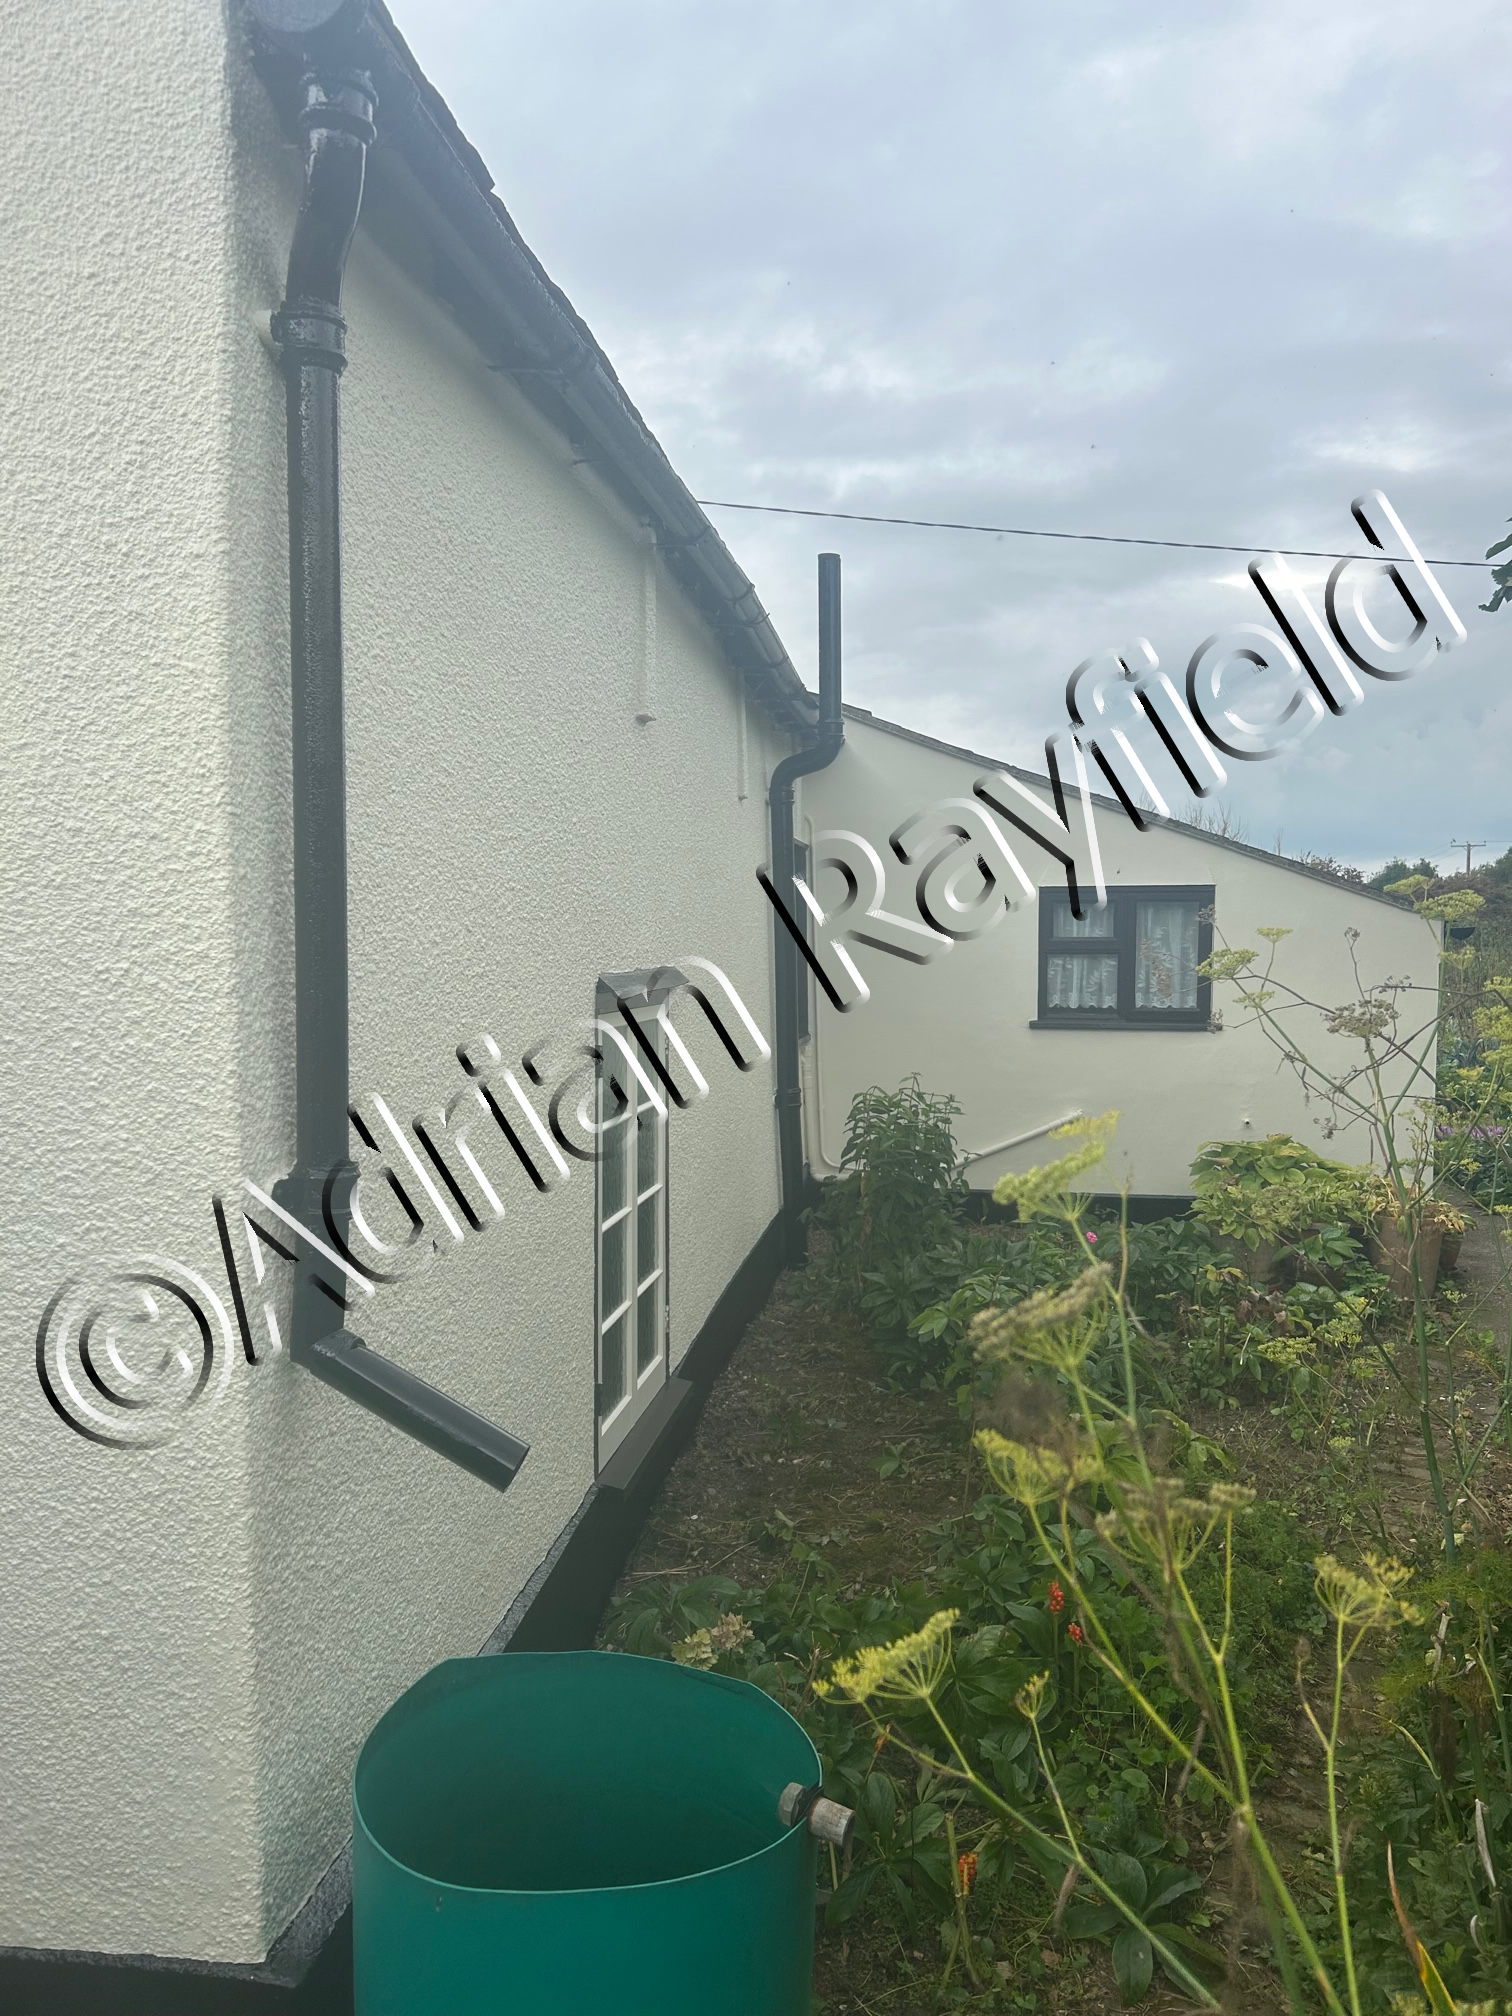
This was treated and removed before apply two coats of masonry paint. The windows were then painted, pipework and plinth. Once completed it bought the property back up to scratch and to its former glory and now almost glows when the sun is on it that can be seen as you drive along neighbouring roads.
So now this property will look good, and be protected from the elements for at least eight more years.
Tags: 17th Century, Building, Dulux, Listed, Listed Building, masonry paint, painted, Sadolin, sash windows, Summer, Superdec, timber framed, timber frames building, Windows, Woodwork
Posted in Home Improvements, News | 2 Comments »
Definitely not a grey day
Posted by Adrian
August 30th, 2023
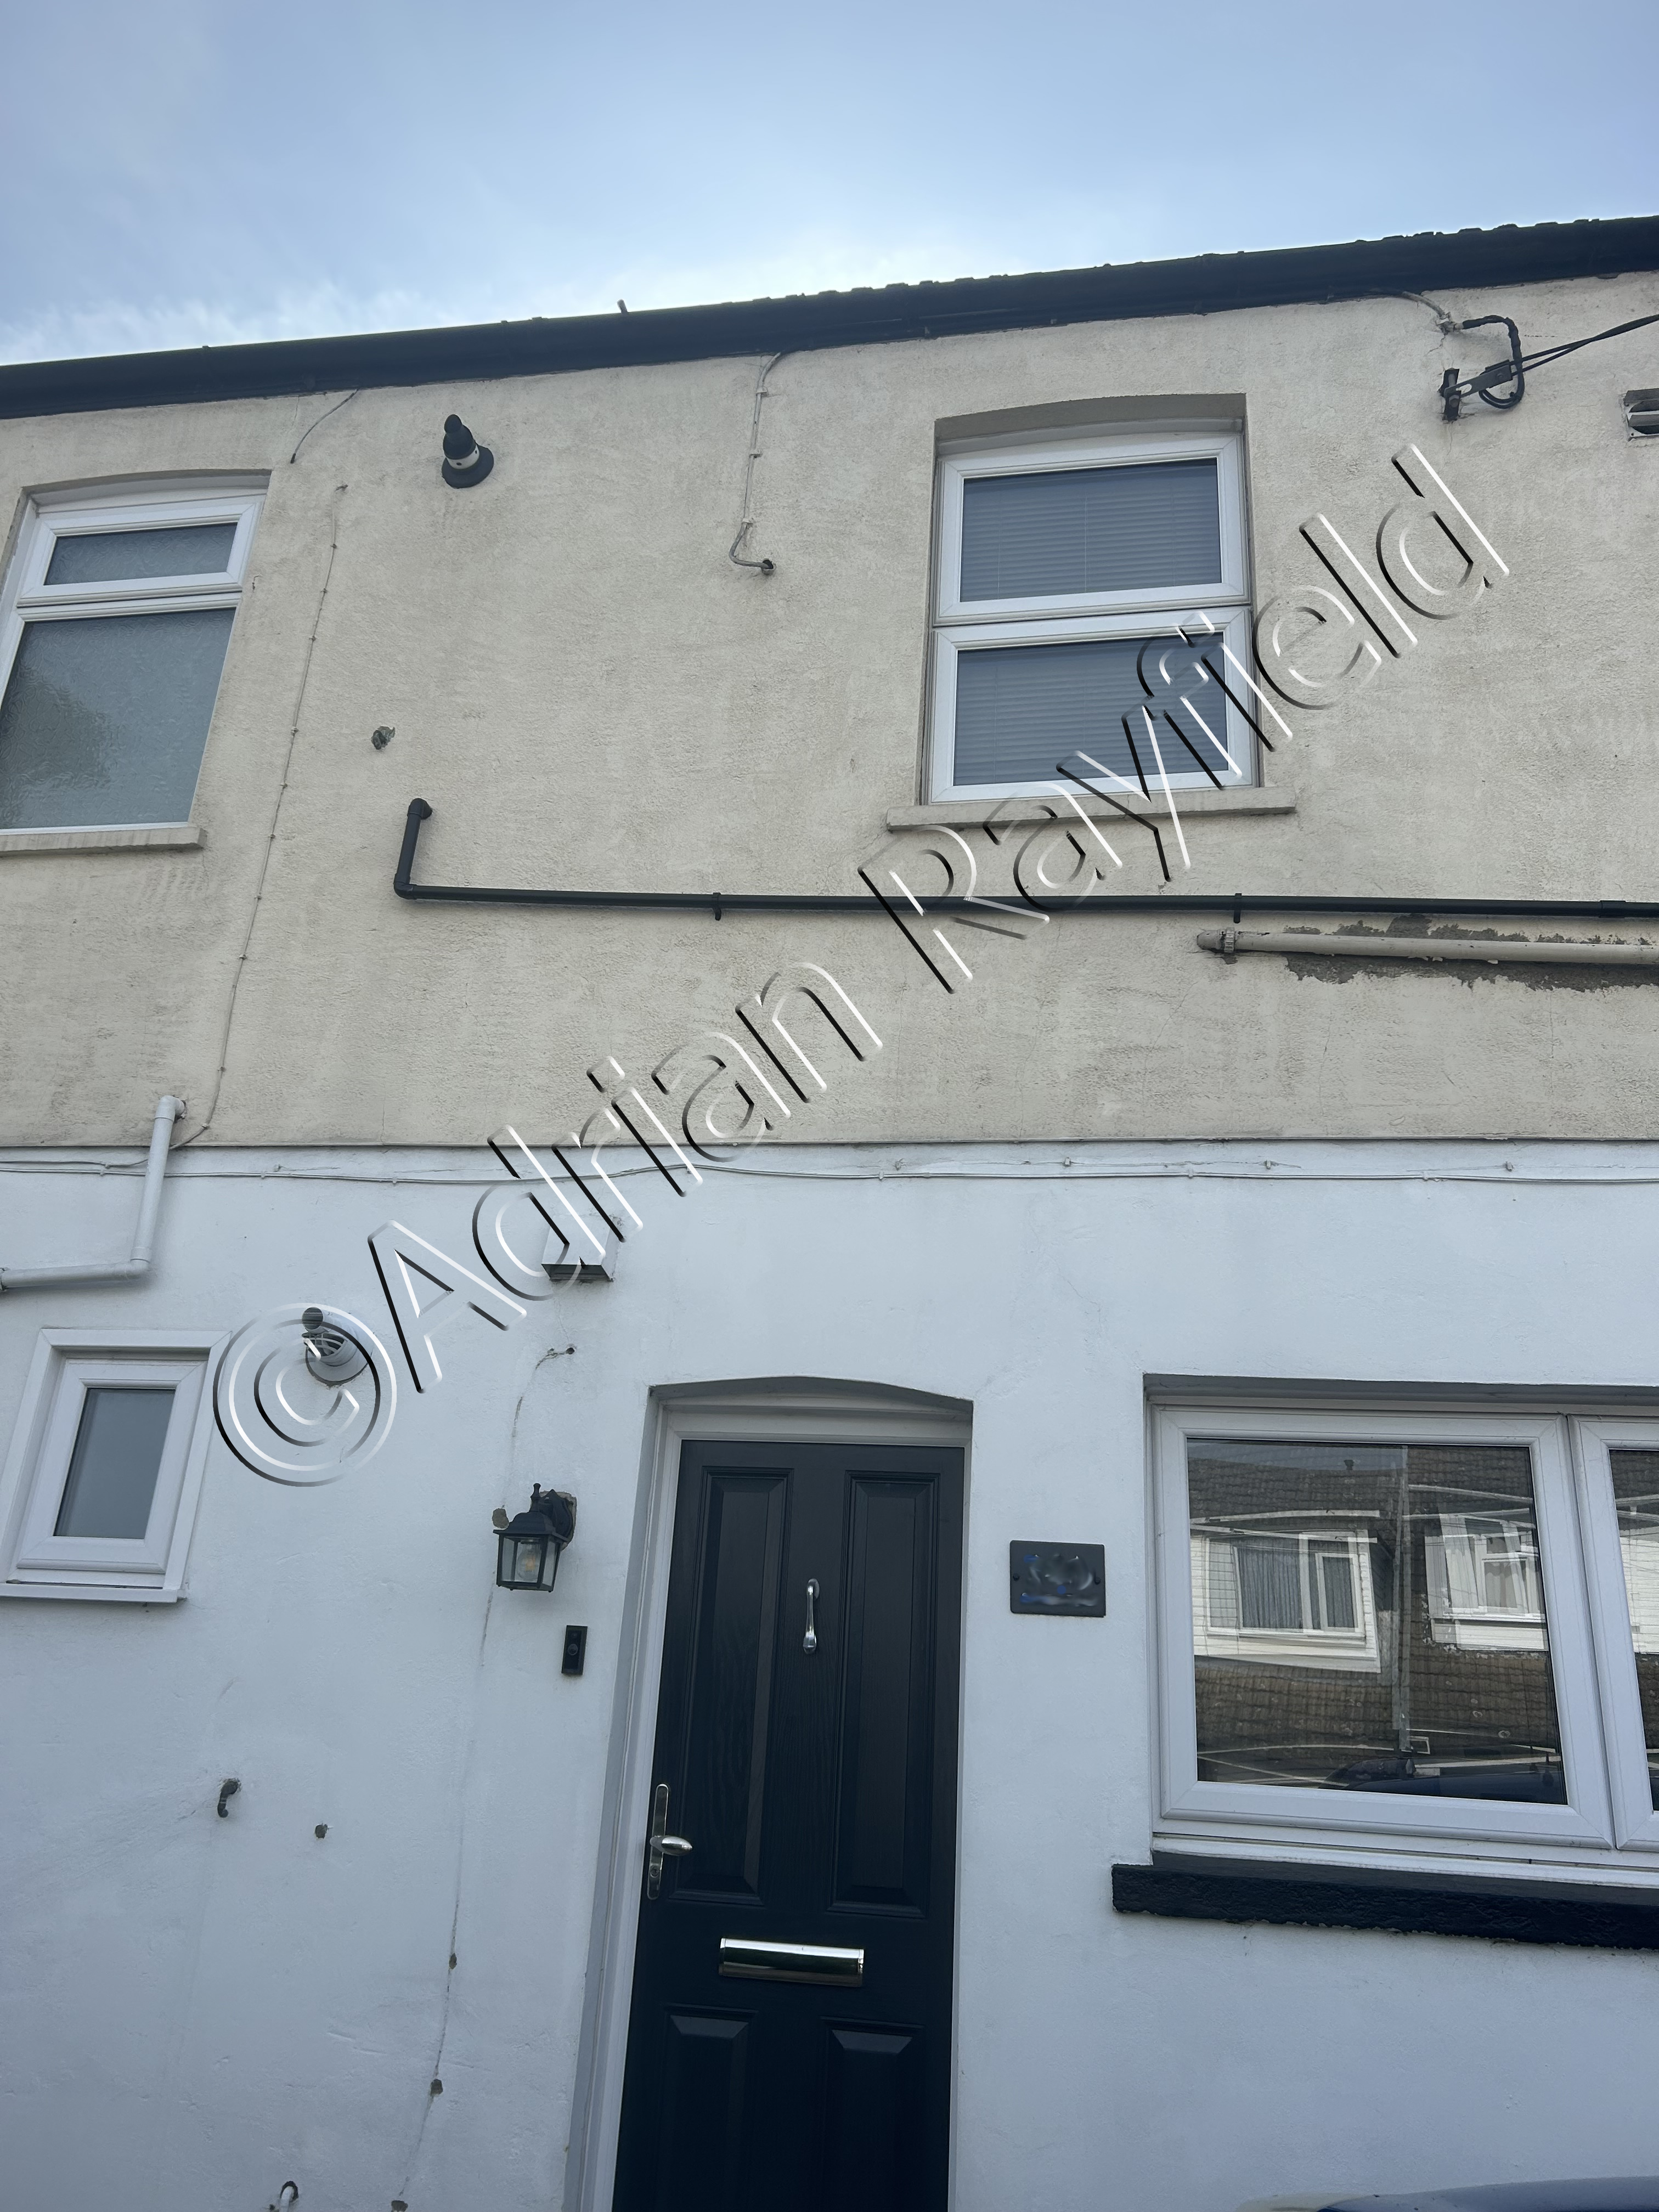
Definitely not a grey day
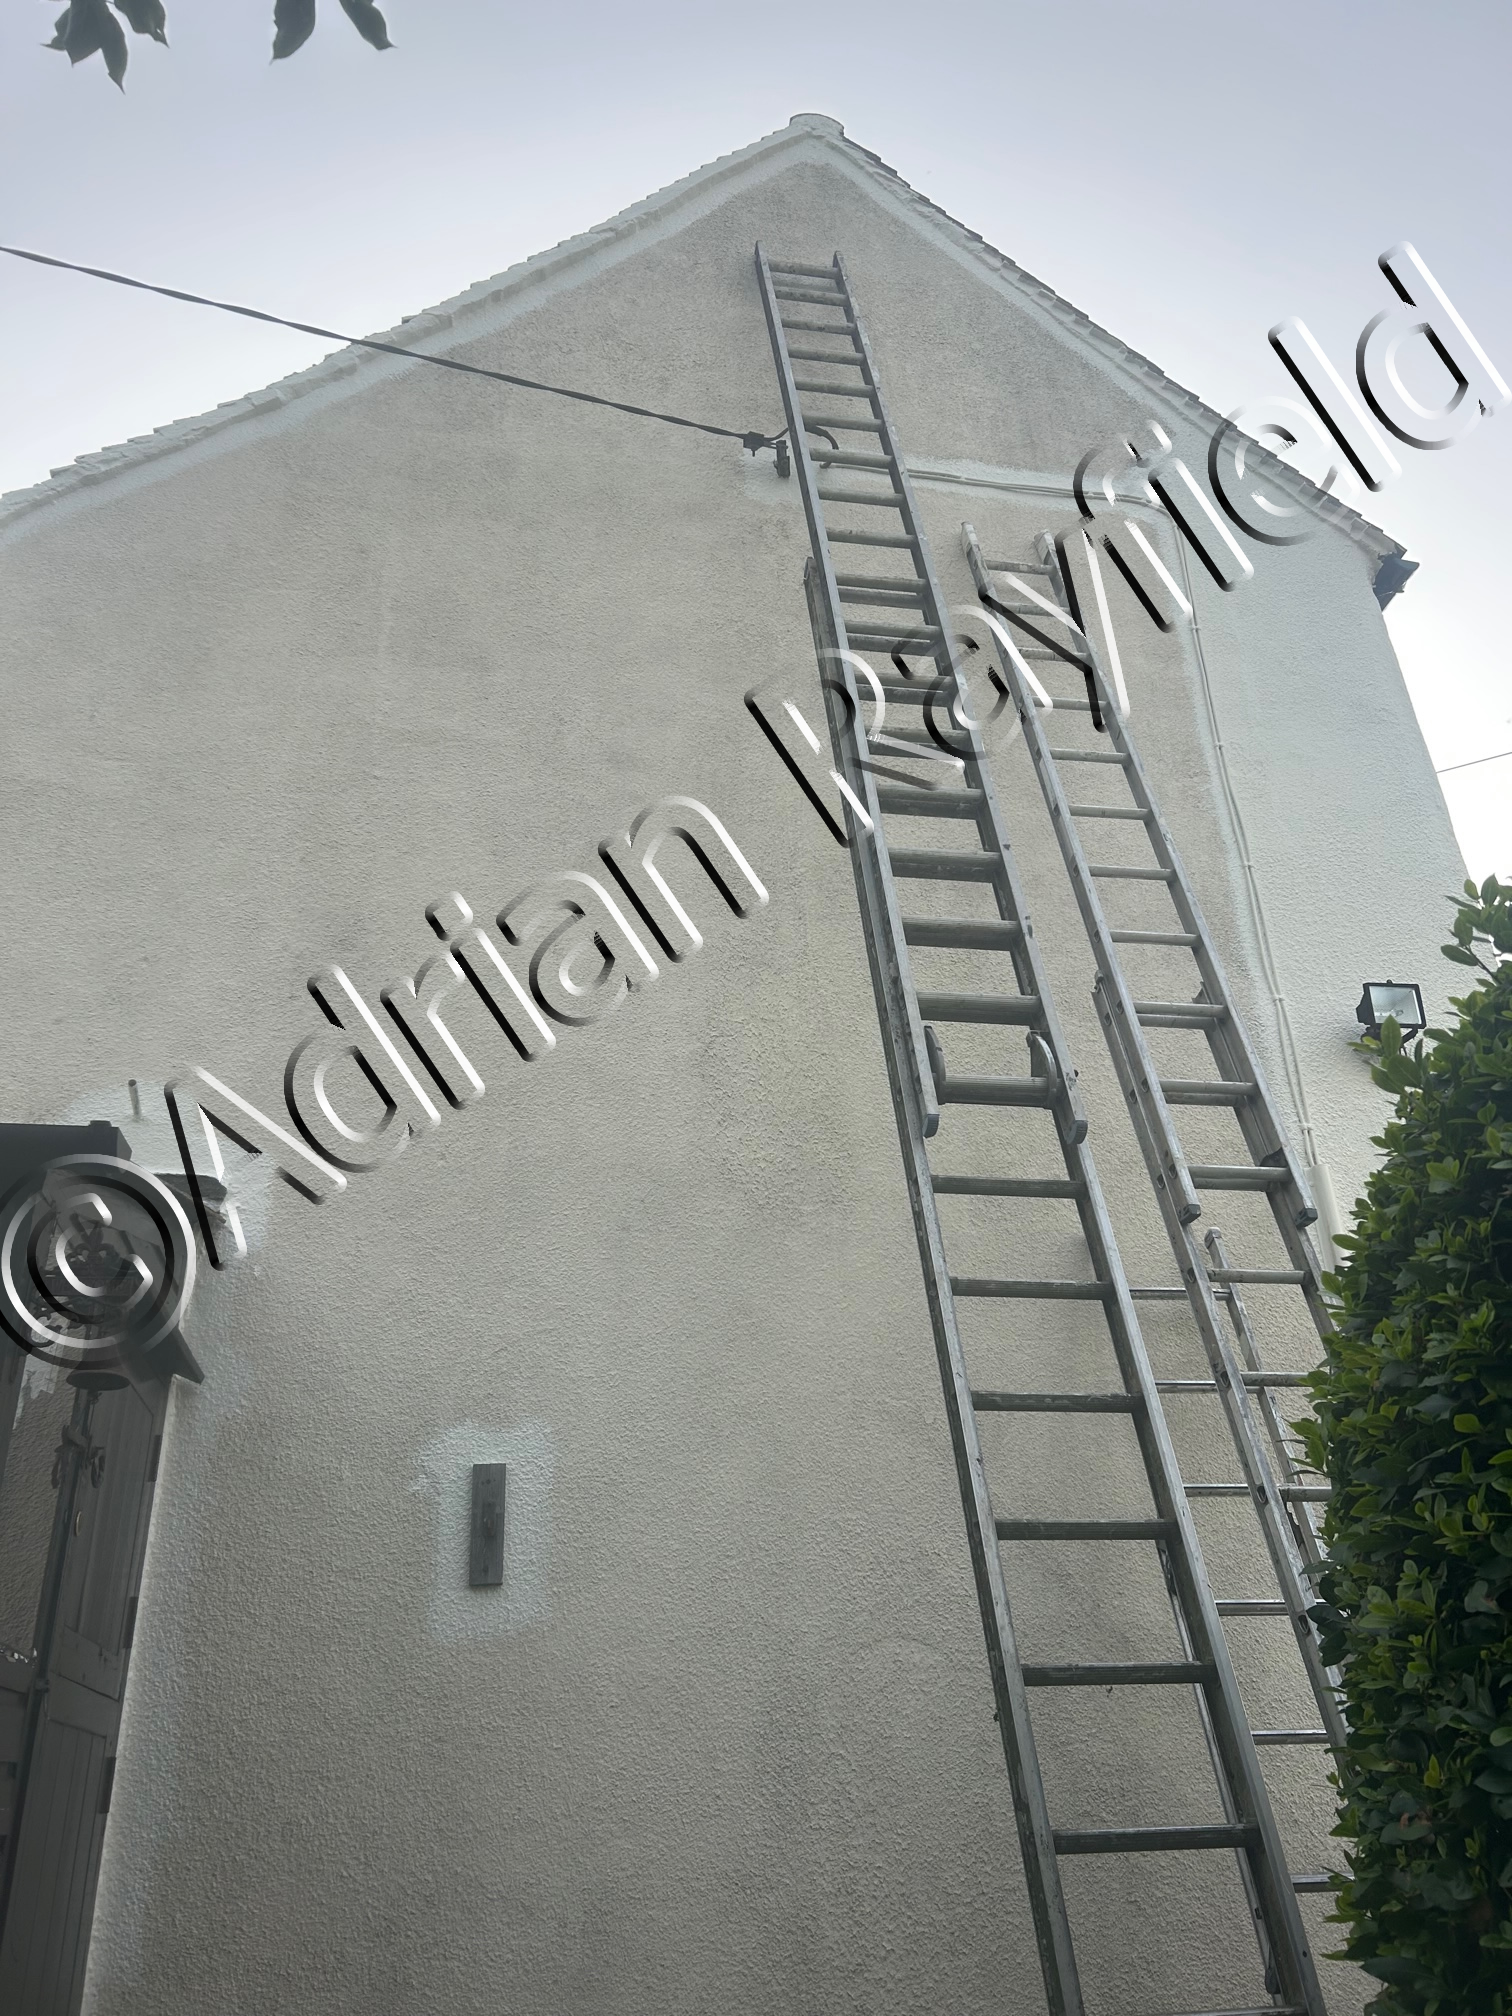
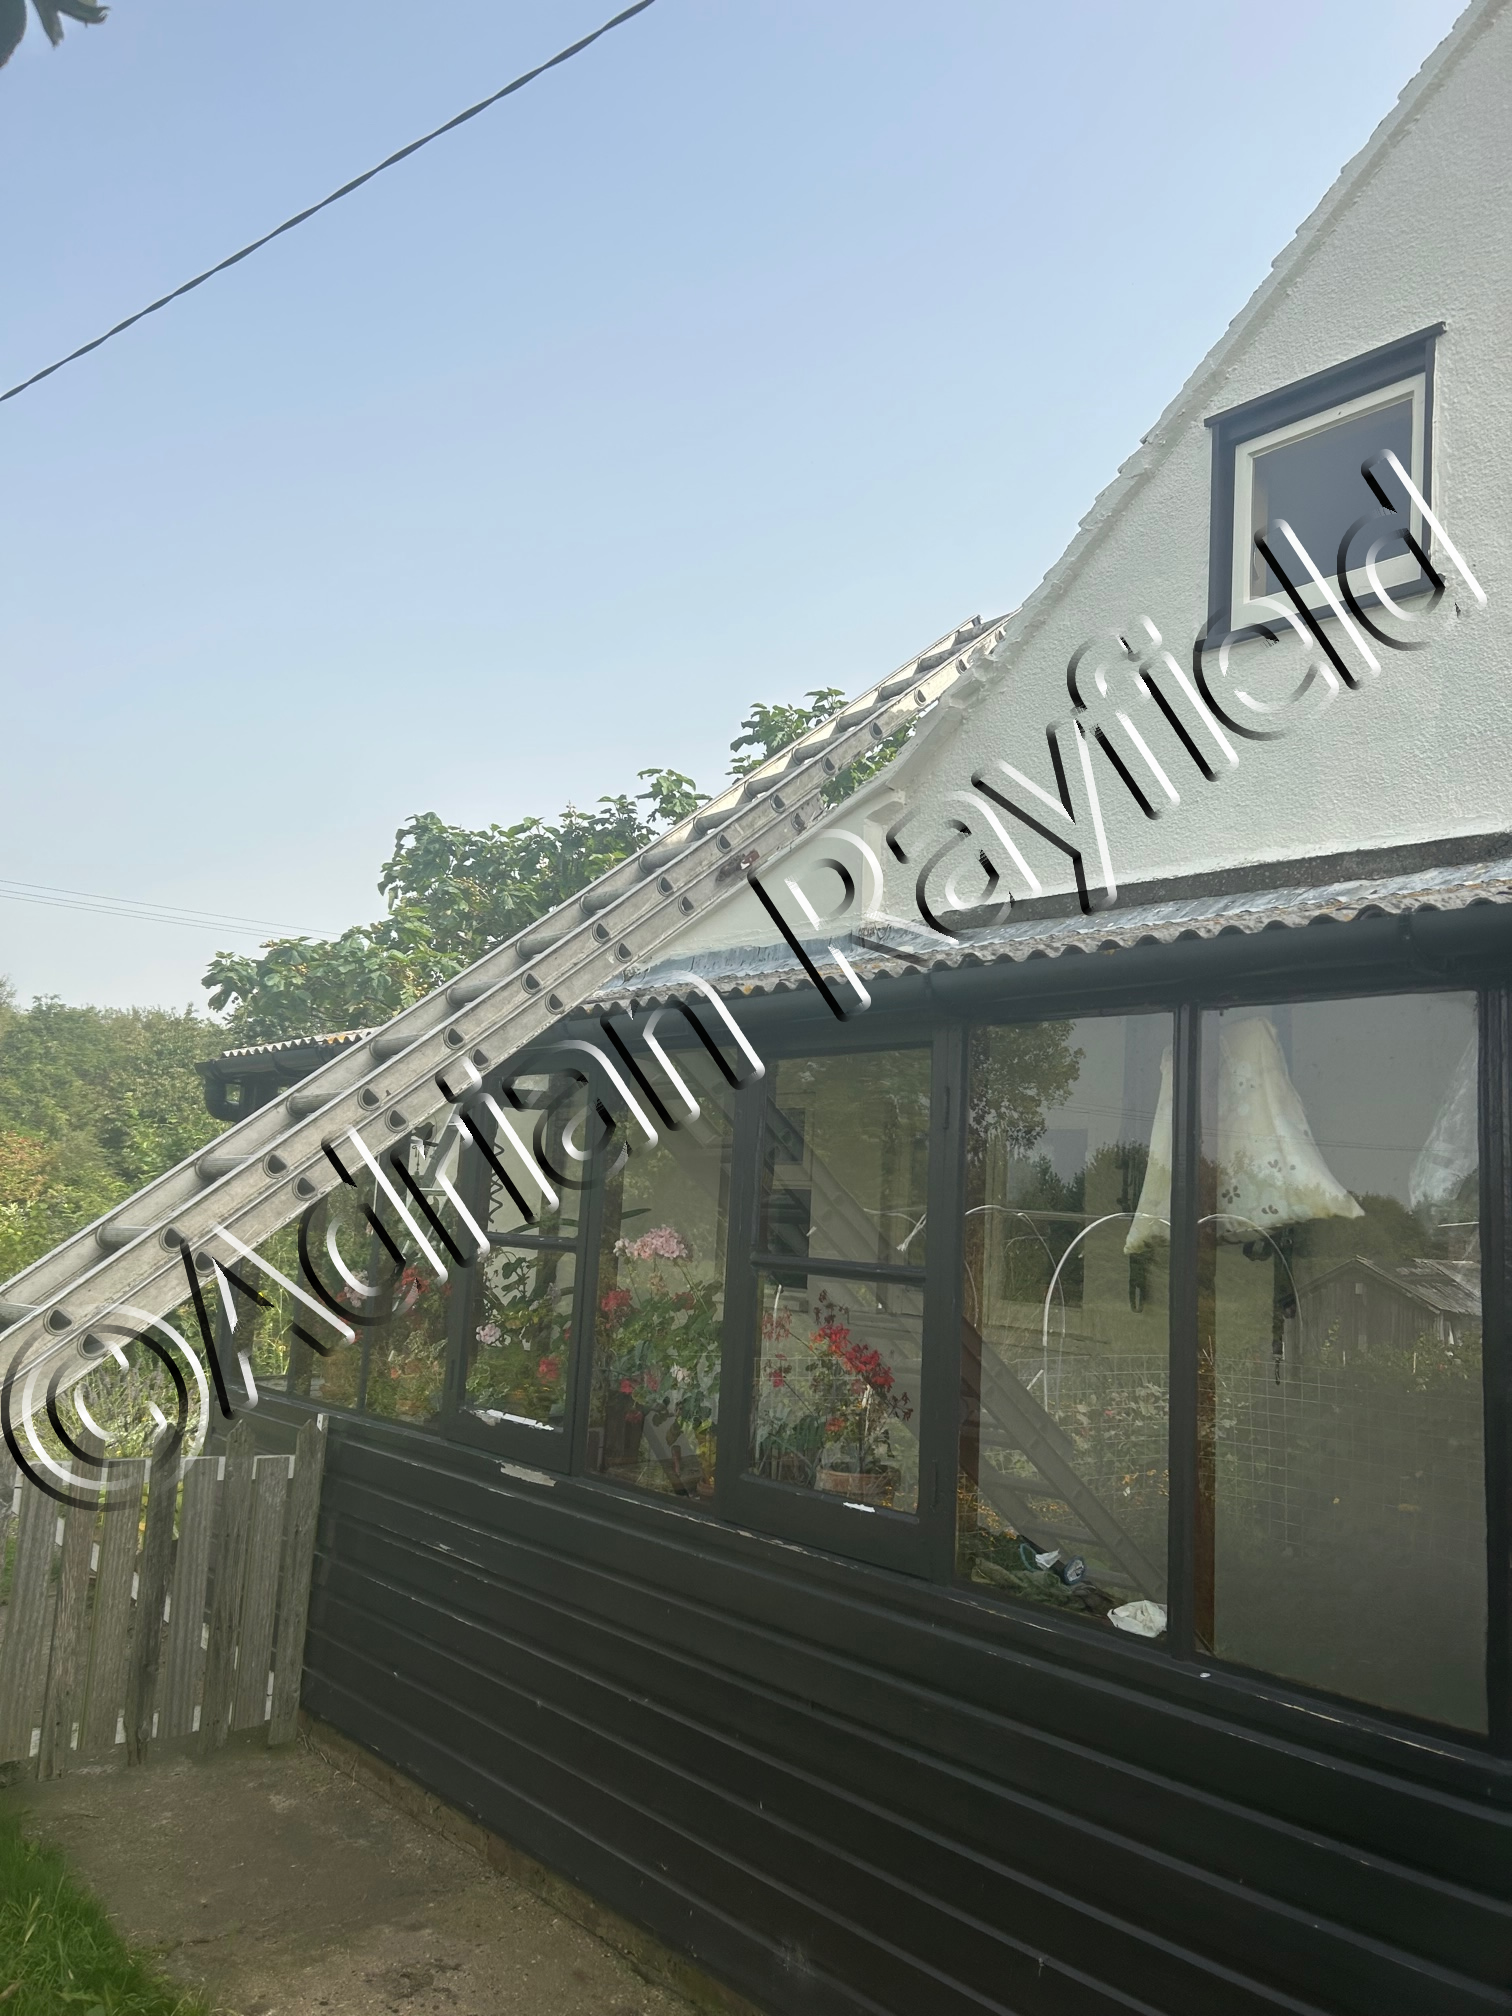
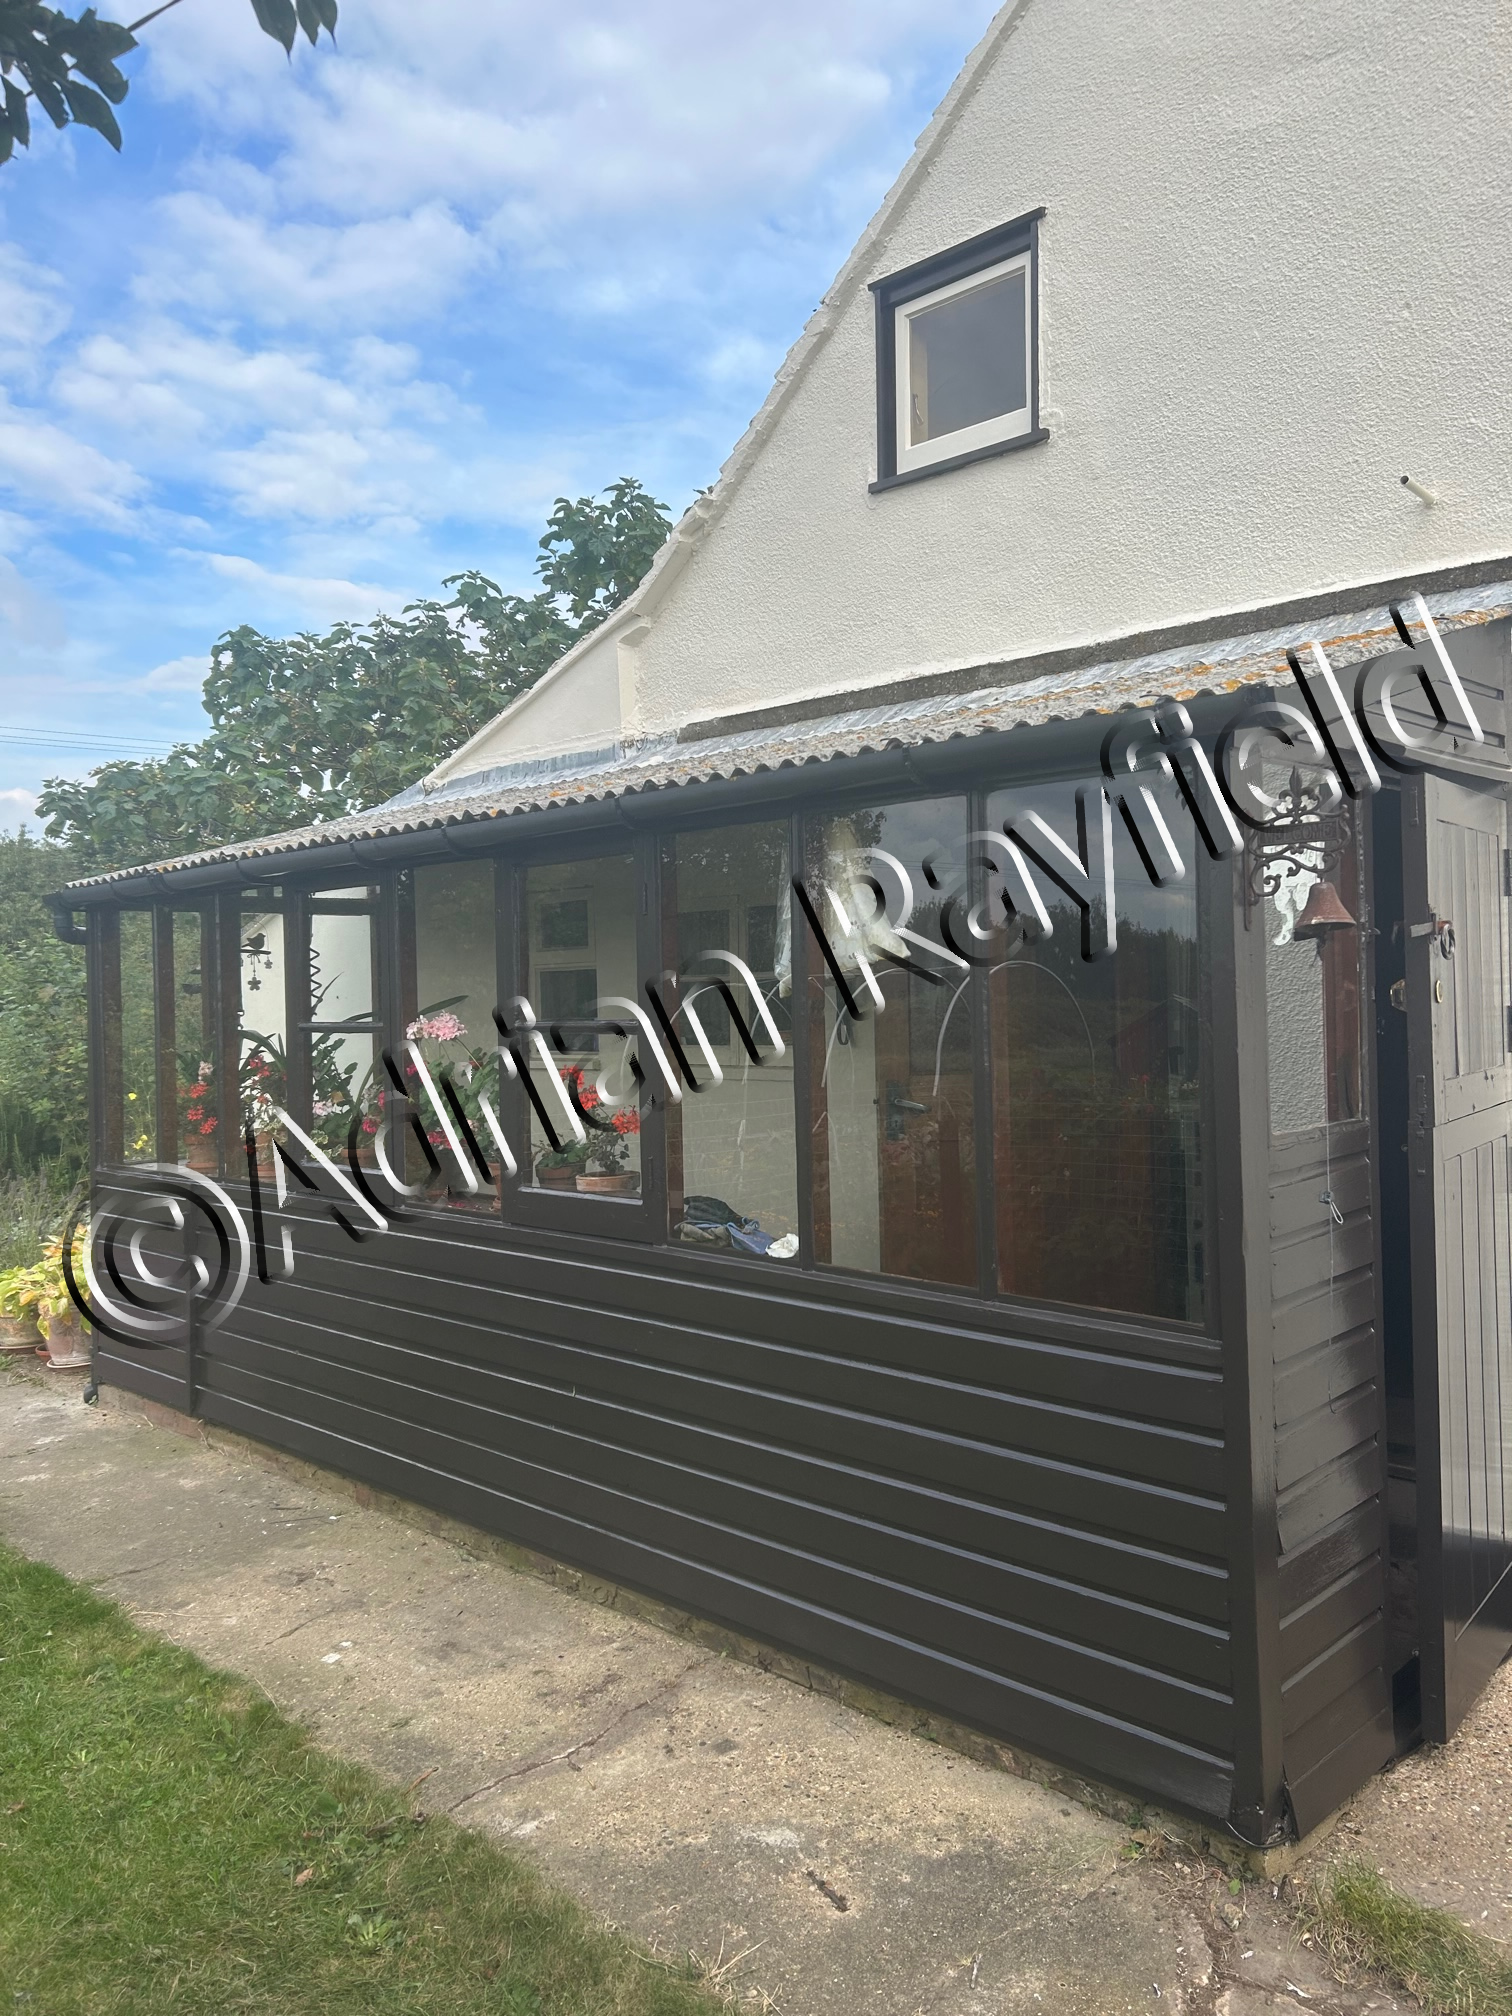
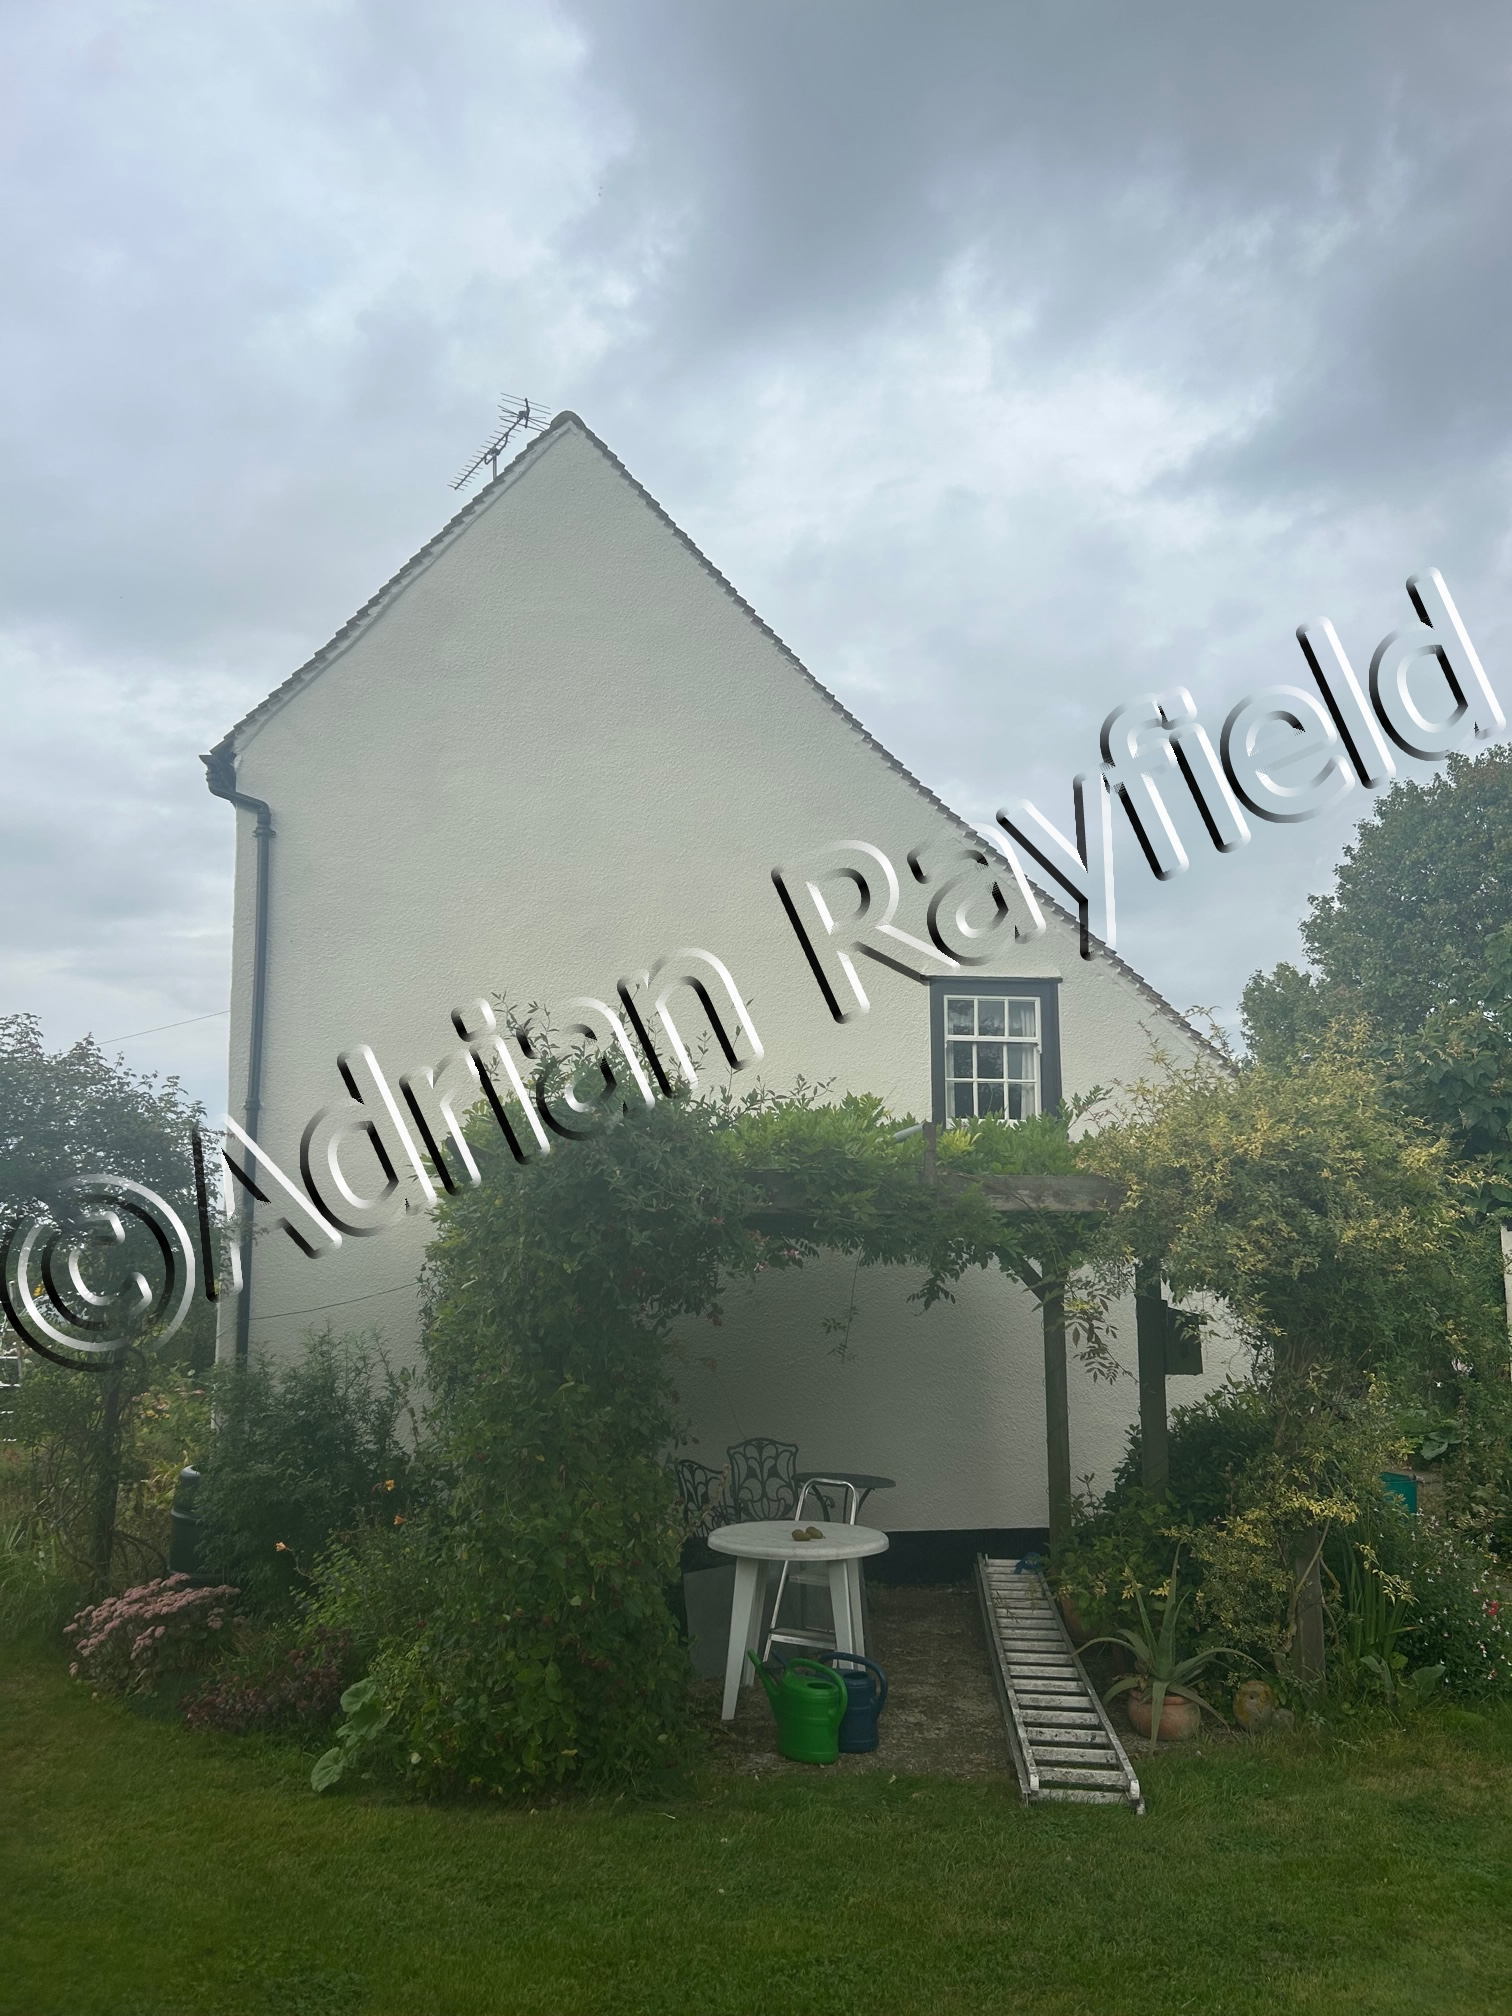
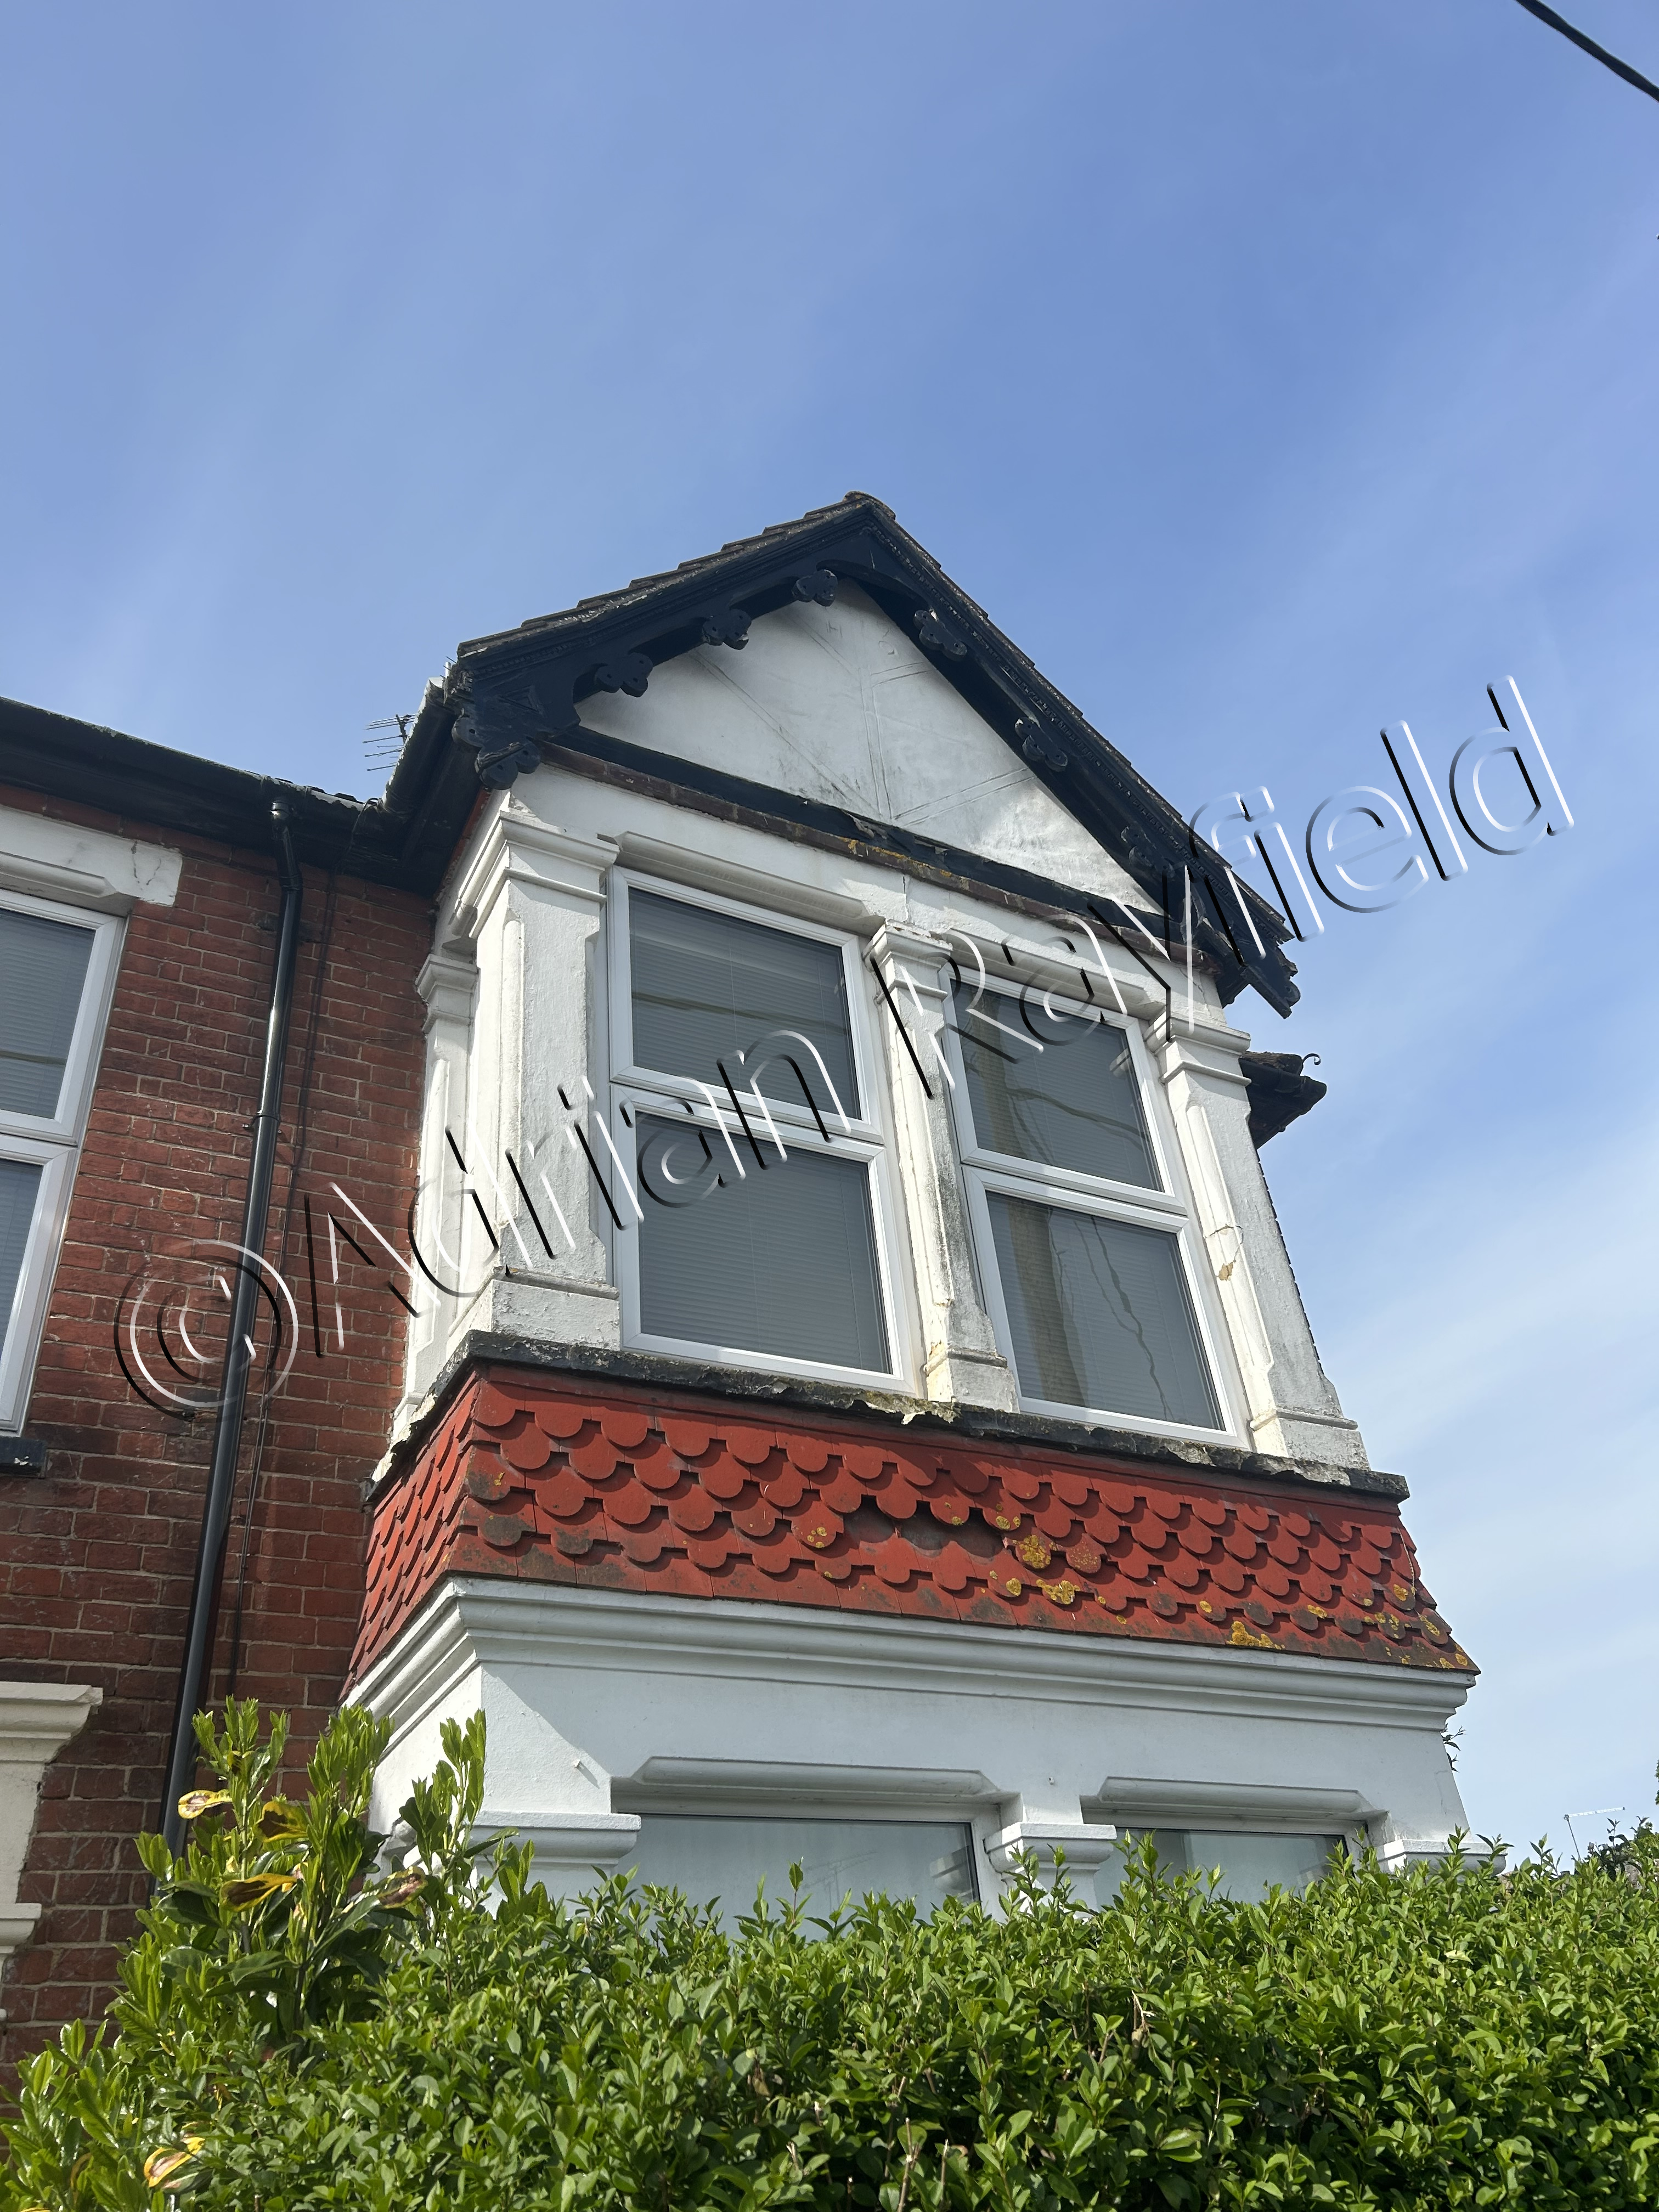
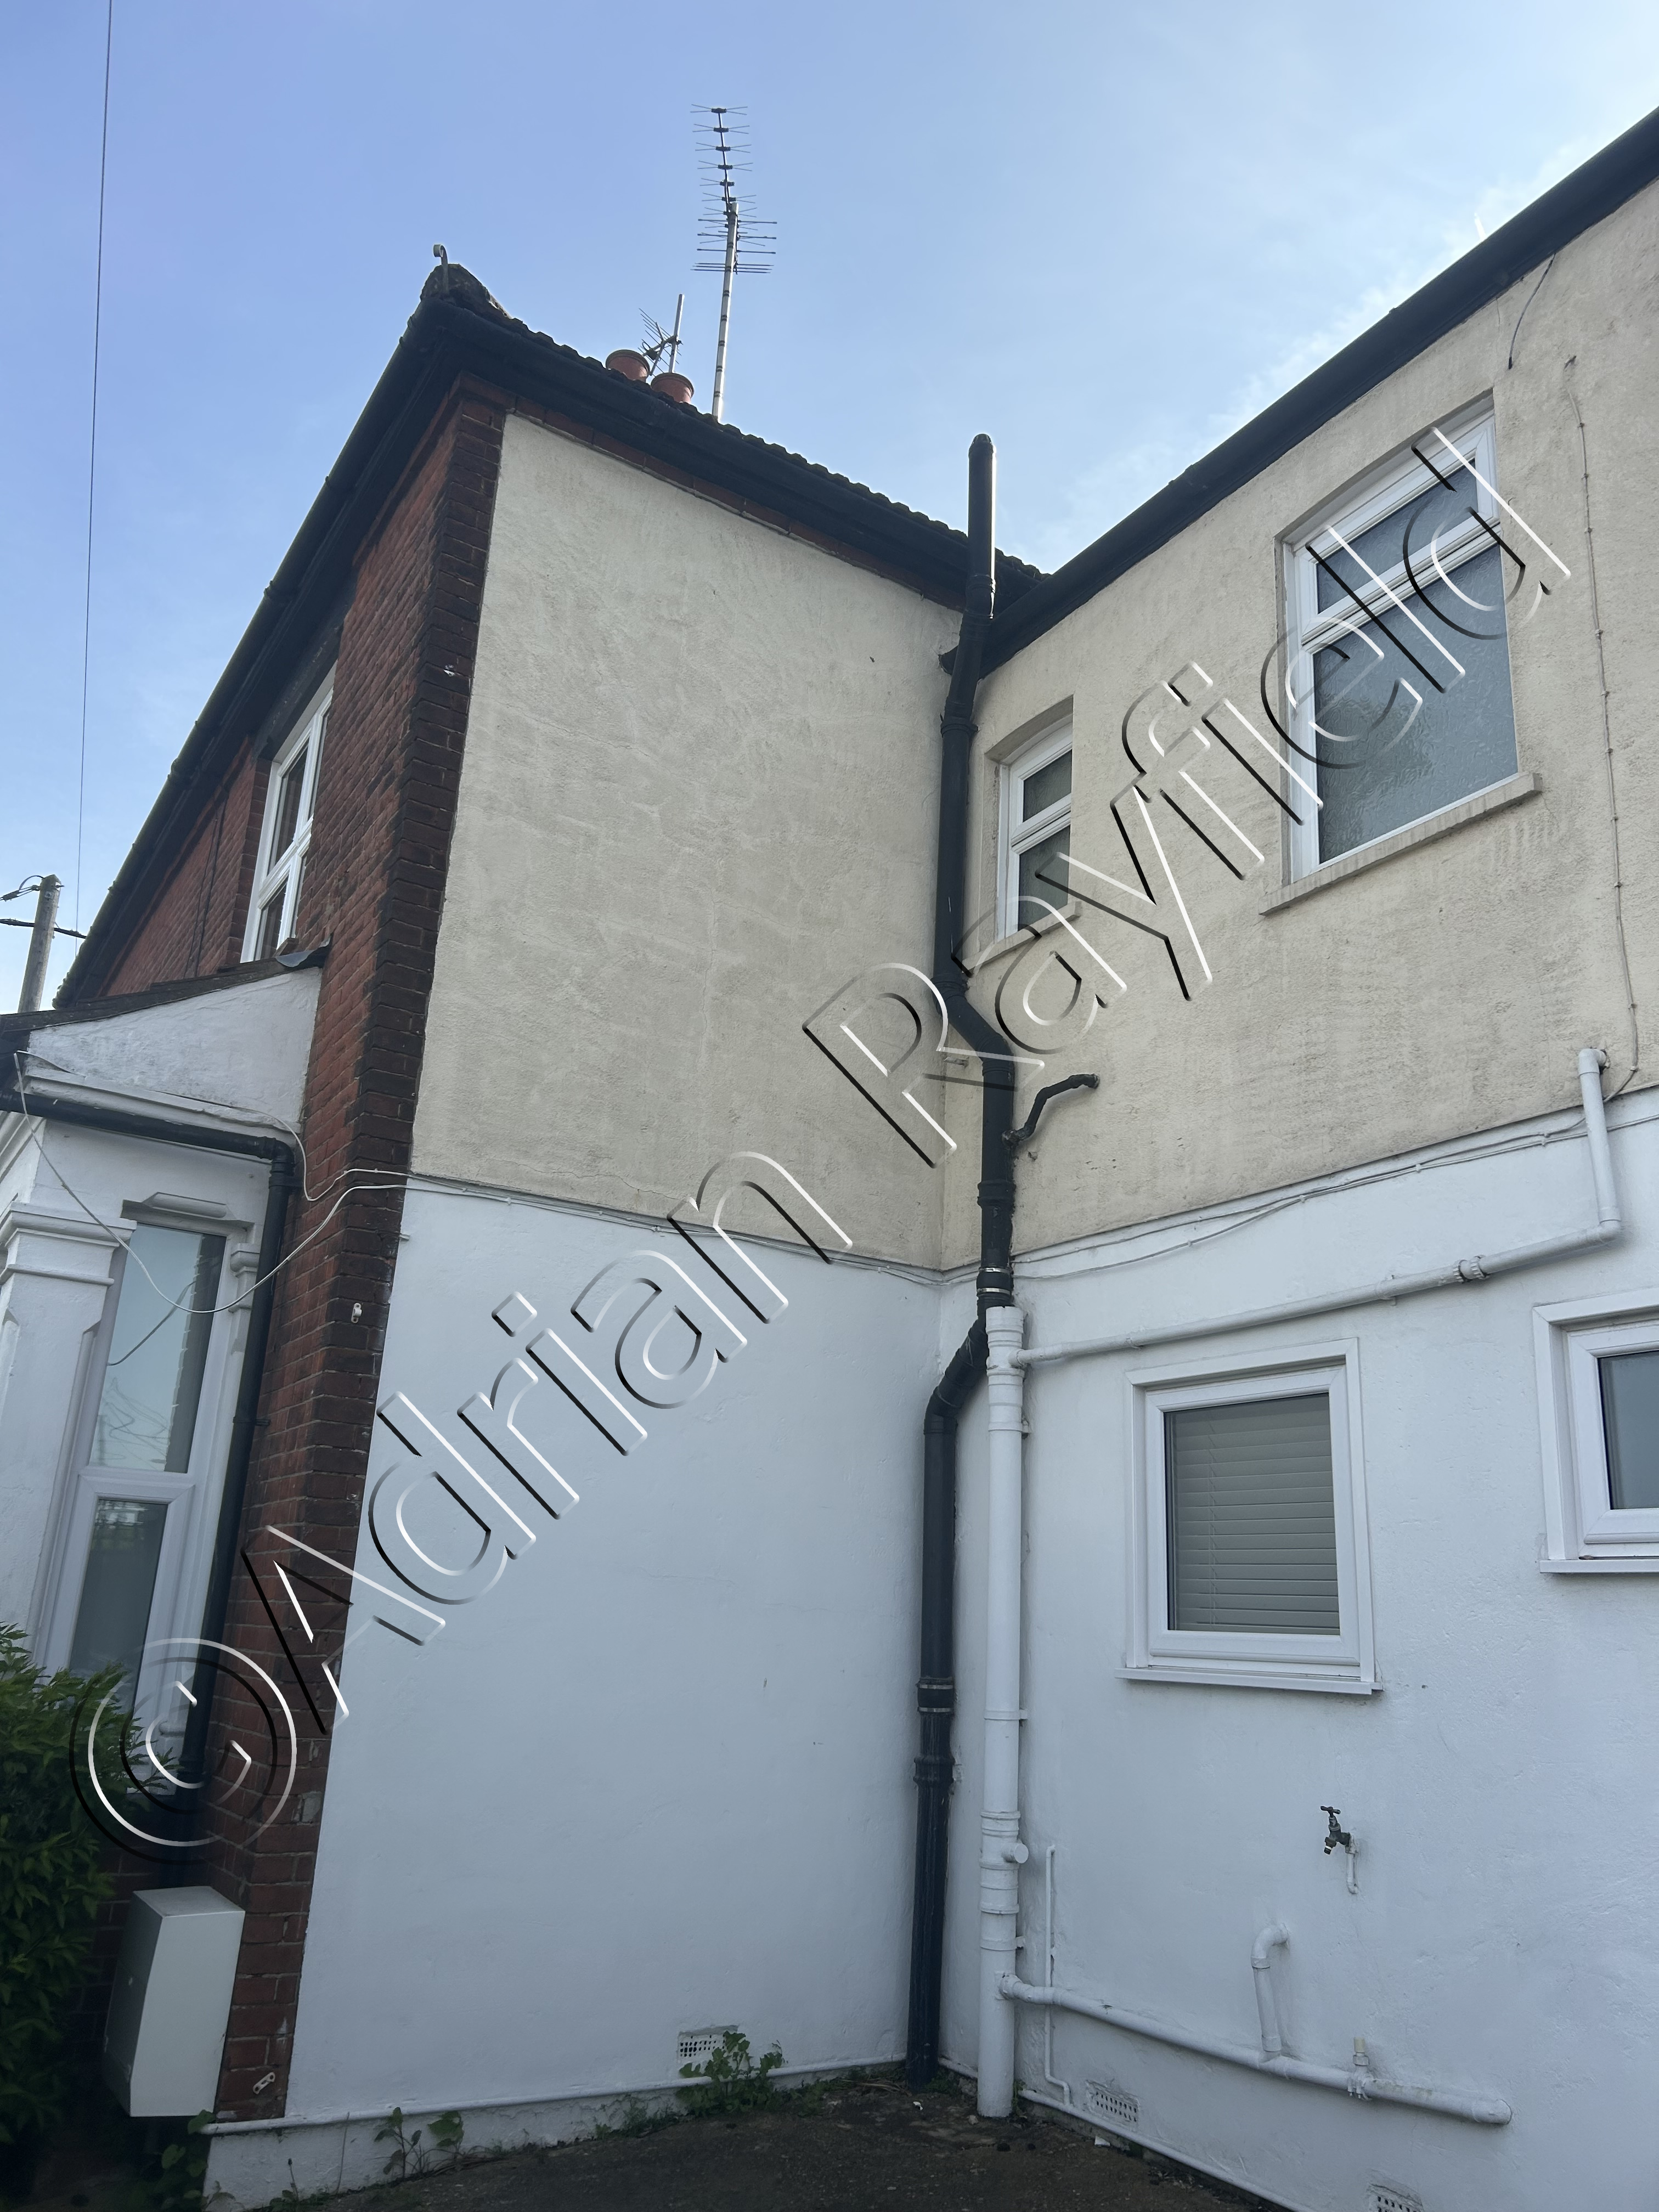
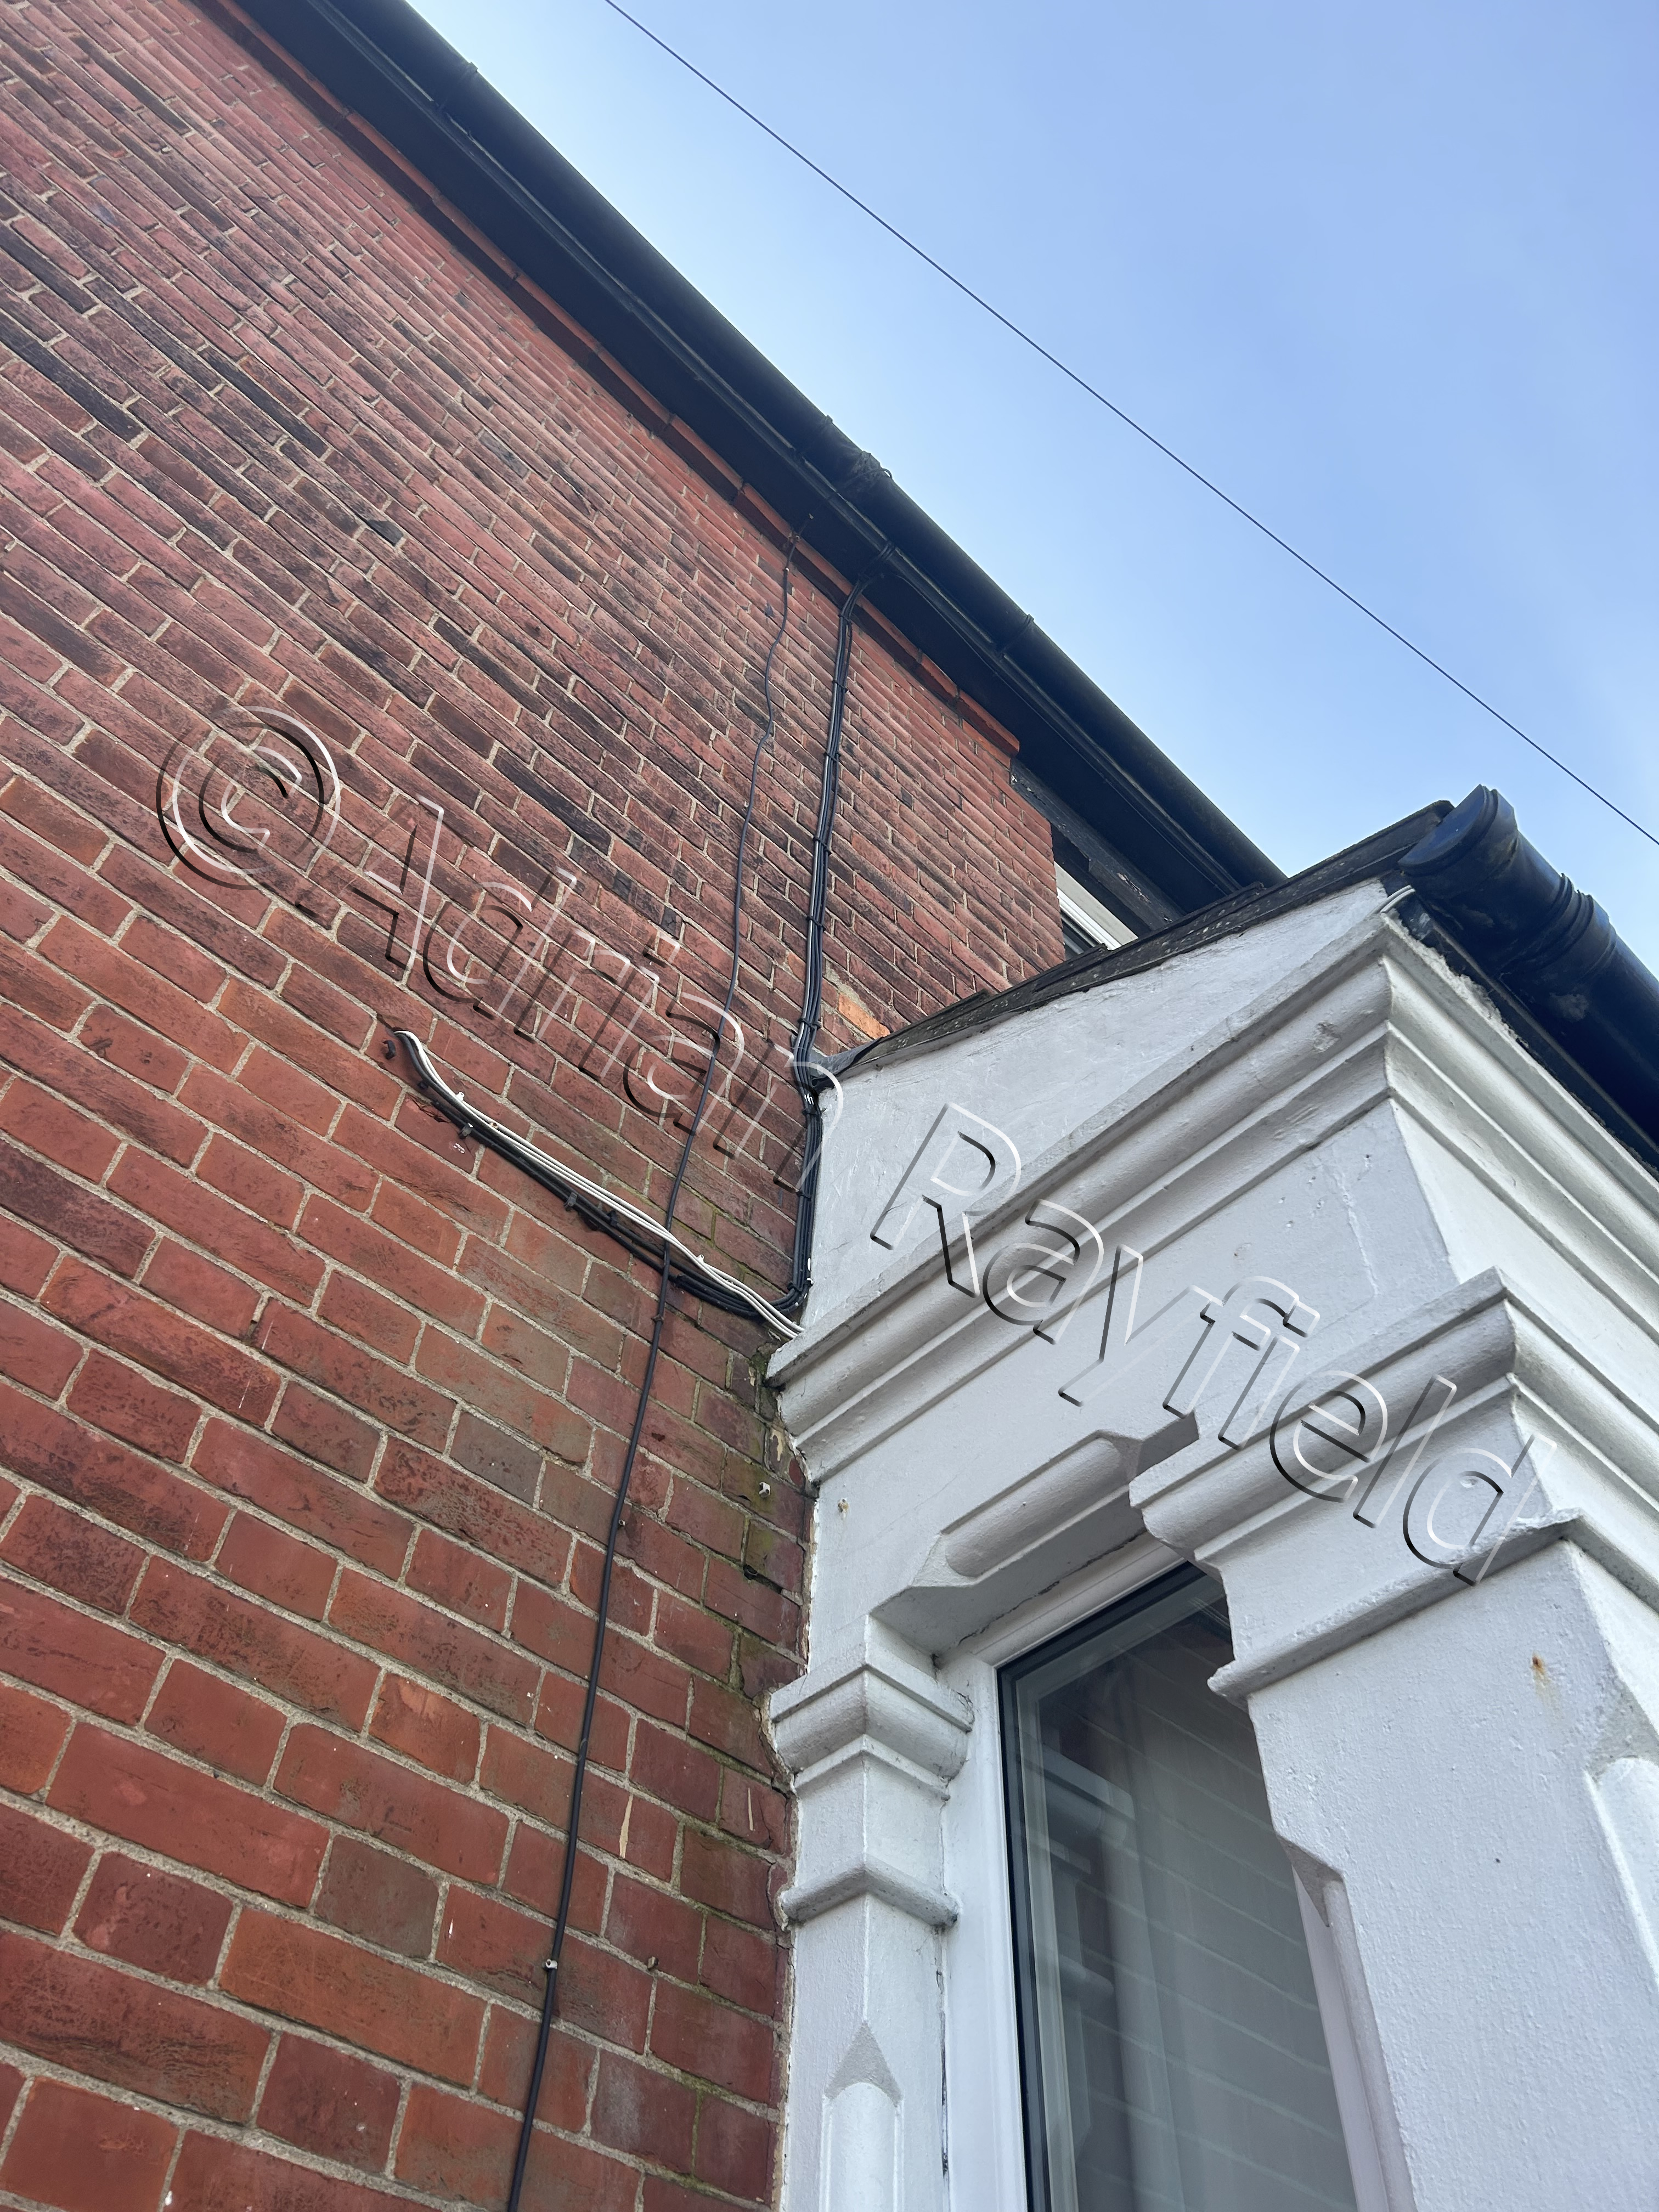
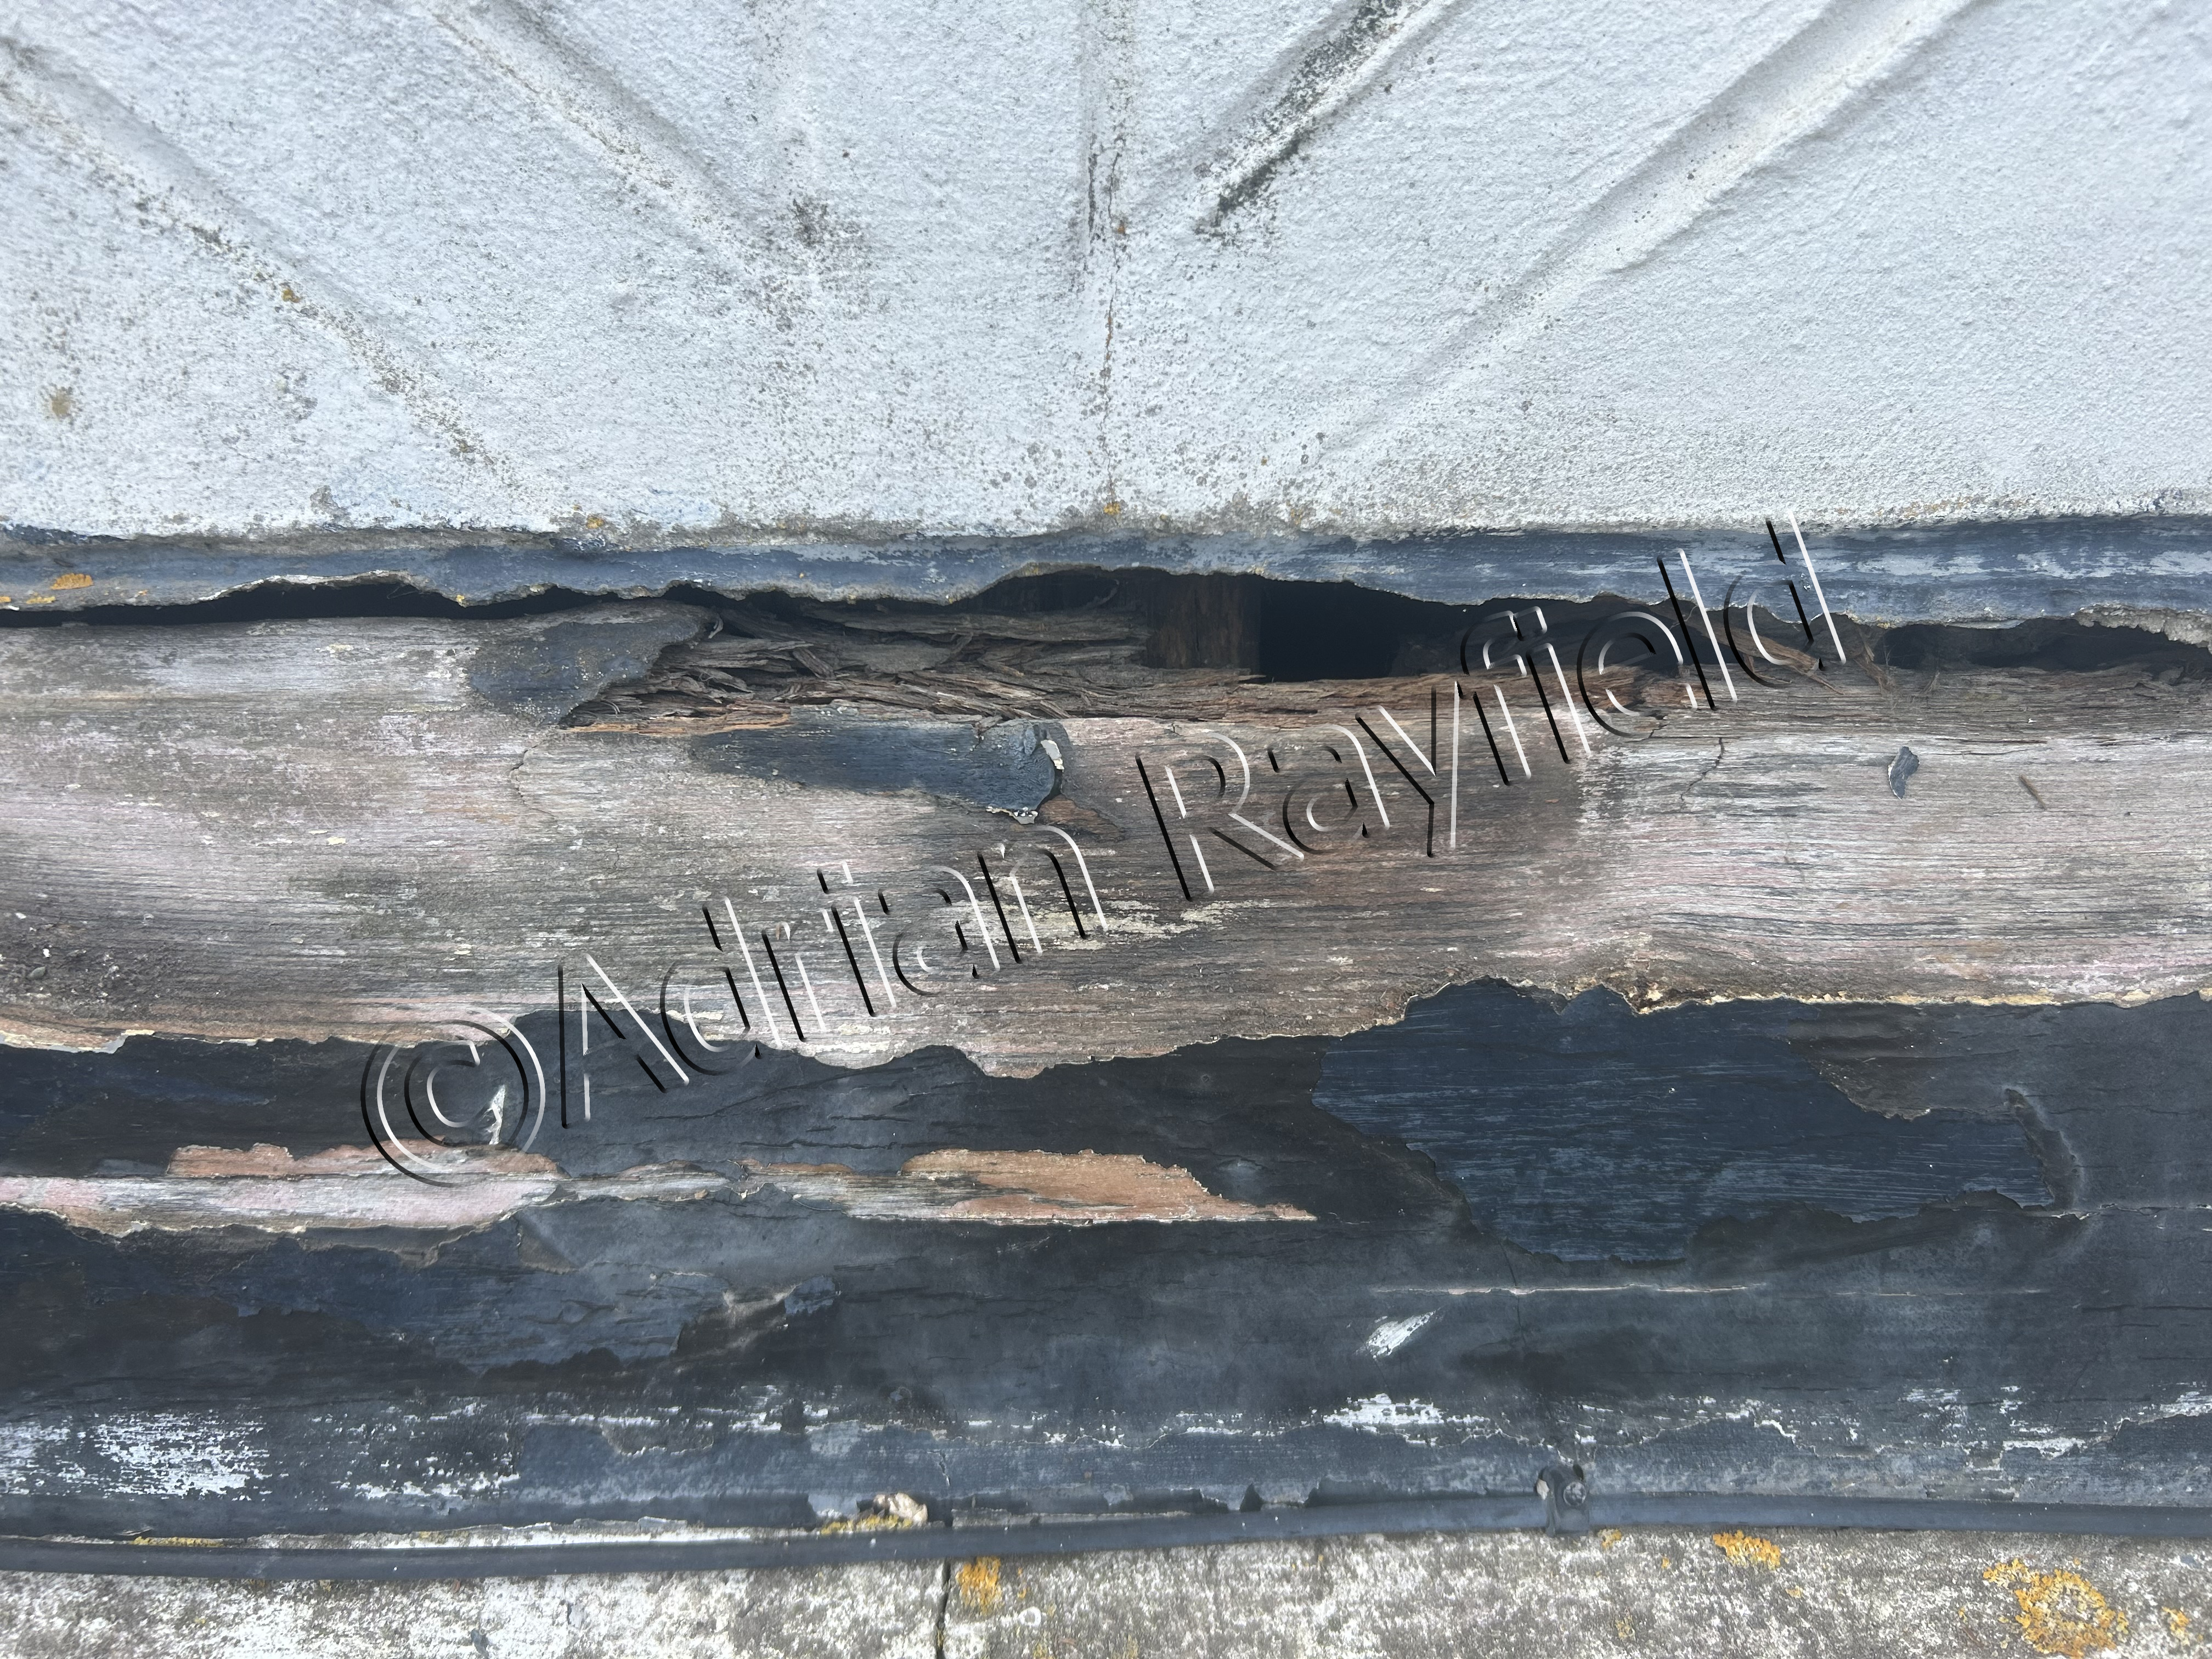
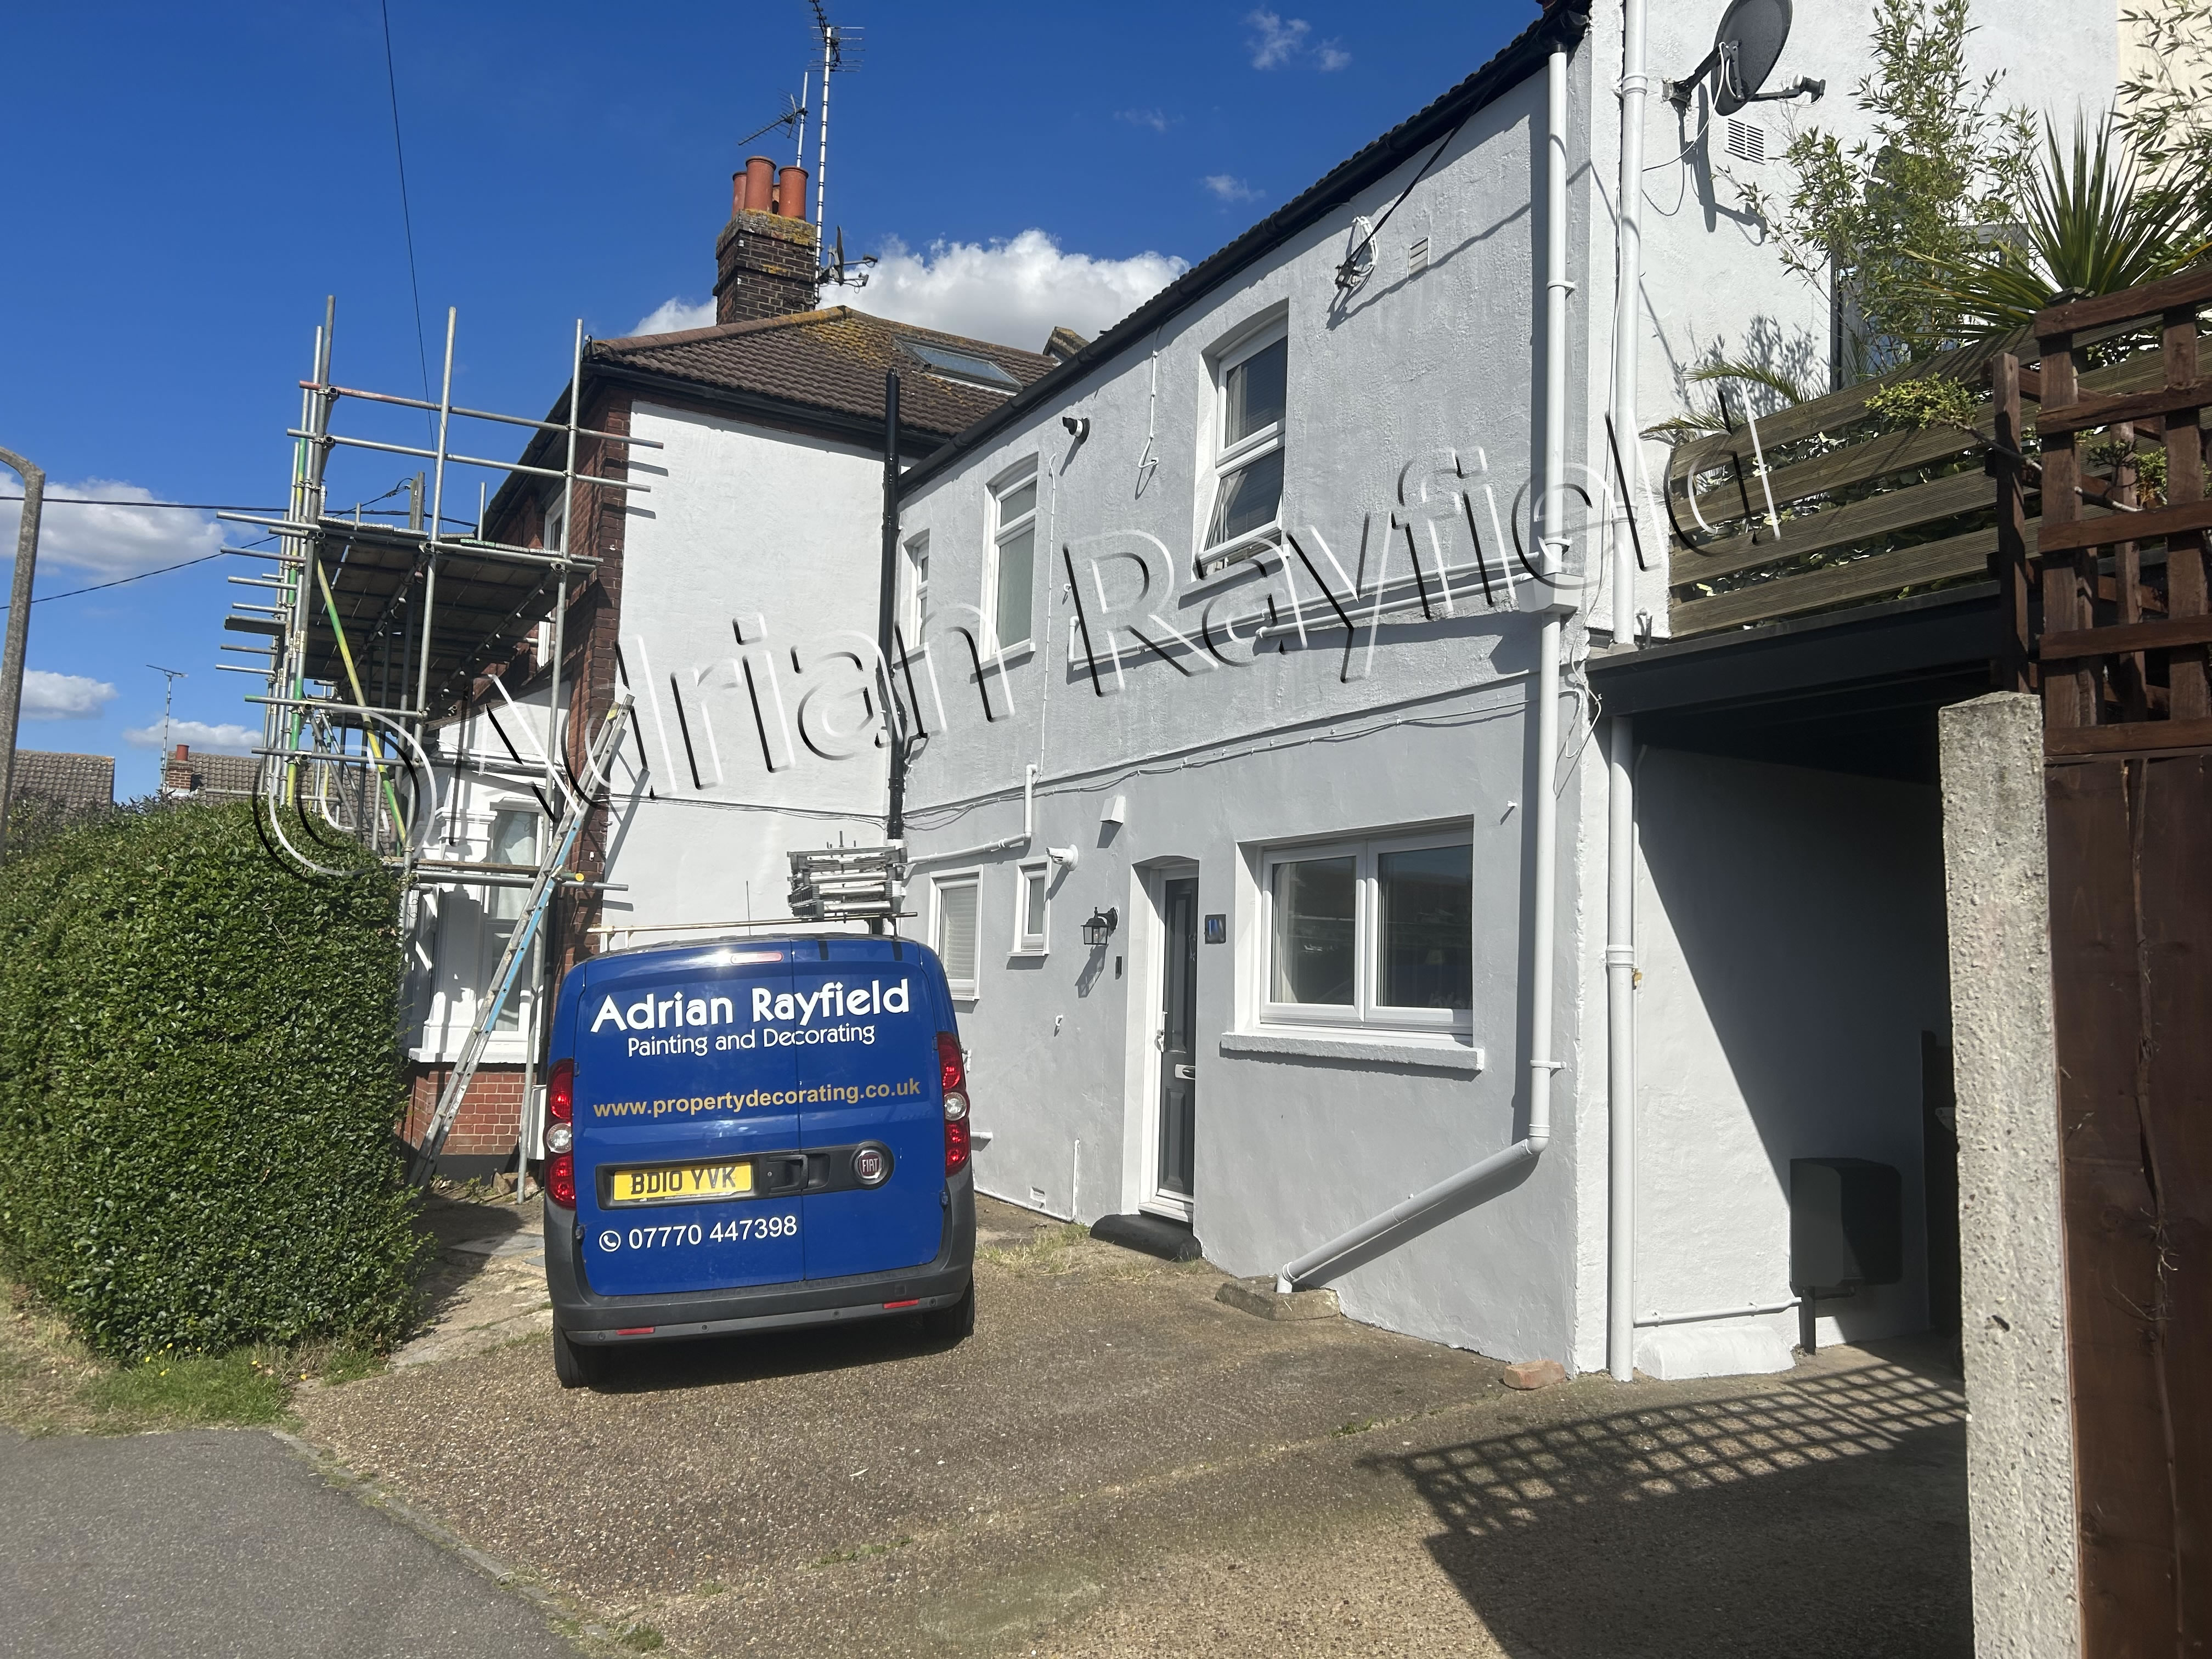
Thankfully the British summer was on my side for a few days allowing me to paint this exterior. It definitely needed a bit of TLC as the external of this property hadn’t been painted for some years. And as such had deteriorated to the point that certain areas of the woodwork had sucome to rot.
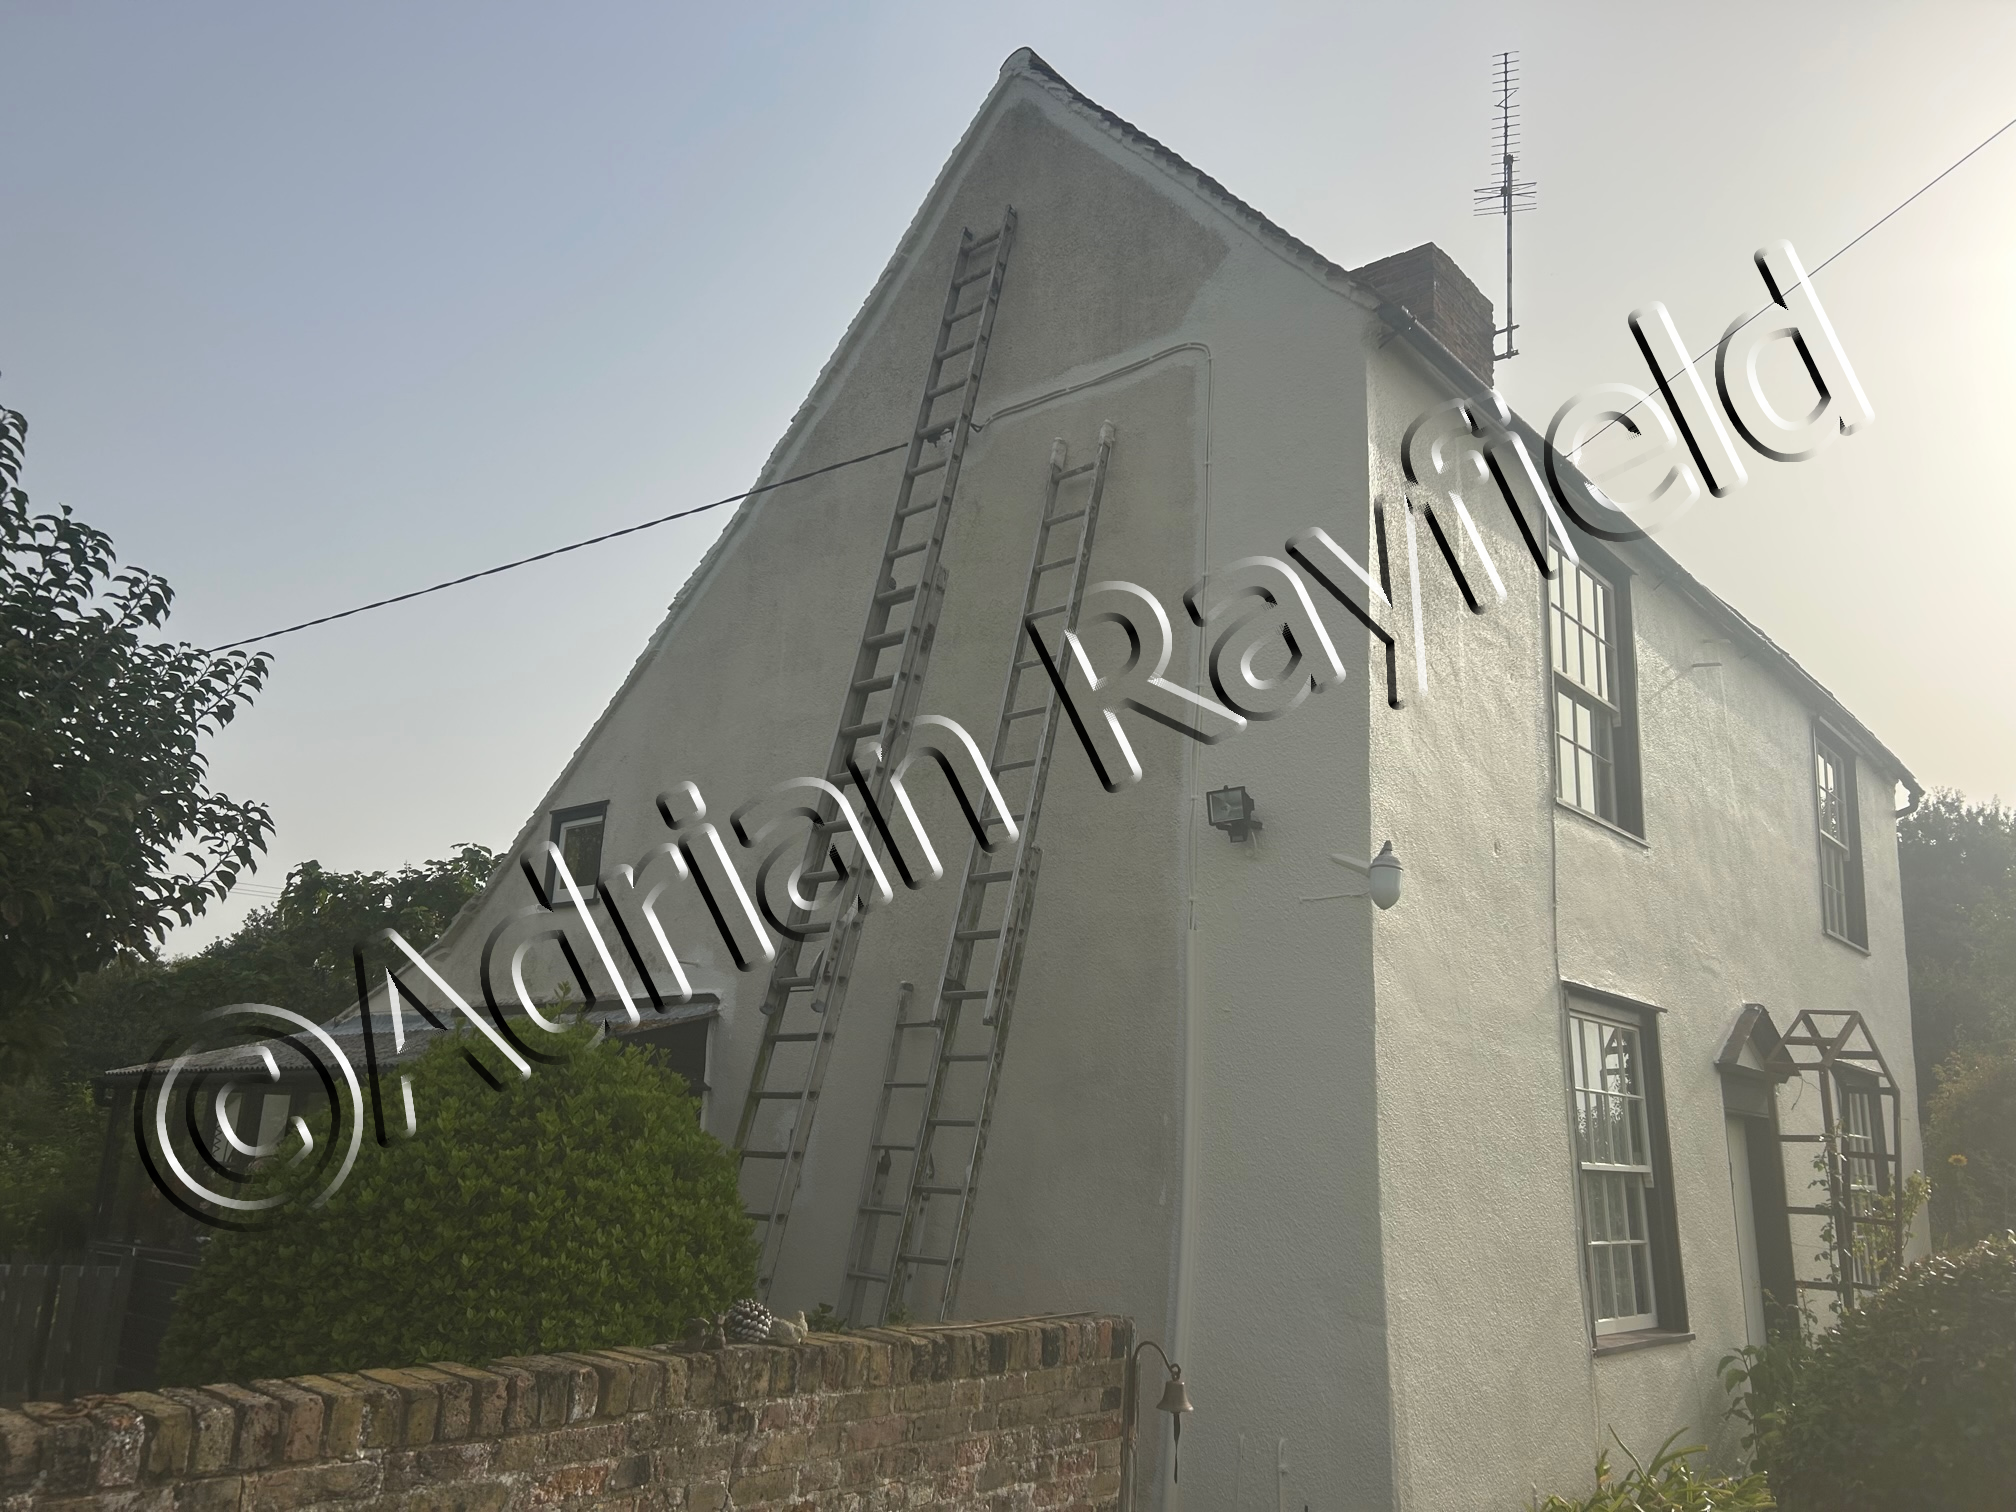
The property needed scaffolding on the front and part of the side elevation’s due to the limited access for a ladder and for the height of the apex section on the front elevation. This was sourced by the client and erected before work began.
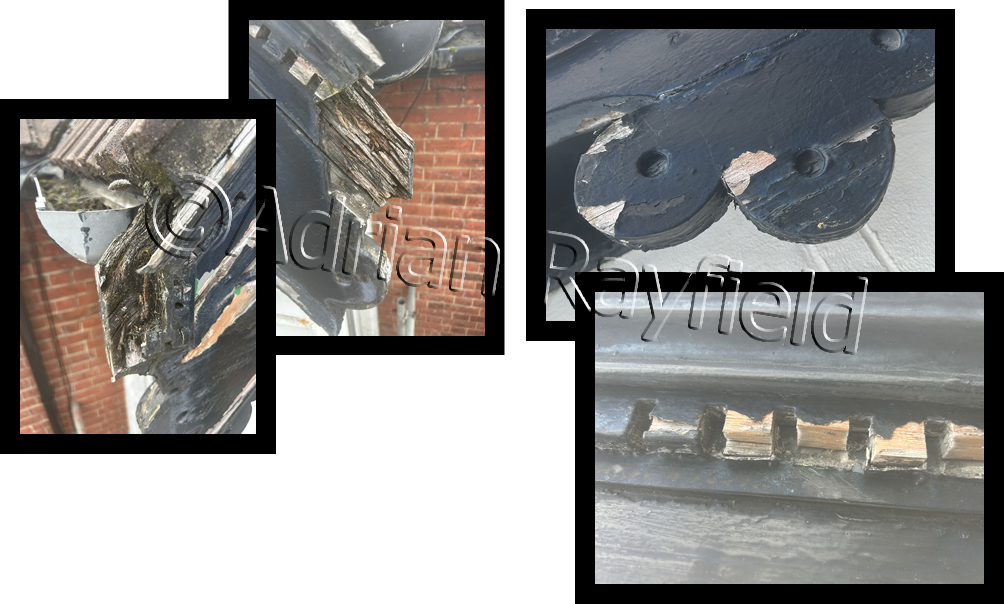
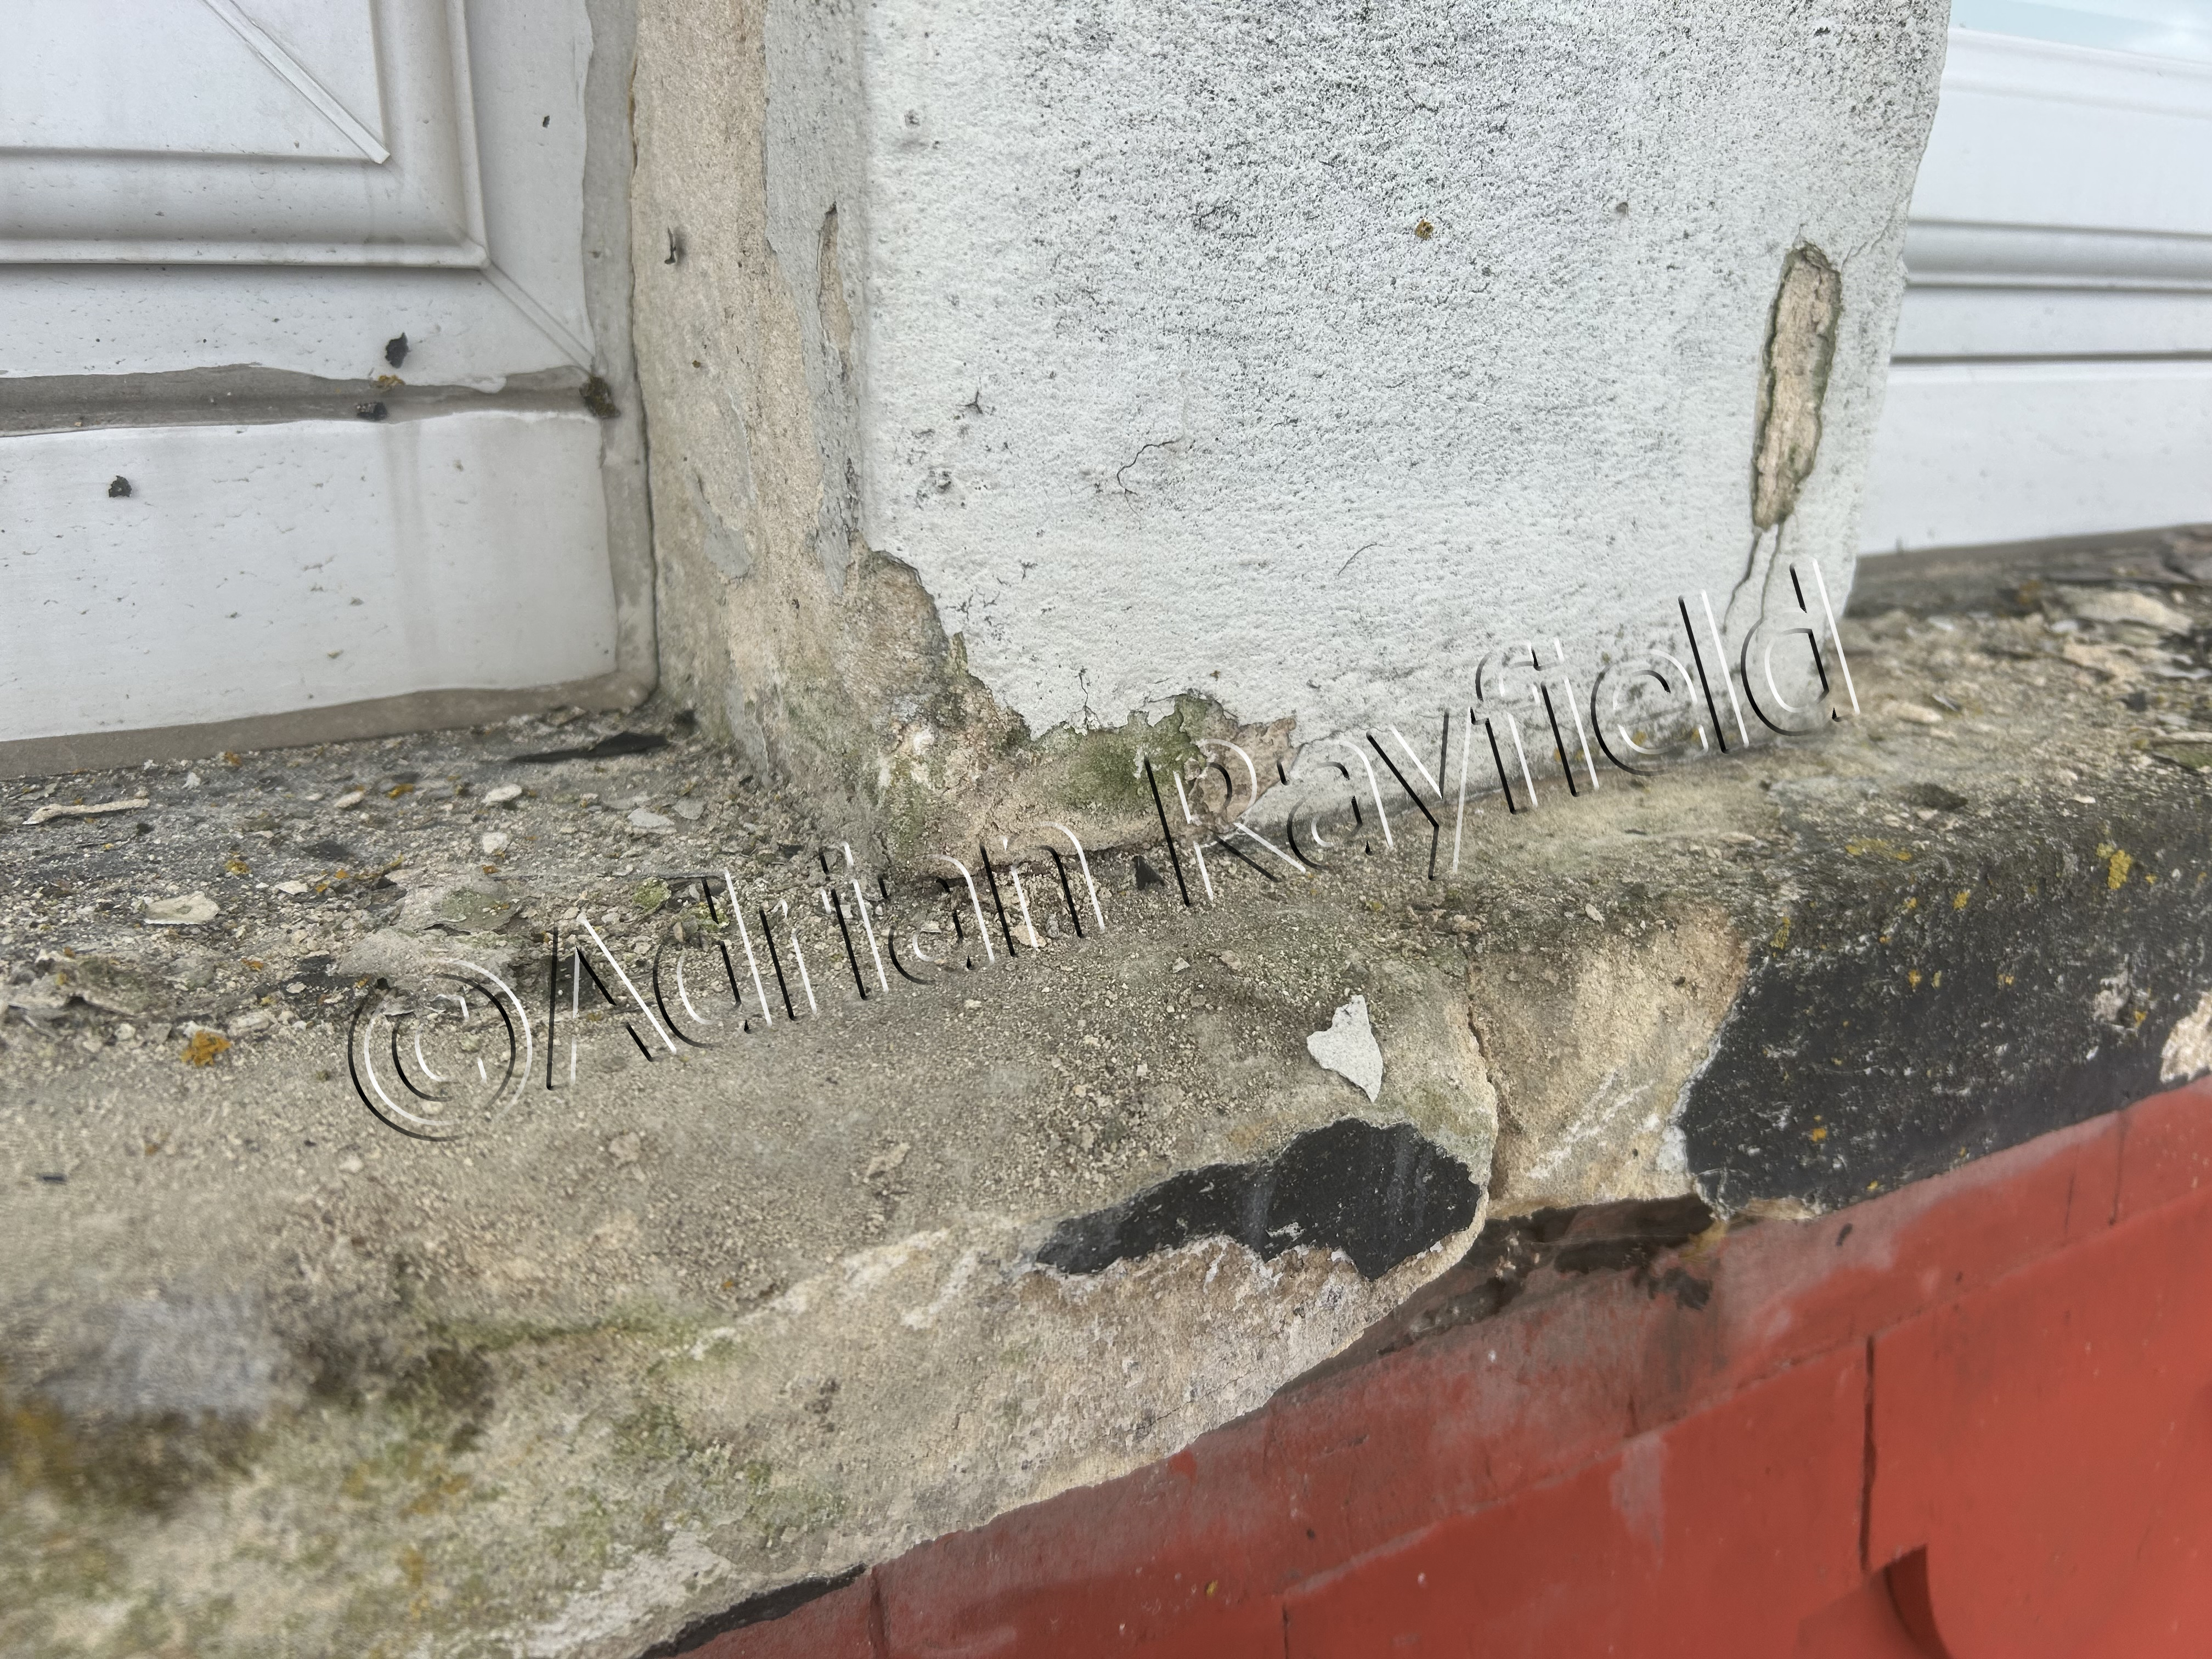
Repairs
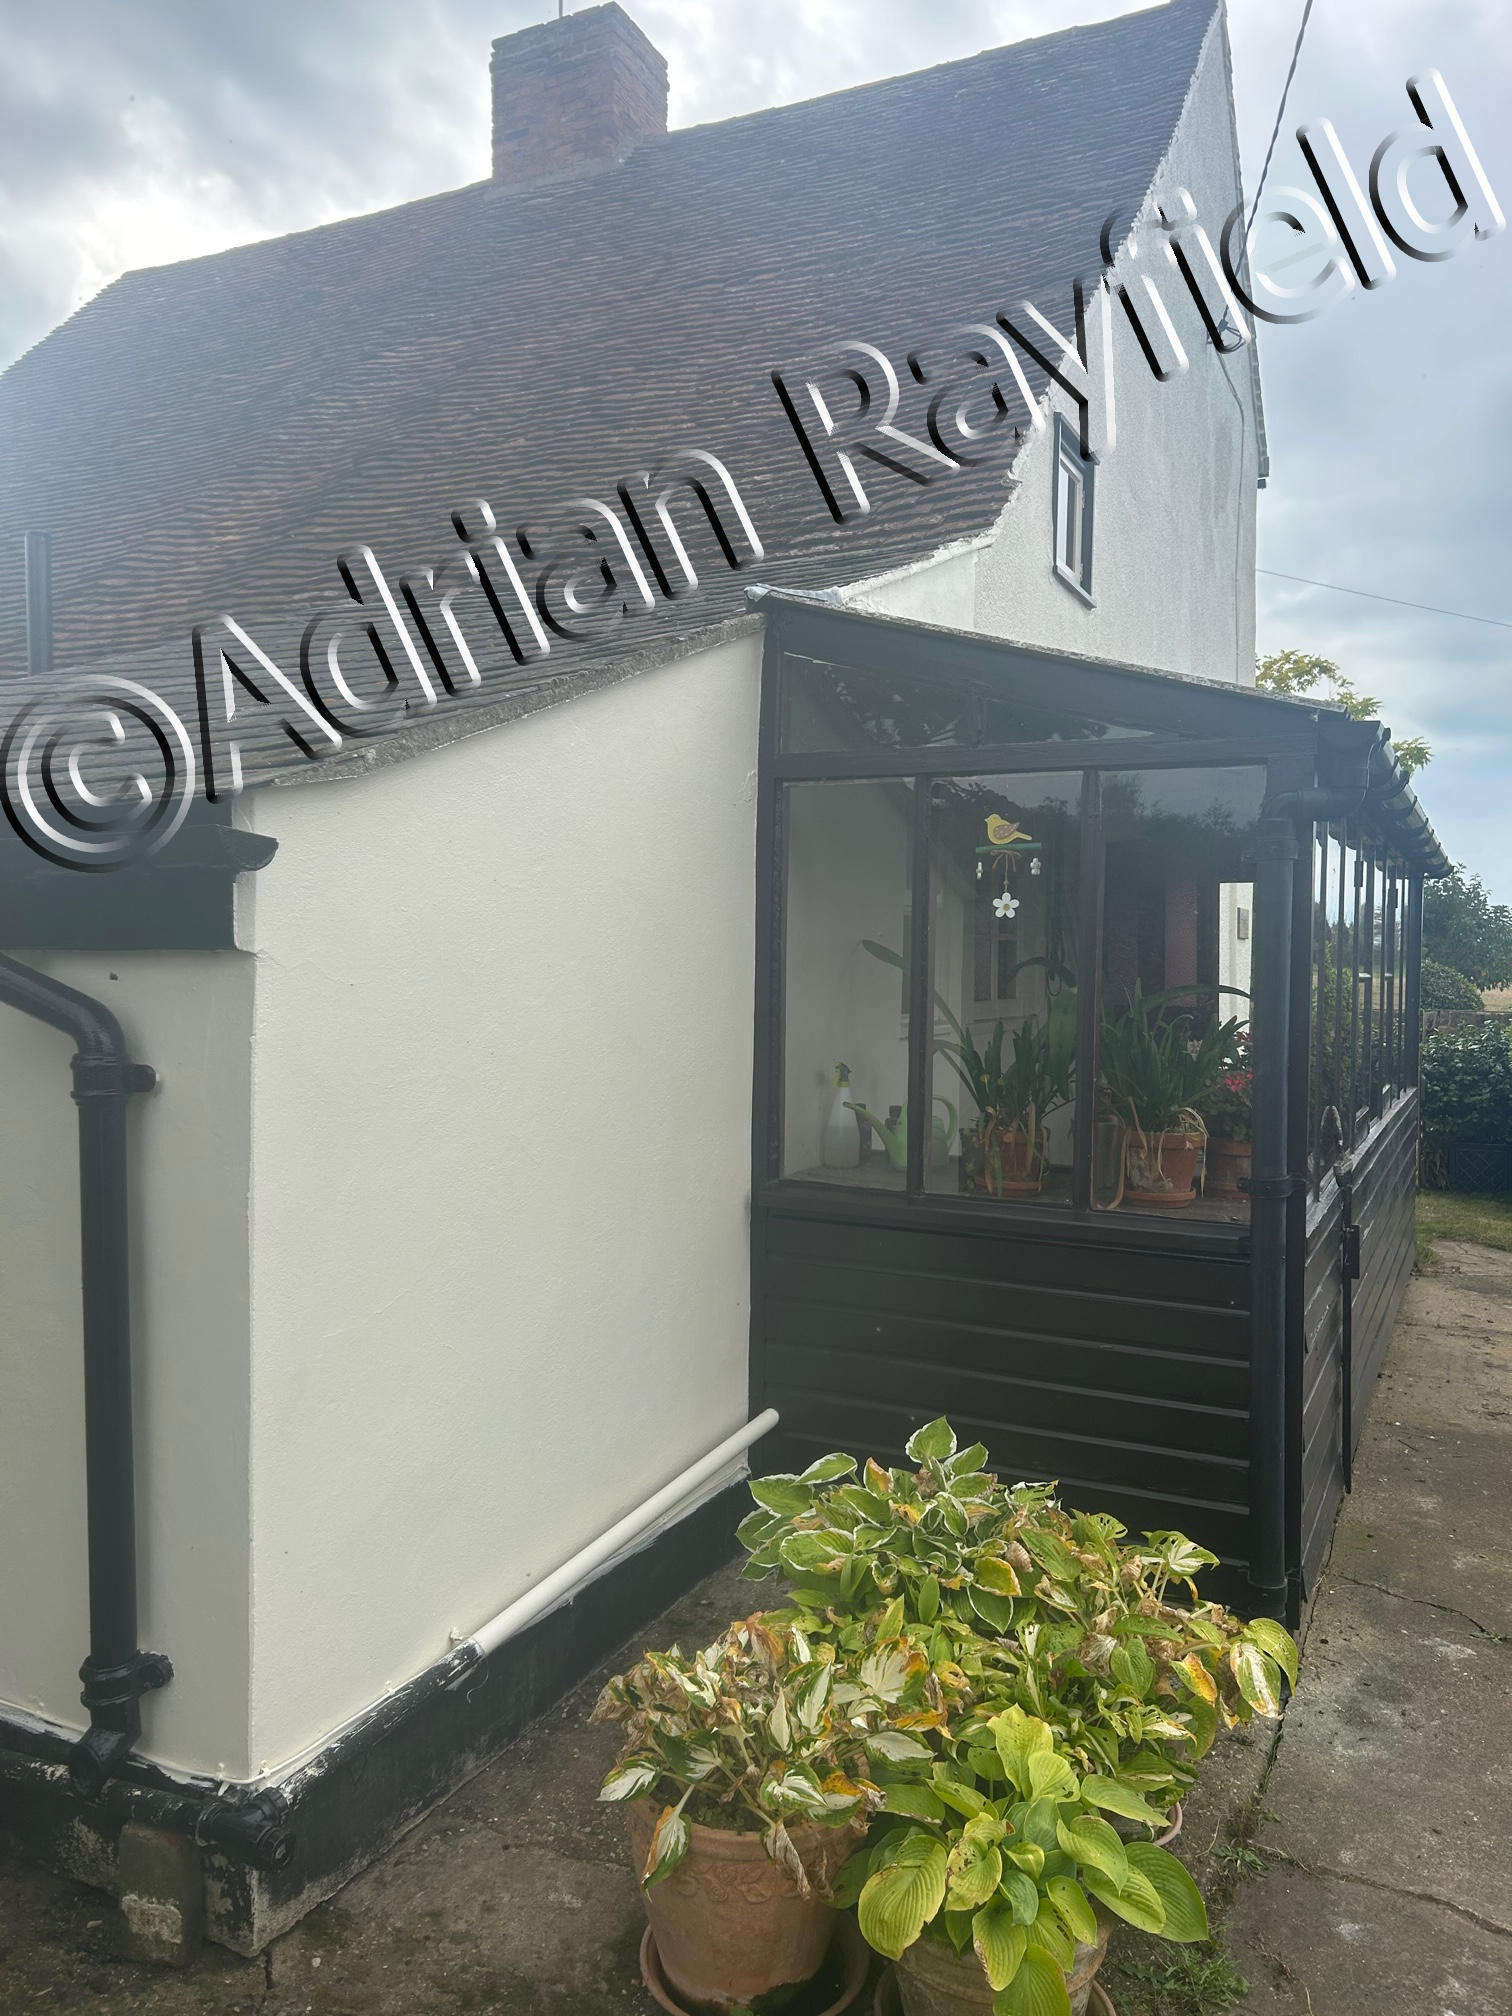
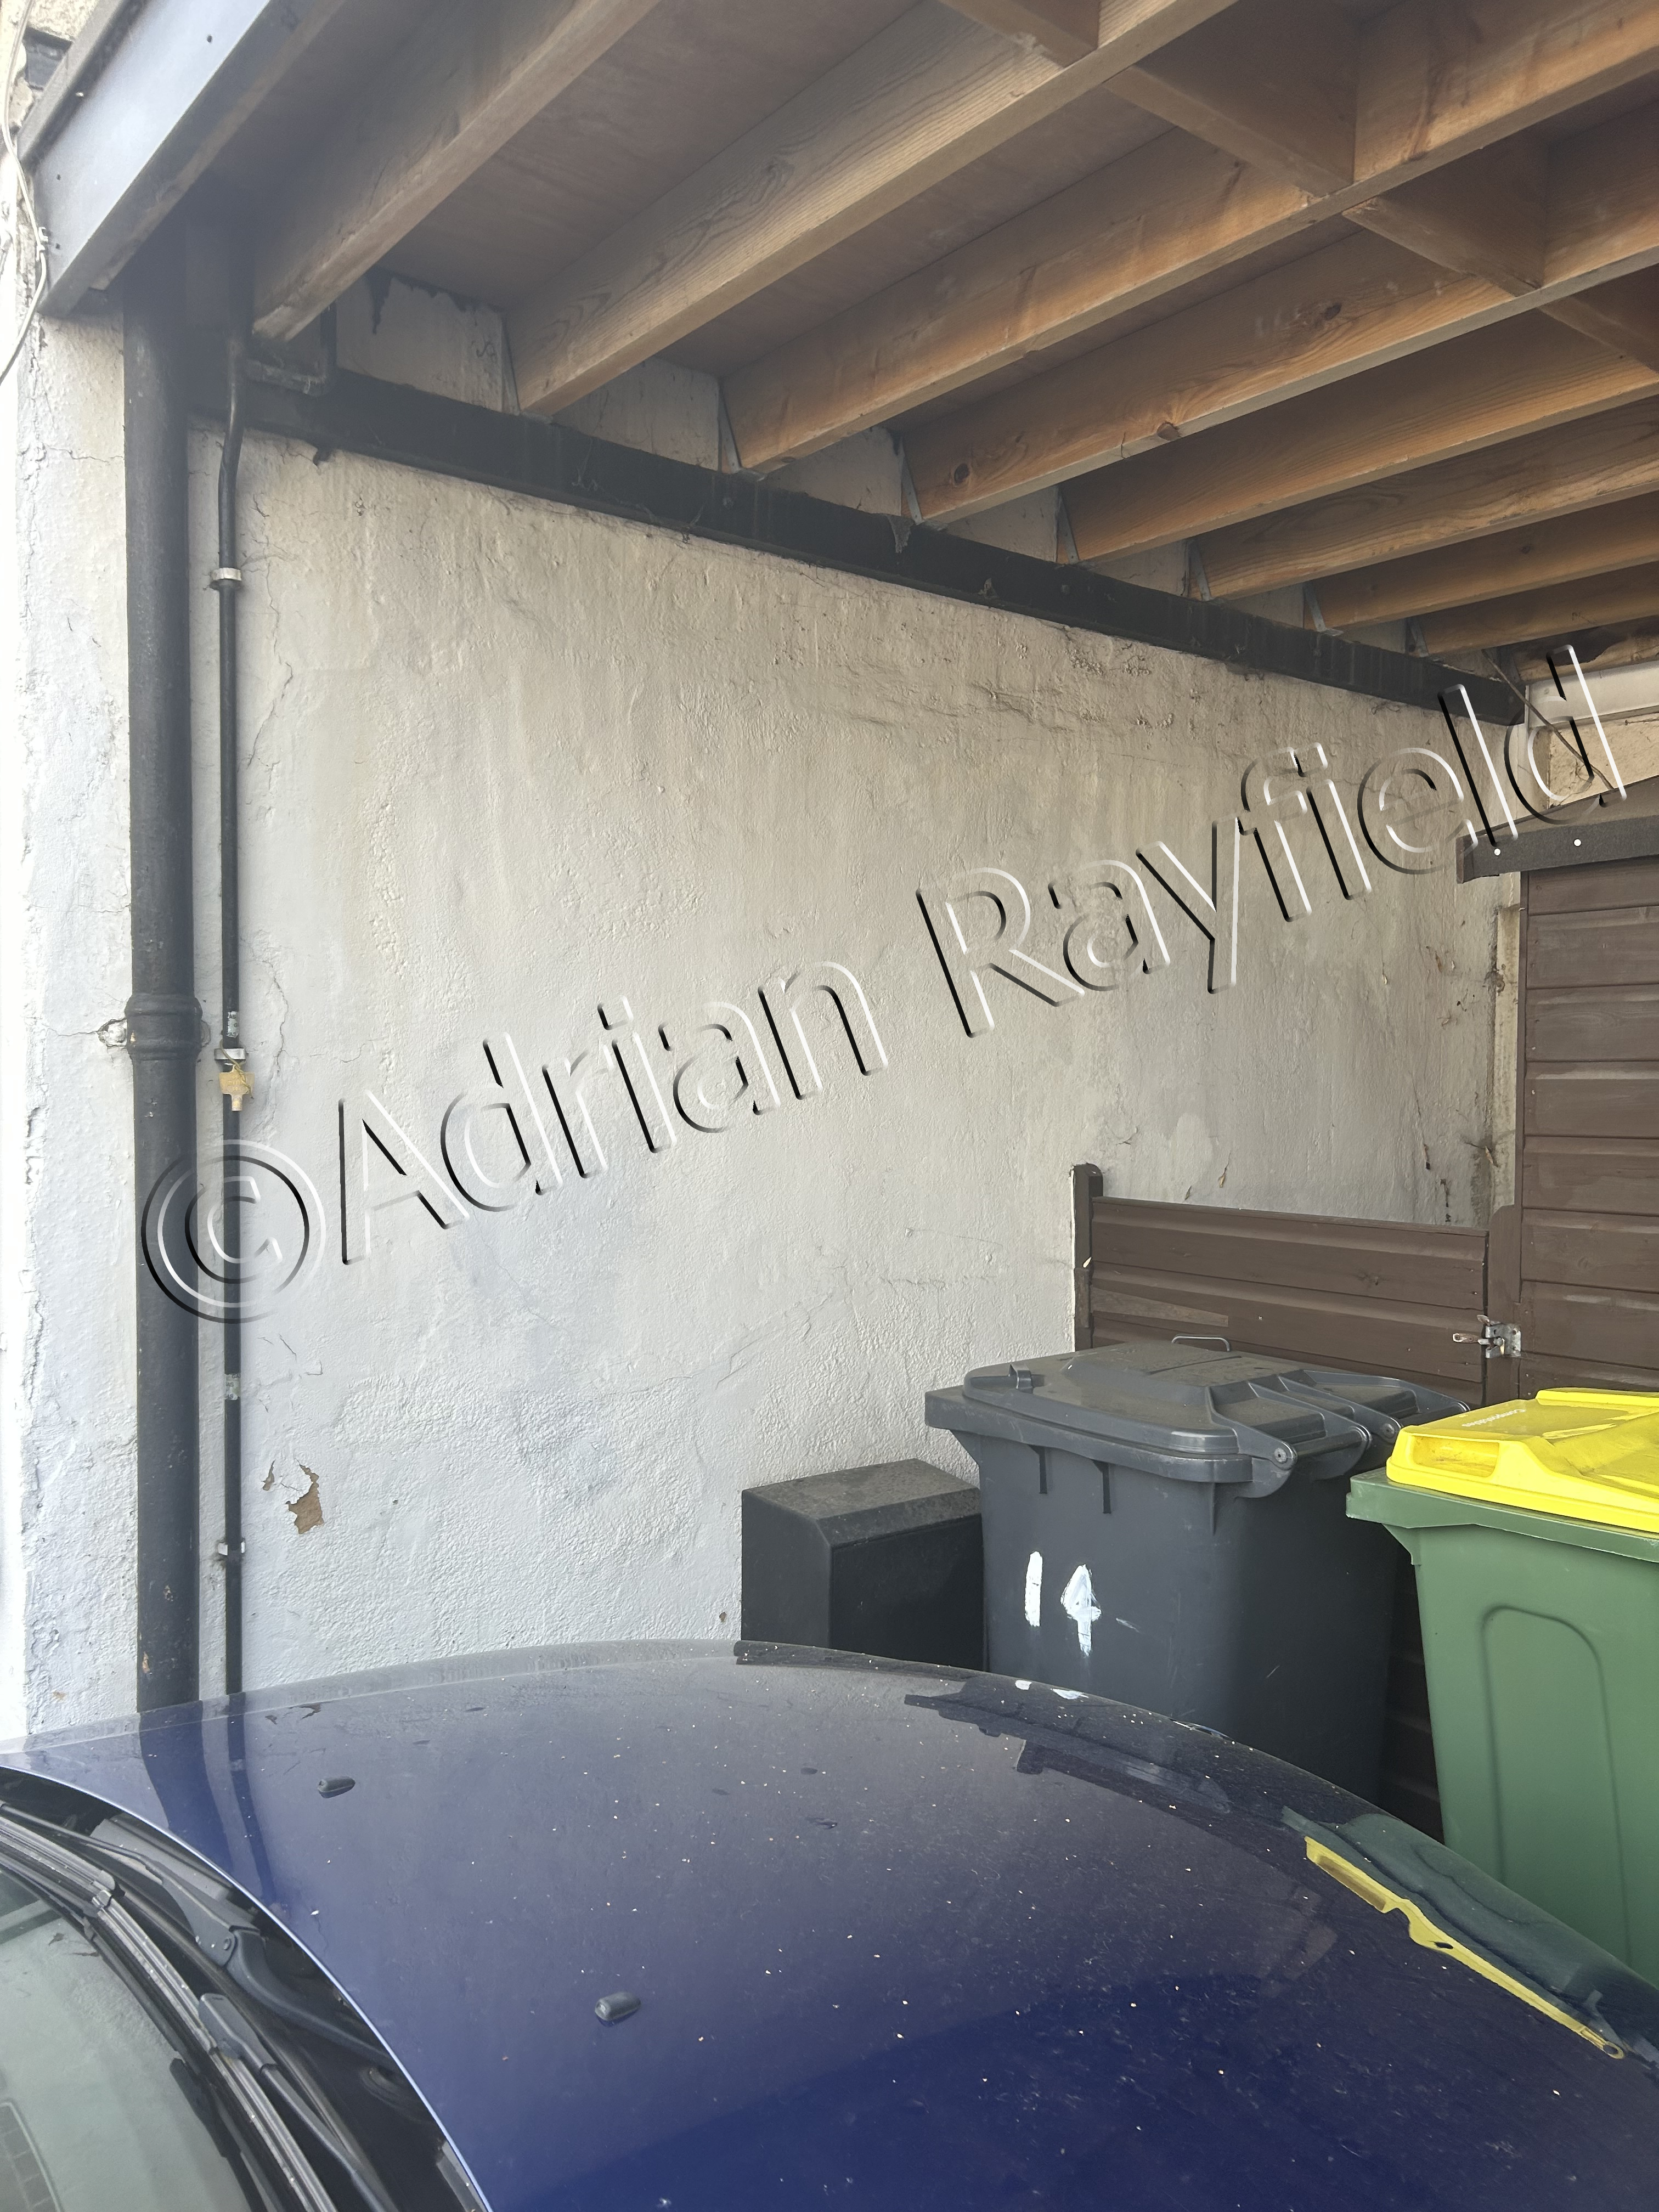
After some repairs were carried out to the masonry and woodwork, a fair amount of wood filler was used, the woodwork, masonry and carport were all painted to the clients specification and colour choices.
I always work closely with the clients and advising them on such things as if scaffolding is required and where, and also the colour choices and the best types of paints to use, this is the best way to have a good client relationship and at the end of the day everyone is happy and knows what to expect by the end of each day, and the completion of the job.
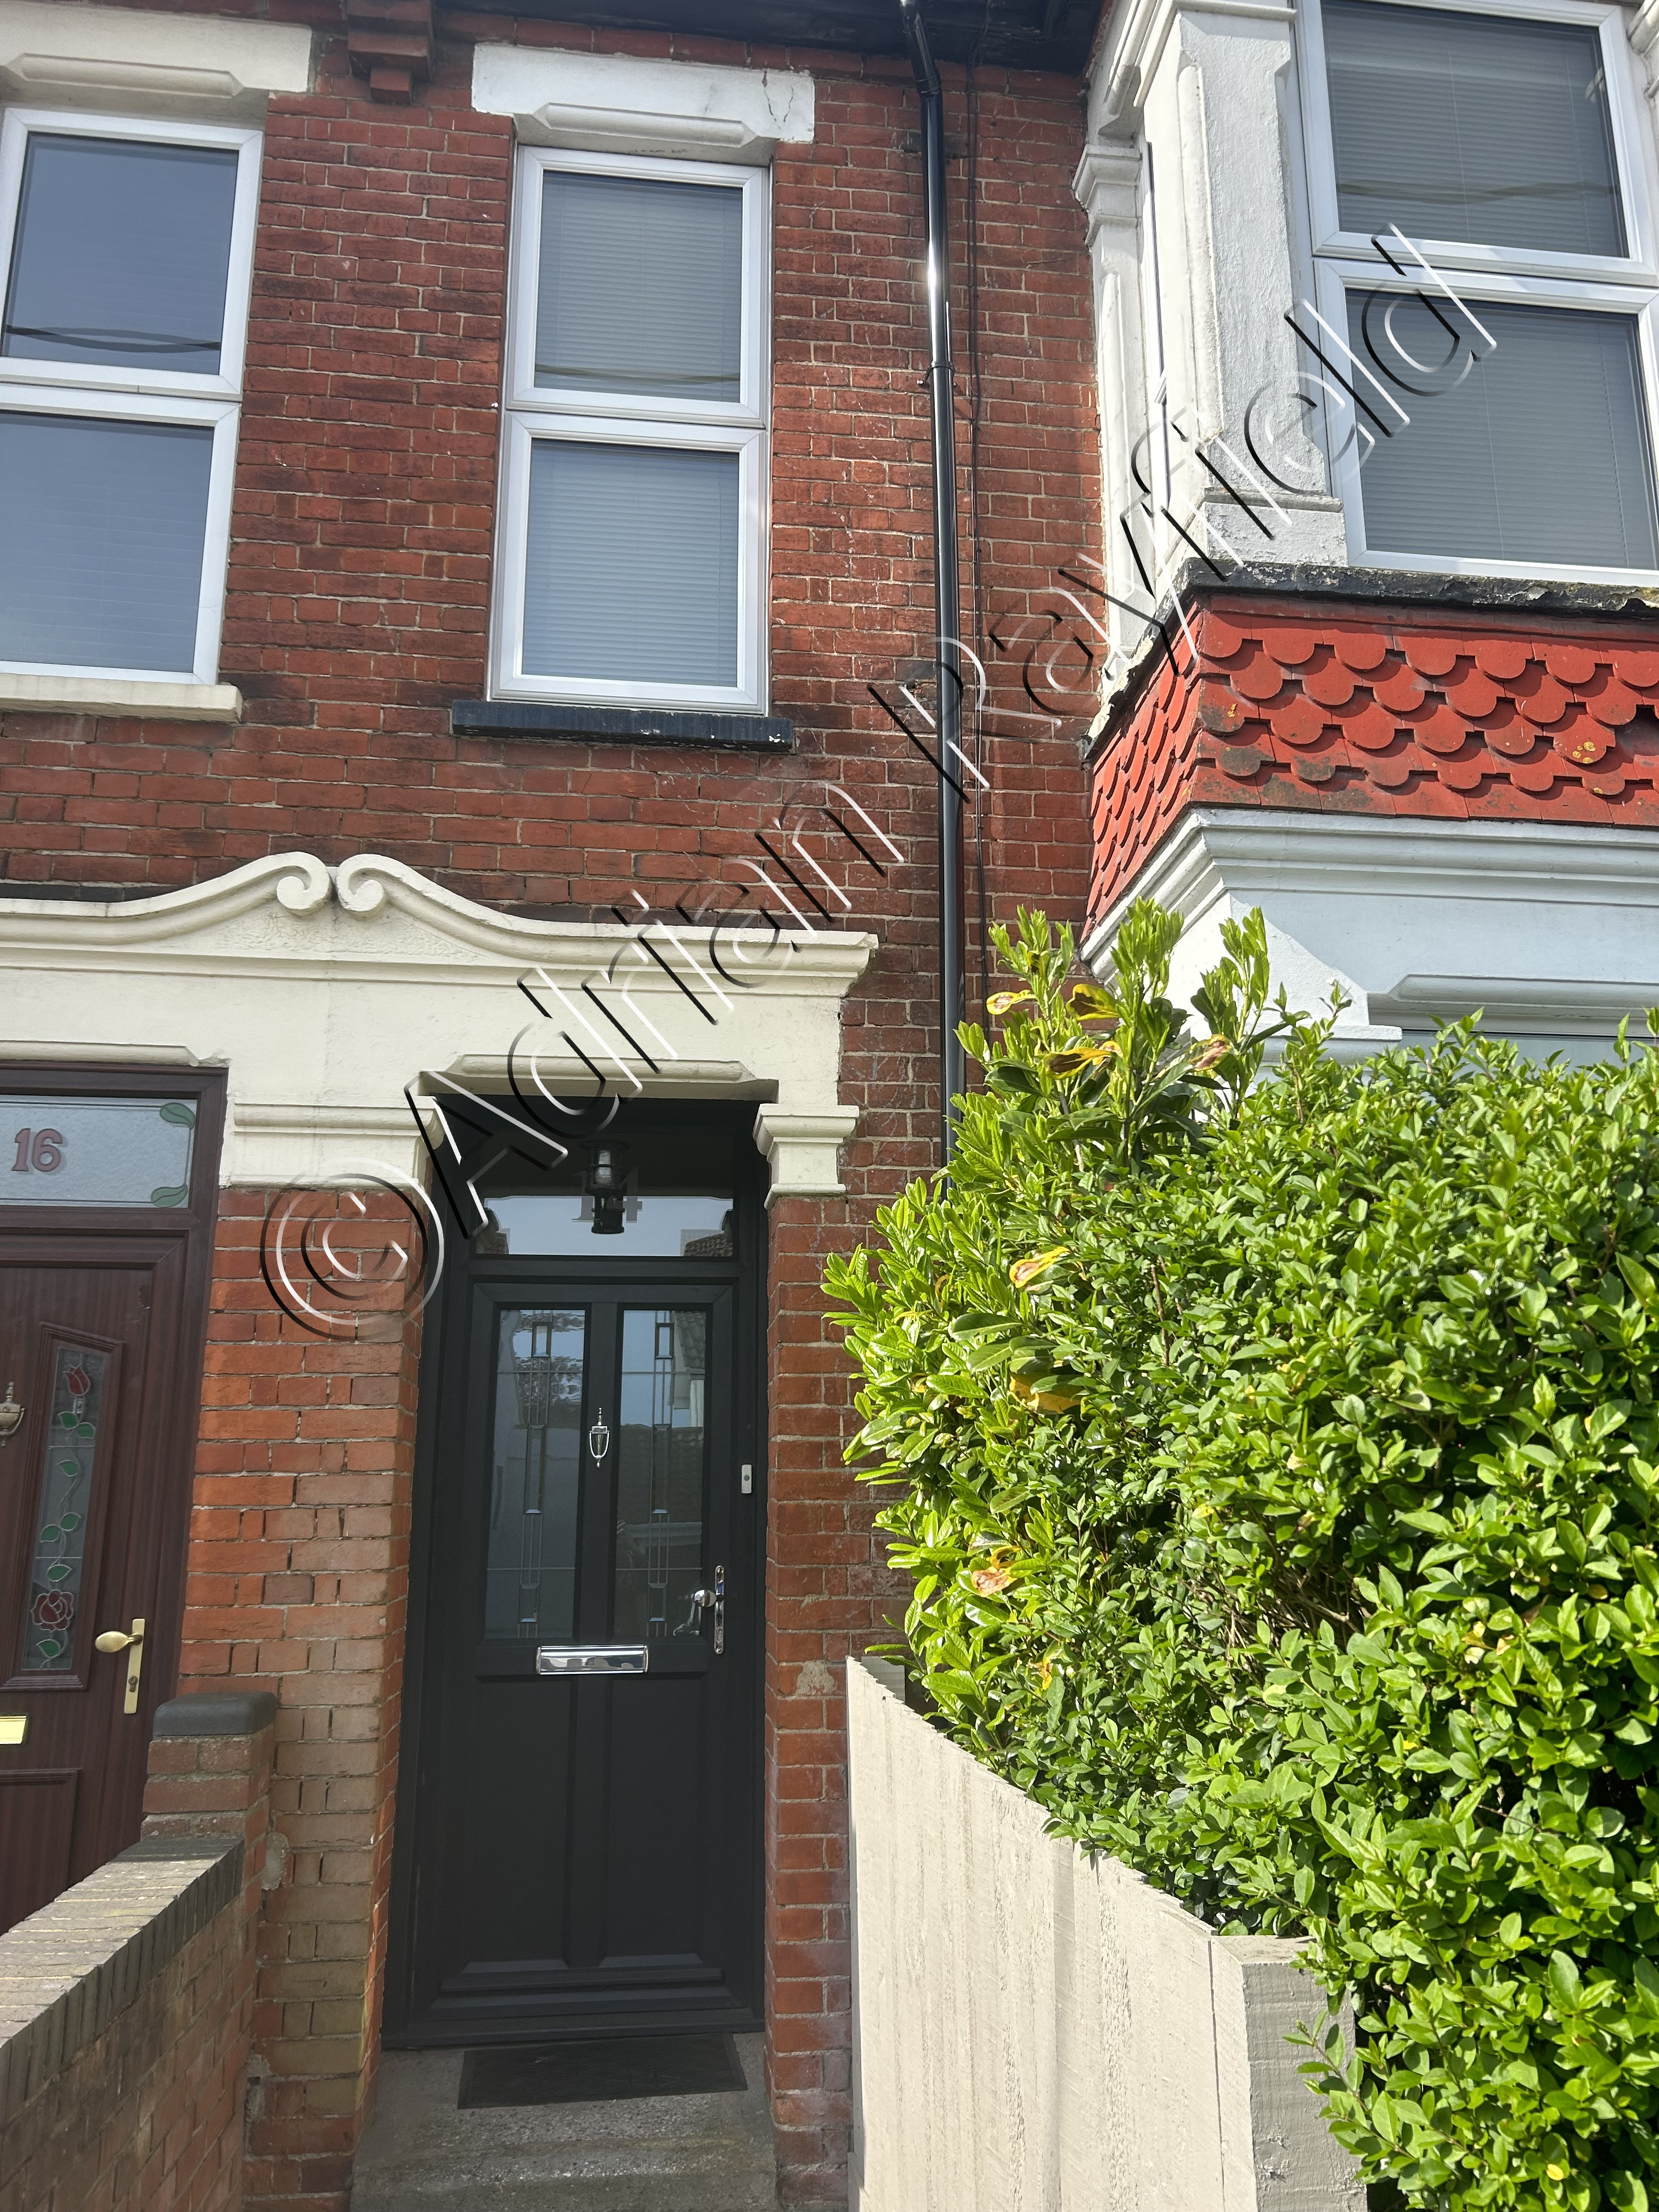
The results
Once the work was all complete, the client was very happy with the results, saying, “I am delighted with the work you have done”. You can see the before, during and after in the pictures below.
Tags: advice, apex, before and after, carport, Decorating, Dulux, Exterior, External, Filler, fillers, Masonry, masonry paint, Paint, Painting, Property, rot, rotten wood, scaffolding, wood filler, Woodwork
Posted in Home Improvements, News | No Comments »
Making and using a water level
Posted by Adrian
March 31st, 2021
Making and using a water level
Water levels can come in very useful when you need to make a level line across a big expanse, such as in a room and a level simply won’t do. You can buy laser levels but they can be expensive and you may only require it once, this post describes how to make a cheap water level.
Water levels can be used for things such as dado and picture rails, wallpaper borders etc.
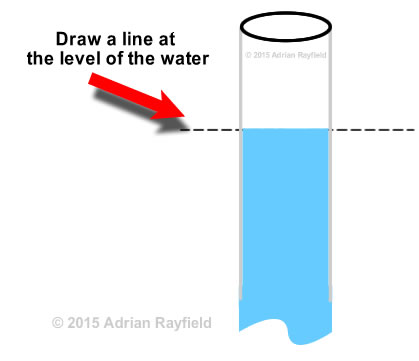
Making a water level
To make a water level is fairly straightforward, you will need the following items.
- A long length of clear tubing
- Water
- Something to bung ends of tube (optional)
- Funnel (optional)
You will need a length of clear tubing, long enough to reach around your work area, such as a room. The tube needs to be clear so you can see the water, so a garden hose wouldn’t be any good as it isn’t transparent.
Once you have your length of tubing you need to fill it with water. This can be done by using a funnel in one end of the tube and running water into it to fill the tube. You can also try the syphon method, but whatever you find works best for you. Make sure that there are no air bubbles in the length of tube, if there are work them out to an open end.
Don’t fill the tube fully as you will need to allow the water to move without it coming out all over the place and for it to settle to get the level.
Once the tube is filled enough you will need to stop the water coming out again, this can be done simply by placing your thumb over the end or a bung of some kind if you have one.
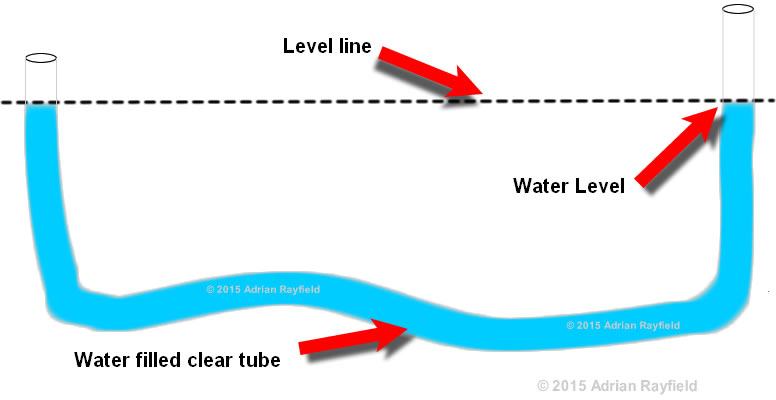
Using a water level
Now that you have made your water level you are ready to use it. You will need a starting point, this can be achieved by measuring and making a pencil mark, or maybe using an existing level, such as a dado rail, it could even be something in another room if the tube is long enough. For example if you want to make sure the dado rail is the same in two rooms. This will be your starting point.
You will need a second person to help you with using the level. One stays at the original level point whilst the other uses the level and marks the wall at the level.
The person holding the ‘fixed’ end, that is the original level mark stays holding the tube at this point, whilst the second person moves to a new point and holds the tube against the wall. The first person instructs the second person to move up or down until the water is level with the original mark, the second person can then mark the wall level with the water in the tube, thus giving a level line.
Continue doing this in several places as required. Remember not to lift tube too high without having end blocked as it will flow out. You can then if required draw a line and join up the marks.
Tags: Dado rail, Decoratomg, DIY, Handyman, Level, Painting, Wallpaper Border, Water, Water Level, Woodwork
Posted in Home Improvements | No Comments »